

Support me on – https://www.patreon.com/Ashif
Support me on – paypal.me/9953280644
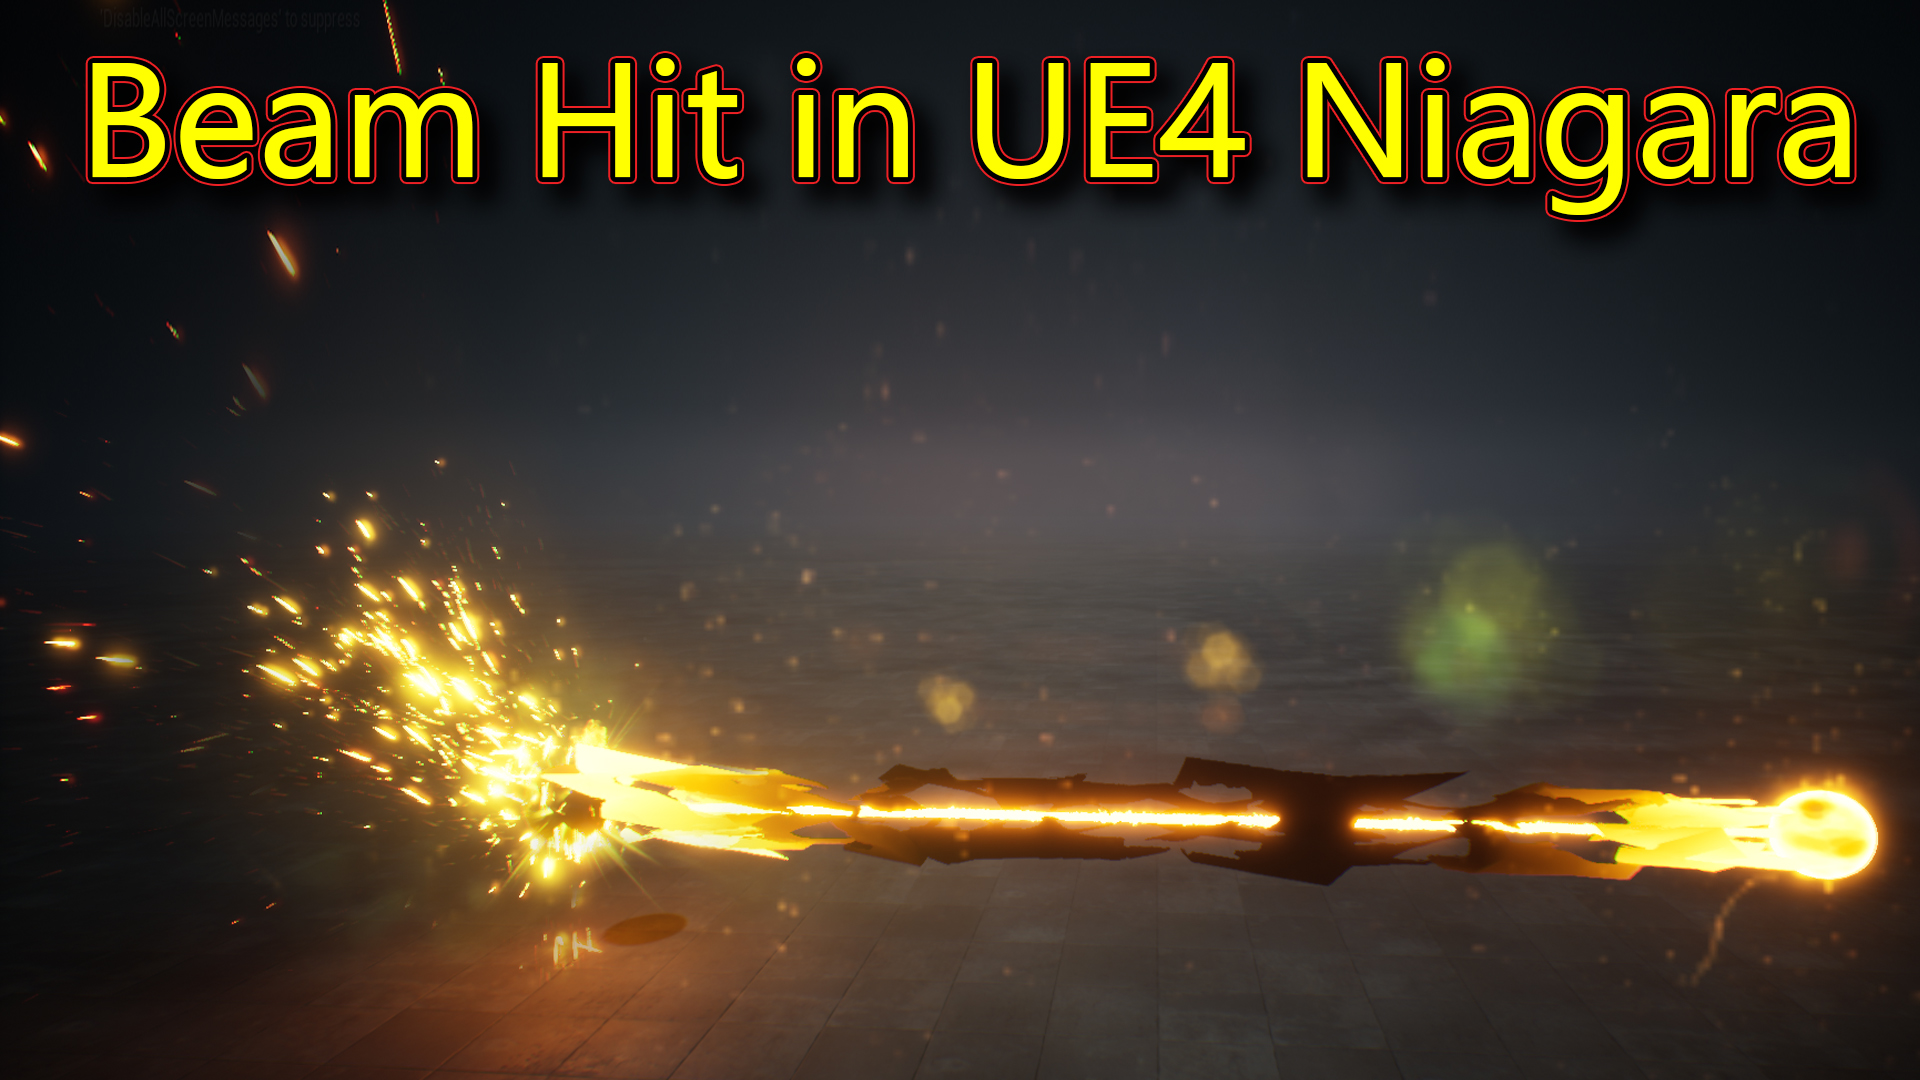
Hi guys today is have created this beam hit effect in unreal engine Niagara. this is step by step tutorials so just follow through and create your own beam effect with me.
#cghow #RealtimeVFX #UE4Niagara #gamefx #ue4vfx #ue4fx #niagara #unrealengineniagara #unrealenginevfxtutorials
●Upload Your Tutorials/Work – https://cghow.com/
Purchase Effect Package From Unreal engine Marketplace –
●Niagara Effects Pack – http://bit.ly/2LWgZTx
●Advanced Magical FX – http://bit.ly/2XQYyXL
●Follow FB Page – https://www.facebook.com/cghow0/
●Join FB Group – https://www.facebook.com/groups/cghow/
●Android App – http://bit.ly/2XUnhoR
Playlists-
●Unreal Engine Niagara Tutorials – http://bit.ly/2SmPEuT
●Unreal engine VFX Tutorials -http://bit.ly/2JNXyJZ
●Unity VFX Tutorials – http://bit.ly/2XNGlKz
Other Tutorials
UE4 Niagara Shield Effect – https://youtu.be/xcy-ZYdr3ZQ
UE4 Pivot Painter Fracture | Files on Patreon – https://youtu.be/sOYkyBks4gE
Shadertoy GLSL to HLSL in UE4 Niagara and Material Custom node – https://youtu.be/9gl5z8C4sx4


Description: In this video tutorial, I demonstrate how to create a dynamic beam hit effect using Unreal Engine Niagara and Maya. Starting from an empty scene, I place two spheres and guide a beam effect from one to the other, showing how to animate and stylize the beam to achieve a compelling hit effect. This video covers modeling the beam mesh in Maya, applying noise and twist deformers for a unique texture, and importing it into Unreal Engine for Niagara particle work.
Key Points:
- Setting up the scene: Placing spheres and adjusting mesh positions in Unreal Engine.
- Modeling in Maya: Creating the beam mesh with deformers for unique textures and UV adjustments.
- Niagara System setup: Using mesh render and initial rotation settings to orient the beam between spheres.
- Animating the Beam: Scaling the beam’s Z-axis for growth, adjusting X and Y for width, and creating curves for animation.
- Creating Materials: Setting up materials with particle color, dynamic parameters for erosion, and noise textures.
- Adding Hit Effects: Incorporating sparks, fire, light, and flash effects for a realistic hit impact.
- Timing Adjustments: Aligning particle durations for a seamless looping effect.
Additional Notes: This tutorial offers a detailed breakdown of how to add realistic hit effects and animations to your beam effects in Unreal Engine, and the tips are useful for VFX artists working with Niagara. You can customize the effect by changing colors, spark intensity, or adding more particles. Experiment with dynamic parameters and life adjustments to control the effect duration and loop.
Tags: #NiagaraParticles #UnrealEngine #BeamEffect #VFXTutorial #GameEffects
Leave a Reply