

Download – https://www.patreon.com/posts/78455153
Patreon- https://www.patreon.com/Ashif
NFT – https://opensea.io/CGHOW
Twitter – https://twitter.com/cghow_
👉👉 If you Liked it – http://bit.ly/2UZmiZ4
Channel Ashif – http://bit.ly/3aYaniw
Support me on – paypal.me/9953280644
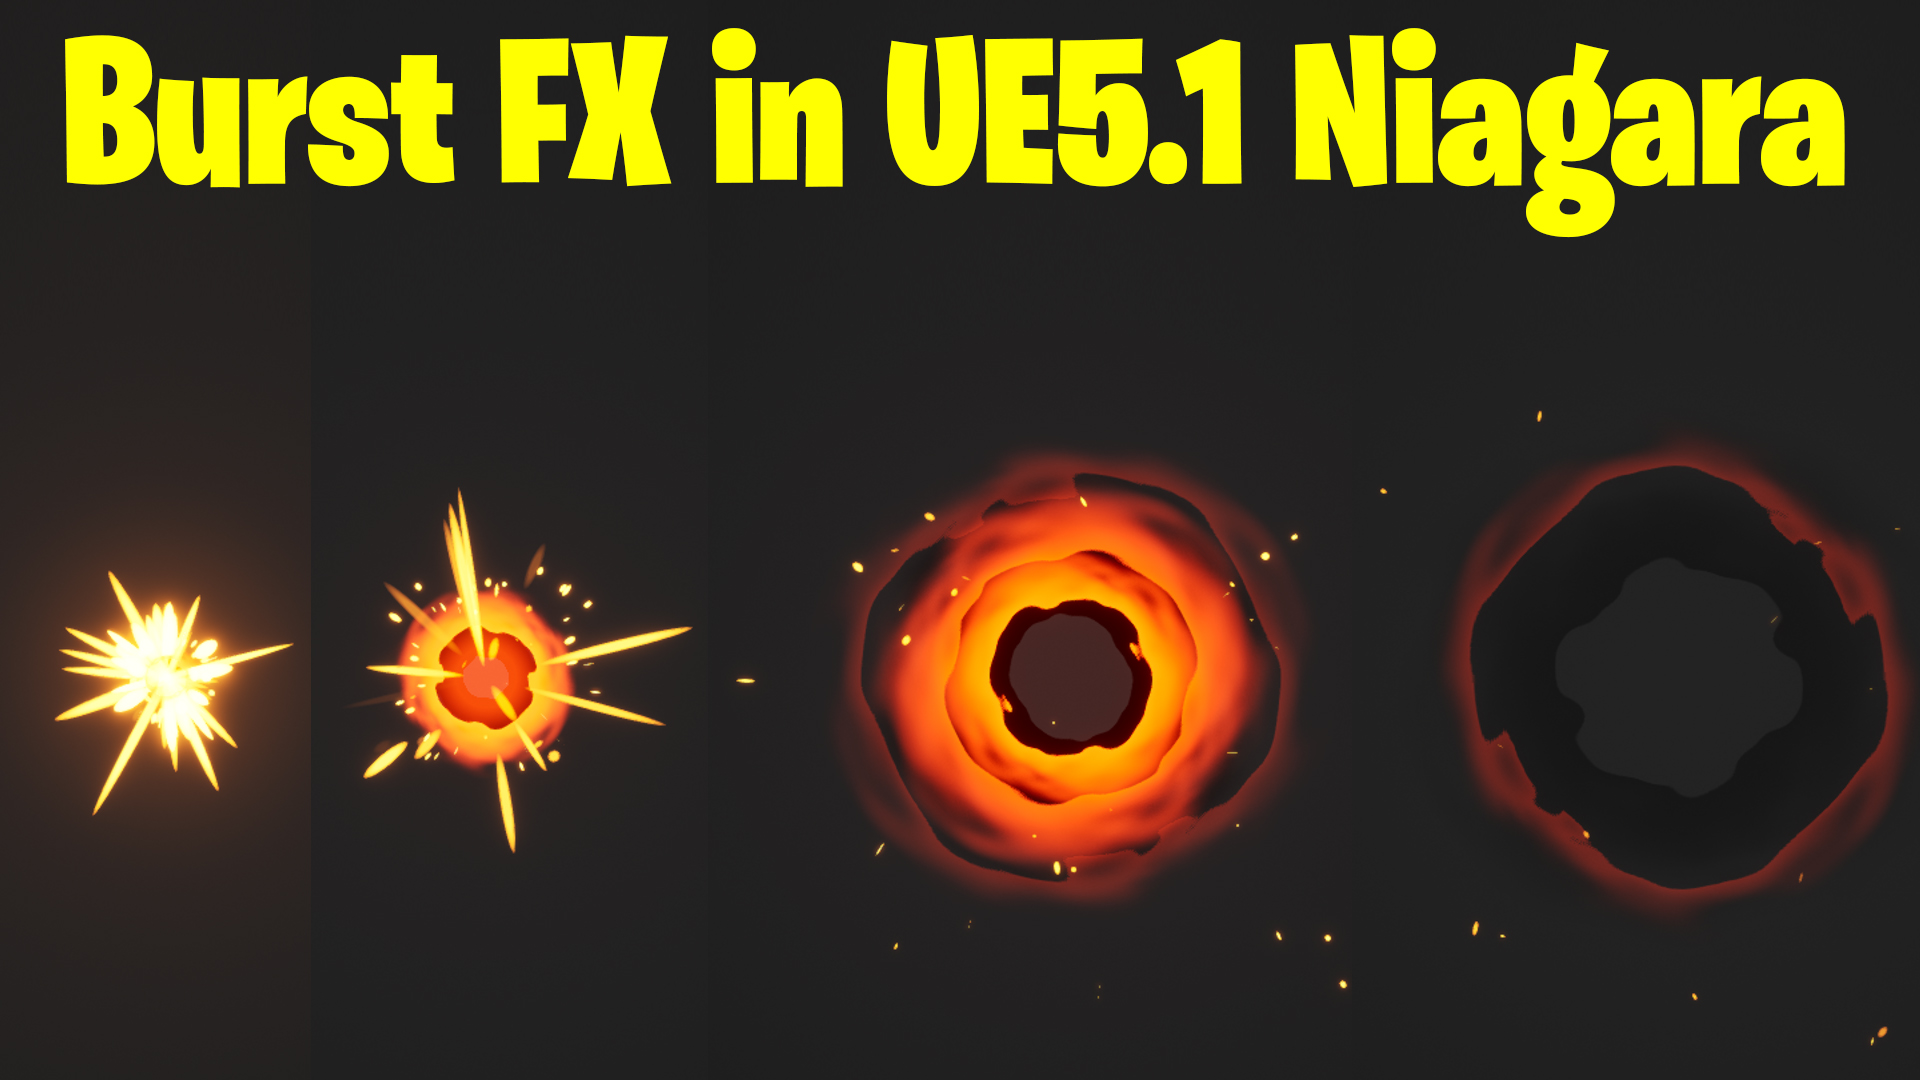
Burst FX in Unreal Engine 5.1 Niagara Tutorial | Download Files
#cghow #UE5 #UE4Niagara #gamefx #ue5niagara #ue4vfx #niagara #unrealengineniagara #realtimevfx
●Visit – https://cghow.com/
Unreal Engine Marketplace – https://bit.ly/3aojvAa
Artstation Store – https://www.artstation.com/ashif/store
Gumroad – https://cghow.gumroad.com/
Title: Creating a Unique Burst Effect in Unreal Engine 5.1 – VFX Tutorial
Intro: Hi guys, I’m Ashif Ali and you’re watching CGHOW! In today’s video, I will create a basic yet unique burst effect in Unreal Engine 5.1. Let’s dive right into this tutorial!
First of all, don’t forget to subscribe to my YouTube channel and click the bell icon so you’ll get notified every time I post a new video.
Creating the Burst Effect: Let’s begin by creating a burst effect. This will be a simple burst, but I’ll add a unique twist to make it look different. First, let’s create a basic FX asset.
- Basic FX Setup:
- I’ll start with a basic FX and work from there.
- Inside this, I’ve found a useful additive radial.
- I’ll use velocity-aligned particles, and then in the settings, I’ll turn off the mass and use random, non-uniform velocity.
- I will enable point velocity and remove gravity from this setup.
- I’ll set the particle life to a very short duration (0.2 or 0.1 seconds).
- I’ll adjust the particle size to stretch like this.
- Instead of rate, I want it to burst, so I’ll set a burst count of 20.
- Creating a Second Burst:
- I’ll copy this setup and make it brighter (about 100) and adjust the size smaller, with a life of around 0.4.
- If I isolate this, you can see the changes coming together.
Adding the Material: Now, let’s add that material.
- I’ll create a new material, let’s call it Ring.
- I’ll use radial coordinates for the texture, and then adjust its density to create the outer ring.
- I’ll create a second radial, make it smaller, and sharpen it to subtract from the first one, producing a sharp, cutting edge.
- To distort the texture, I’ll add noise and adjust the UVs using a Vector to radial.
- I’ll use a multiply node to control the amount of distortion, and make the distortion come from the center.
Adjusting Texture and Temperature:
- To make it even more realistic, I’ll adjust the texture using a remap node and connect it with a simple color (red, for example).
- Then I’ll fine-tune the density, power, and radius parameters.
- Instead of just color, you can use black body temperature for a realistic fiery effect. I’ll increase the temperature to around 4000 and adjust other parameters accordingly.
Final Adjustments:
- I’ll further tweak the effect by distorting the noise using the particle color and alpha parameters.
- To complete the look, I’ll add a glow effect inside the burst, and for the tiny sparkles, I’ll adjust the size and life to give them a random animation.
Animating the Burst Radius:
- I want to animate the burst radius to give it a dynamic feel. I’ll use a dynamic parameter to animate the radius from 0.2 to 0.3, creating a smooth transition.
Final Touches:
- Lastly, I’ll adjust the curve for the radius animation and ensure the burst doesn’t look noisy or static. The final look is sharp, bright, and dynamic.
Outro: That’s it for today’s tutorial! I hope you enjoyed this process and learned something new. Keep blending those effects, and I’ll see you in the next video. Thanks for watching!
Bye bye!
Leave a Reply