
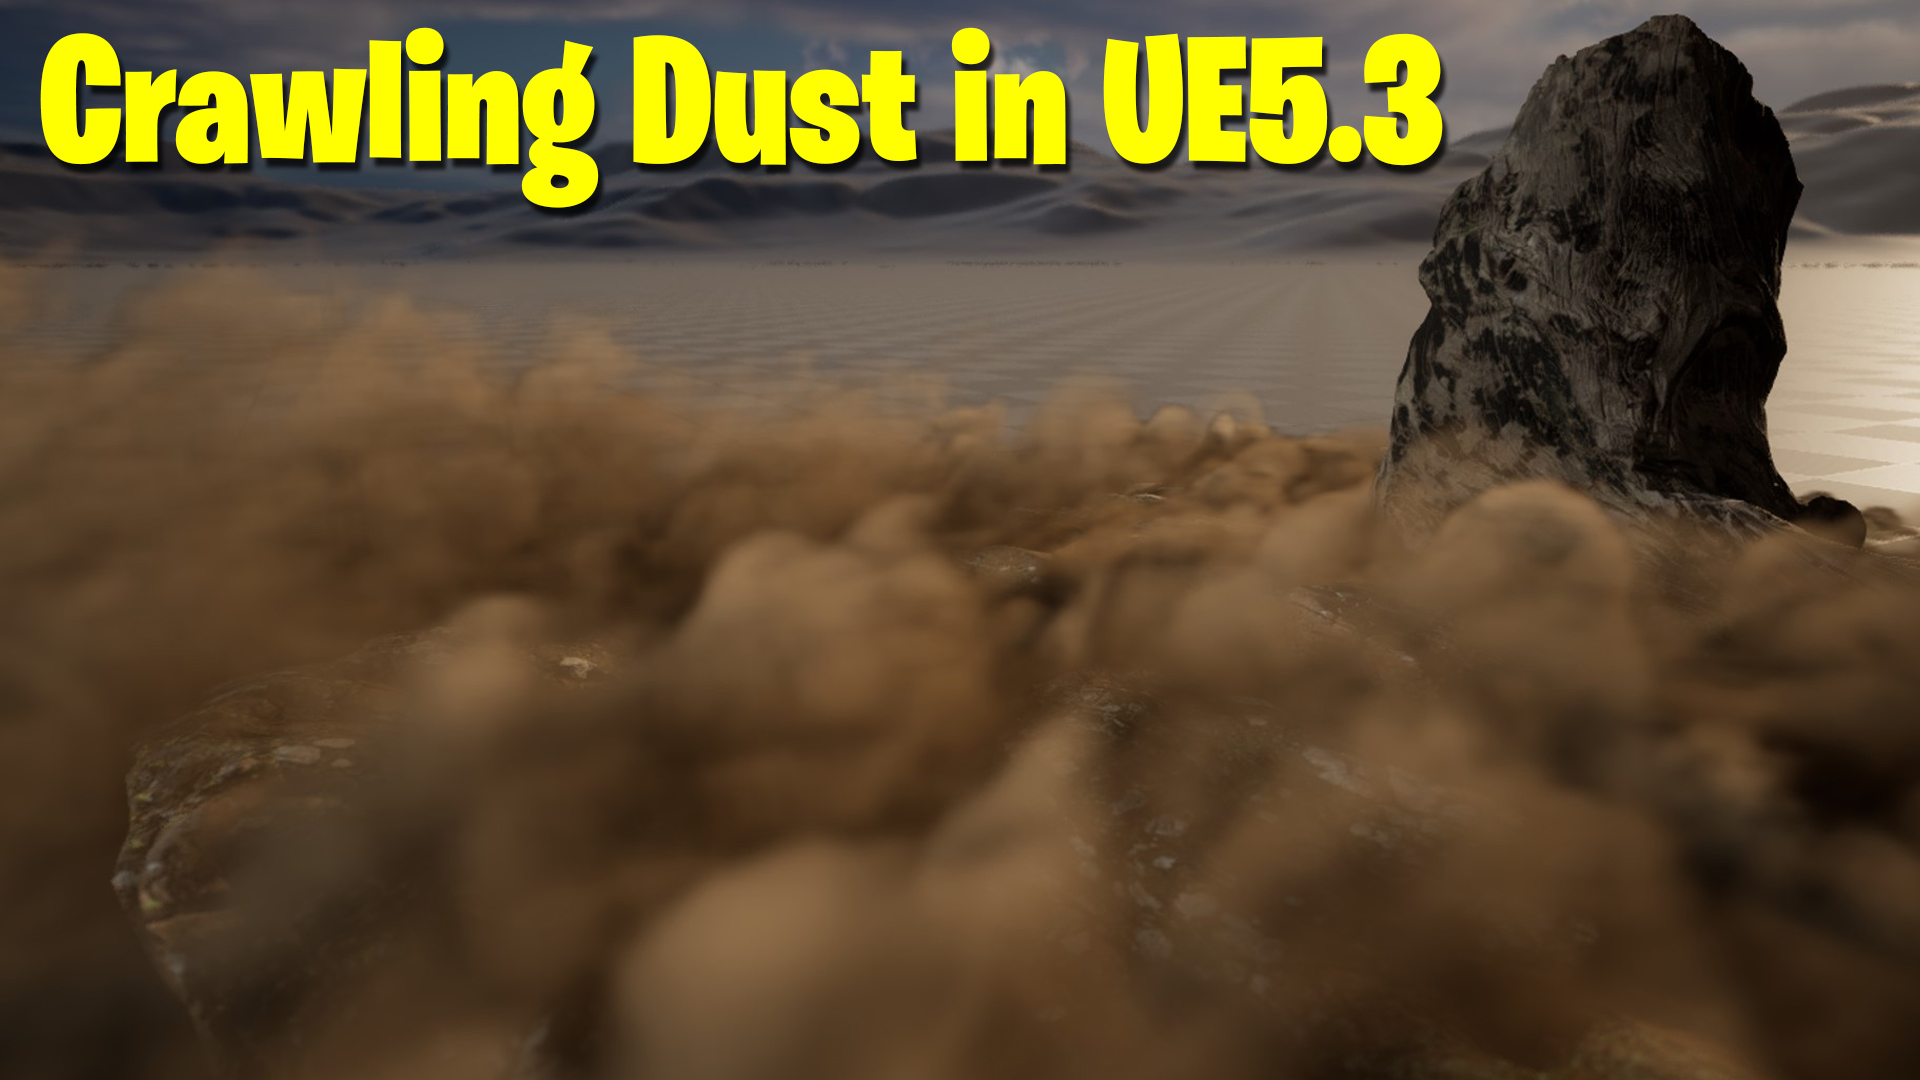

Download – https://www.patreon.com/posts/89671571
Patreon- https://www.patreon.com/Ashif
NFT – https://opensea.io/CGHOW
Twitter – https://twitter.com/cghow_
👉👉 If you Liked it – http://bit.ly/2UZmiZ4
Channel Ashif – http://bit.ly/3aYaniw
Support me on – paypal.me/9953280644
Crawling Dust in UE5.3 Niagara Fluid Tutorial | Download Files
#cghow #UE5 #UE4Niagara #gamefx #ue5niagara #ue4vfx #niagara #unrealengineniagara #realtimevfx
●Visit – https://cghow.com/
Unreal Engine Marketplace – https://bit.ly/3aojvAa
Artstation Store – https://www.artstation.com/ashif/store
Gumroad – https://cghow.gumroad.com/
Creating Crawling Dust in UE5.3 Niagara – Quick Tutorial
Intro:
Hi guys, I’m Ashif Ali and you’re watching CGHOW. Today, we’ll create a realistic crawling dust effect in Unreal Engine 5.3 using Niagara. Let’s dive right in!
Setup:
- Map and Niagara Setup:
- Open a new map for the project. I’m using an open-world map for this effect.
- Save the map in your desired folder (e.g., “Day Six Layer”).
- Create a new Niagara system by right-clicking and selecting Niagara, then choose Fountain or Electric Effects from the templates.
- First Emitter – Linear Rectangle:
- Add a new Box emitter and increase the size on the Y-axis to create a linear rectangle shape.
- Set the velocity to 50 on the Y-axis, giving the dust a crawling effect.
- Name this emitter Dust.
- Second Emitter – Gas Emitter:
- Add another emitter and choose Gas as the parent.
- In the Source section, switch the particle to GPU and adjust the radius to 10.
- Reduce the container size on the Y-axis to 200, setting the offset to 0.5.
- Adjust the X-axis to 500 and the Z-axis to 800 to ensure the dust remains within the desired bounds.
- Turn off gravity by setting the Y value to -980. This simulates a downward force, making the particles move faster.
- Save these settings for now.
- Simulation Settings:
- To enhance the dust’s visual, add variation.
- Go to Set Fluid Attribute and enable color. This allows the fluid to take on different colors, like brown or orange.
- Adjust hue, saturation, and brightness to get the desired variation.
- Increase the density (set to 10) and adjust other parameters like velocity if needed to get a more dynamic effect.
- Sequencer and Camera Setup:
- Create a Sequencer to organize the effects and set the camera angle.
- Move the emitter and adjust its position within the map.
- Set the camera to capture the crawling dust effect from various angles.
- Final Adjustments:
- To optimize the performance, cache the simulation. Go to the Niagara component, select your FX, and click on Cache Simulation. This ensures smoother playback.
- If needed, you can add rocks or other static meshes from the Mega Scan library to interact with the dust. Place these objects in the scene so they collide with the particles, giving a realistic appearance.
- Conclusion:
- After adjusting these parameters and creating interactions with objects in the scene, you’ll have a realistic crawling dust effect.
- This file will be available on my Patreon as usual.
Leave a Reply