
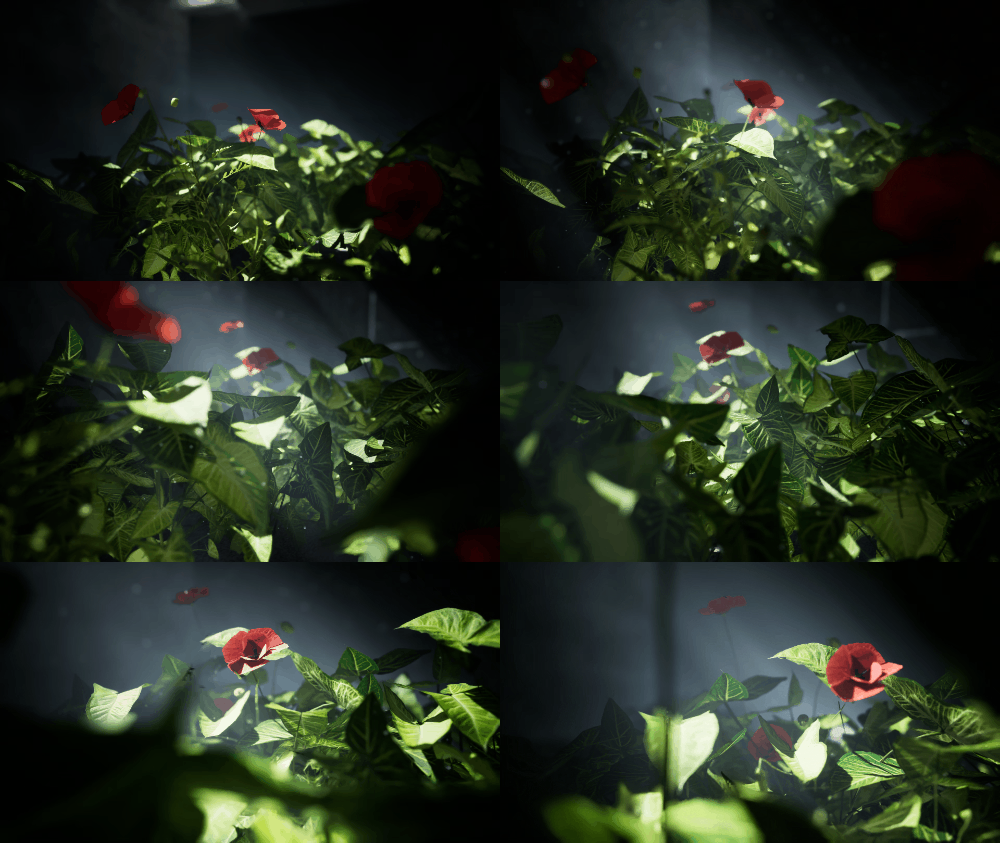

Download – https://www.patreon.com/posts/82455594
Patreon- https://www.patreon.com/Ashif
NFT – https://opensea.io/CGHOW
Twitter – https://twitter.com/cghow_
👉👉 If you Liked it – http://bit.ly/2UZmiZ4
Channel Ashif – http://bit.ly/3aYaniw
Support me on – paypal.me/9953280644
#cghow #UE5 #UE4Niagara #gamefx #ue5niagara #ue4vfx #niagara #unrealengineniagara #realtimevfx
●Visit – https://cghow.com/
Unreal Engine Marketplace – https://bit.ly/3aojvAa
Artstation Store – https://www.artstation.com/ashif/store
Gumroad – https://cghow.gumroad.com/
Hi guys, I’m Ashif Ali, and you’re watching CGHOW. In today’s tutorial, I’ll show you how to create a scene with ambient dust particles using Unreal Engine. Let’s dive right in!
Before we start, make sure to subscribe to my YouTube channel and click on the bell icon to get notified whenever a new video is released.
Creating the Scene:
- Setting Up the Map:
- First, create a new level and save it.
- You’ll need some basic box shapes for your environment. Begin by creating cubes for the ground and the ceiling.
- Apply an unlit material to see better.
- Building the Environment:
- For the ground, scale the box to create the floor.
- Duplicate and move the boxes to create walls and a ceiling.
- Position the directional light to illuminate the scene.
- Setting Up the Camera:
- Use the Ctrl + 0 shortcut to bookmark the camera position for easy access.
- Adjust the light’s rotation and ensure the environment is well-lit.
- Adding Blocking Structures:
- Duplicate boxes and rotate them to create the environment’s blocking elements.
Lighting & Atmosphere:
- Adding Rays:
- To create shafts of light, adjust the settings in the Directional Light and apply the right materials to surfaces to make them visible.
- Material Adjustments:
- Apply appropriate materials to your ground and walls. A darker material helps to create a better contrast with the light shafts.
- Plants and Details:
- Use the Paint Tool to add some plants to your scene. Adjust random scales and density for variation.
- Camera Settings:
- Adjust the Depth of Field settings to create a cinematic feel. Play with the focal length to bring certain objects into focus.
Adding Ambient Dust:
- Setting Up Niagara for Dust Particles:
- Create a new Niagara Effect for the ambient dust particles.
- Add a box location for the particles and adjust the scale.
- Use the dust material and set it to a 2×2 UV for animation.
- Configuring Particle Settings:
- Set the spawn rate and random noise values for better realism.
- Add fade in/fade out effects to control the visibility of the particles over time.
- Fine-Tuning:
- Adjust the gravity for a more natural fall of the dust.
- For more variation in the dust particles, use different meshes or objects with varied shapes.
Final Adjustments:
- To improve the look, you can adjust the camera offset to add more depth to the dust particles.
- Increase the light intensity for more dramatic shadows and visual interest.
- If needed, animate the camera to give the scene a more dynamic feel.
Conclusion:
That’s it! You’ve now learned how to create a scene with ambient dust particles and cinematic lighting effects in Unreal Engine. I hope you found this tutorial helpful.
Thanks for watching, and keep experimenting with your scenes. Don’t forget to like the video if you enjoyed it, and I’ll see you in the next one.
Key Takeaways:
- How to set up a basic environment using boxes and lights.
- Creating realistic light shafts and ambient dust effects.
- Customizing particle settings for better realism.
- Adjusting camera and depth of field for cinematic shots.
Leave a Reply