

Download – https://www.patreon.com/posts/80624385
Patreon- https://www.patreon.com/Ashif
NFT – https://opensea.io/CGHOW
Twitter – https://twitter.com/cghow_
👉👉 If you Liked it – http://bit.ly/2UZmiZ4
Channel Ashif – http://bit.ly/3aYaniw
Support me on – paypal.me/9953280644
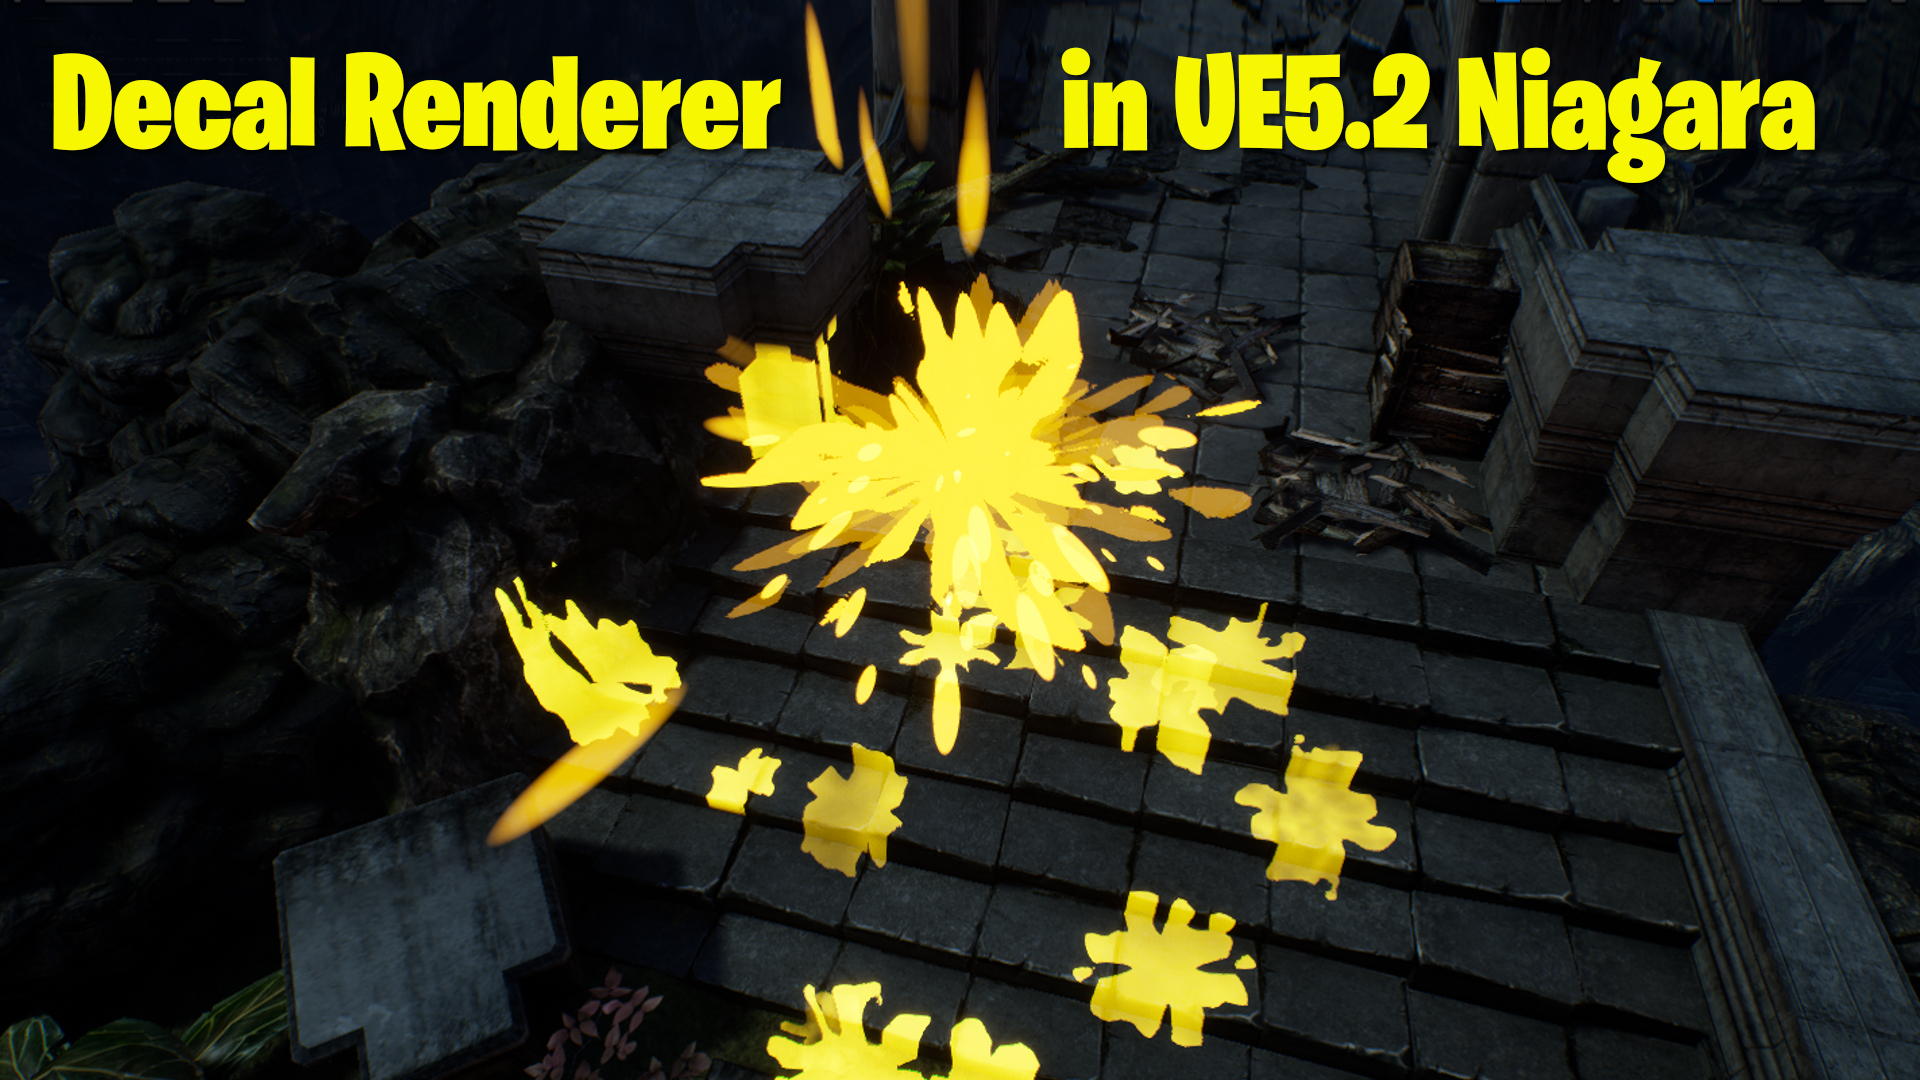
Decal Renderer in Unreal Engine 5.2 Niagara Tutorial | Download Files
#cghow #UE5 #UE4Niagara #gamefx #ue5niagara #ue4vfx #niagara #unrealengineniagara #realtimevfx
●Visit – https://cghow.com/
Unreal Engine Marketplace – https://bit.ly/3aojvAa
Artstation Store – https://www.artstation.com/ashif/store
Gumroad – https://cghow.gumroad.com/
Using Decals in Unreal Engine 5 Niagara: A Beginner’s Guide
Decals are a versatile tool in Unreal Engine 5 Niagara, especially with the latest updates that allow their seamless integration without requiring blueprints. In this tutorial, we showcase how to use the new decal renderer in Niagara to create dynamic, visually appealing effects like splashes, erosion, and more.
Step-by-Step Workflow
- Creating Materials:
- Begin by creating a material for particles and another for decals.
- If textures are unavailable, you can generate patterns using a noise function. Combine noise with radial gradients to create unique decal effects.
- Setting Parameters:
- Add customizable parameters such as radius, density, and power to fine-tune the decal’s appearance. This allows real-time adjustments during the effect’s development.
- Building a Niagara System:
- Create a new Niagara system using the particle material.
- Adjust particle settings like size, velocity, and life span. Use a dynamic parameter module to control properties like radius and density directly in Niagara.
- Adding Decals to Particles:
- Use a collision module to detect particle interactions with surfaces.
- On collision, spawn decals using the newly created decal material.
- Replace the sprite renderer with a decal renderer in the Niagara system for realistic projection on meshes.
- Enhancing Effects:
- Use randomization to vary decal size, tiling, and rotation.
- Add erosion effects by animating opacity or using the subtract node in the decal material.
- Introduce splashes or sparks for added realism when particles collide with surfaces.
- Testing in a Scene:
- Place the system in a test environment to ensure proper alignment and interaction with meshes.
- Experiment with different parameters like gravity, spread, and life span to refine the overall look.
Key Points
- Dynamic Decals: Learn to spawn and animate decals using the Niagara particle system.
- Customization: Add user-defined parameters for flexibility.
- Collision Integration: Use collision events to trigger decal spawning.
- Real-Time Erosion: Apply eroding effects for dynamic material changes.
- Advanced Techniques: Incorporate sparks, splashes, and randomization for detailed effects.
Tags
#UnrealEngine5 #NiagaraVFX #DecalTutorial #GamingVFX #UE5Effects
Additional Notes
- This tutorial highlights a quick and effective method to incorporate decals into your effects. For advanced features like material blending or real-time animations, check out our in-depth guides on dynamic material properties.
- Explore Unreal Engine’s latest documentation for updates on Niagara modules and new features introduced in UE5.2 Preview.
Leave a Reply