

Download – https://bit.ly/4cNNGM1
Whatsapp – https://bit.ly/3LYvxjK
Patreon- https://www.patreon.com/Ashif
NFT – https://opensea.io/CGHOW
Twitter – https://twitter.com/cghow_
👉👉 If you Liked it – http://bit.ly/2UZmiZ4
Channel Ashif – http://bit.ly/3aYaniw
Support me on – paypal.me/9953280644
Electric Projectile in Unreal Engine 5.4 Niagara Tutorial | Download Files
#cghow #UE5 #UE4Niagara #gamefx #ue5niagara #ue4vfx #niagara #unrealengineniagara #realtimevfx
●Visit – https://cghow.com/
Unreal Engine Marketplace – https://bit.ly/3aojvAa
Artstation Store – https://www.artstation.com/ashif/store
Gumroad – https://cghow.gumroad.com/
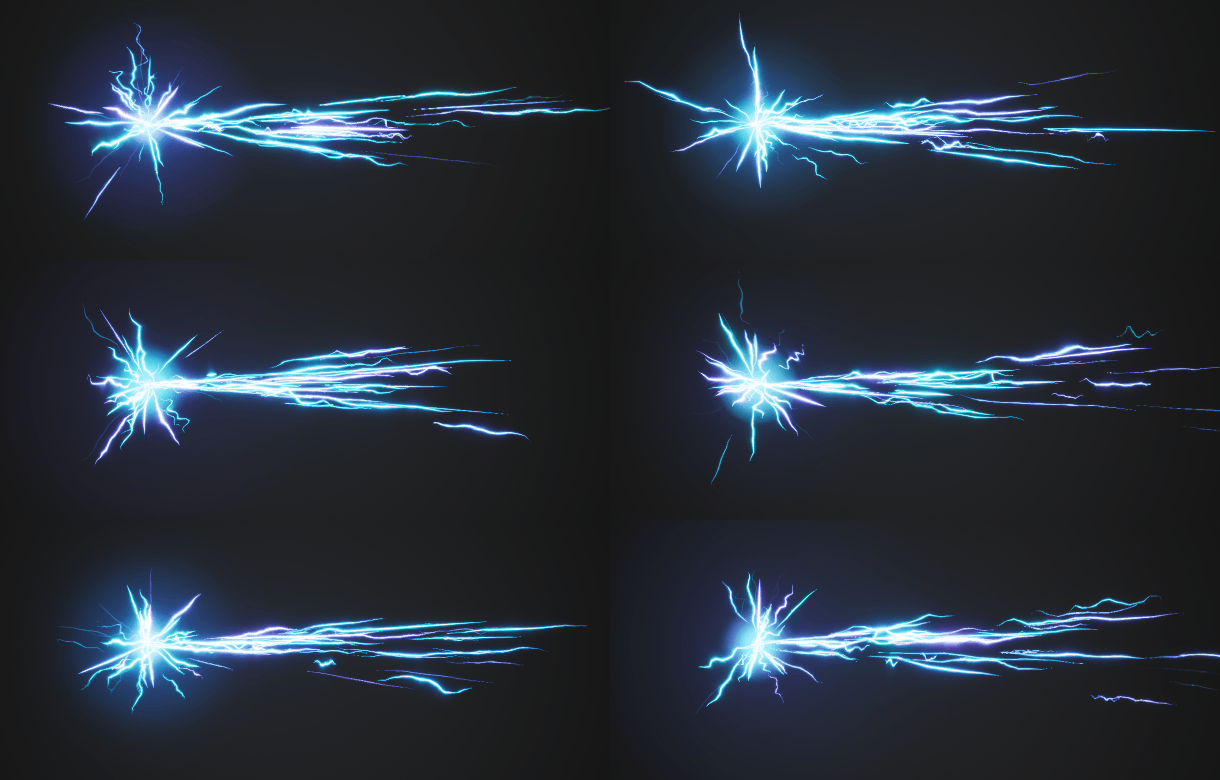
Creating a Lightning Projectile in Unreal Engine 5.4 Niagara Tutorial
In today’s tutorial, we will walk through how to create a lightning projectile effect in Unreal Engine 5.4 using Niagara. This effect is simple to create with just a basic lightning material and some particle adjustments. Let’s dive in!
Steps to Create the Lightning Material
- Creating the Material:
- Begin by creating a new material. Set the shading model to Unlit.
- Use the Texture Coordinate node and mask the red channel to create the stripe pattern for the lightning.
- Adjusting the Stripe Appearance:
- Use a Multiply and Subtract operation to get the desired look. If you find negative values, apply an Absolute function to make everything positive.
- To make the lightning stripe more prominent, adjust the gradient by connecting it to the Add node for a glowing effect.
- Adding Glow:
- To create the glow effect, divide the stripe by a very small value. This will give a glowy appearance that makes the lightning look more energetic.
- Use the Power node to further adjust the glow intensity.
- Distorting the Texture:
- Add a Noise Texture to distort the UVs of the lightning. By using small values (e.g., 0.2), you can control the level of distortion for smoother curves.
- For more stylized lightning, reduce the texture size, such as using 12×12 pixels, to create sharper corners and more stylized curves.
- Fine-Tuning the Texture:
- Use the Pan node to animate the texture, making the lightning appear to move. Adjust the pan speed to control the animation speed.
- You can use the Clamp node to restrict the values between 0 and 1 for consistency.
- Finalizing the Material:
- For sharper lightning, you can use a Lerp node and the Particle Color node to add the final touches and make the effect additive.
Setting Up the Niagara System
- Creating the Niagara Emitter:
- Start by creating a Niagara emitter and choose the Point Velocity for the emission. Set the life to a very short duration (e.g., 3.2 seconds) to give it the appearance of a fast-moving projectile.
- Assign the material to the emitter and adjust the size of the particle to around 60.
- Dynamic Parameters for Customization:
- Add dynamic parameters to control the Pan Speed, Tiling, and Distortion of the lightning texture. This gives you the flexibility to adjust the look of each particle individually.
- Use Randomize nodes to add variation in the values for different particles.
- Adjusting Particle Properties:
- Fine-tune the color and add some randomness to the Life and Velocity parameters to give each particle a unique behavior.
- If you want the lightning to appear more intense or brighter, increase the glow intensity or change the particle color settings.
- Refining the Effect:
- Make adjustments to the emitter’s Velocity and Direction settings to ensure the lightning projectile travels in the right path. Use the Cone setting for variation in direction.
- To add more realism, adjust the Spawn Rate and Velocity for a more natural appearance of the lightning projectile.
Final Tweaks
- After finalizing the emitter, create additional particle systems to add more variation in the lightning’s appearance. For example, create a separate system for smaller spark effects or glowing points within the lightning.
- Test different spawn rates and particle behaviors to get the desired visual.
Conclusion
And that’s how you can create a lightning projectile effect in Unreal Engine 5.4 using Niagara. By combining simple materials with particle system adjustments, you can achieve this dynamic, glowing effect suitable for various gameplay scenarios.
You can find this project file on my Patreon and store. Thanks for watching, and keep learning!
Key Points:
- Basic lightning material setup using Unlit shading and Texture Coordinates.
- Adding glow effects and using Noise Texture to distort UVs.
- Customizing particles with dynamic parameters such as Pan Speed, Tiling, and Distortion.
- Fine-tuning velocity, life, and direction for the lightning projectile effect.
Tags: #UnrealEngine #NiagaraVFX #LightningProjectile #UE5 #VFX #Tutorial #UnrealEngine5 #ParticleEffects #GameDevelopment
Leave a Reply