

Download – https://www.patreon.com/posts/69939493?pr=true
Patreon- https://www.patreon.com/Ashif
NFT – https://opensea.io/CGHOW
Twitter – https://twitter.com/cghow_
👉👉 If you Liked it – http://bit.ly/2UZmiZ4
Channel Ashif – http://bit.ly/3aYaniw
Support me on – paypal.me/9953280644
Flip Fluid in UE5 Niagara Tutorial | Download Files
#cghow #UE5 #UE4Niagara #gamefx #ue5niagara #ue4vfx #niagara #unrealengineniagara #realtimevfx
●Visit – https://cghow.com/
Unreal Engine Marketplace – https://bit.ly/3aojvAa
Artstation Store – https://www.artstation.com/ashif/store
Gumroad – https://cghow.gumroad.com/
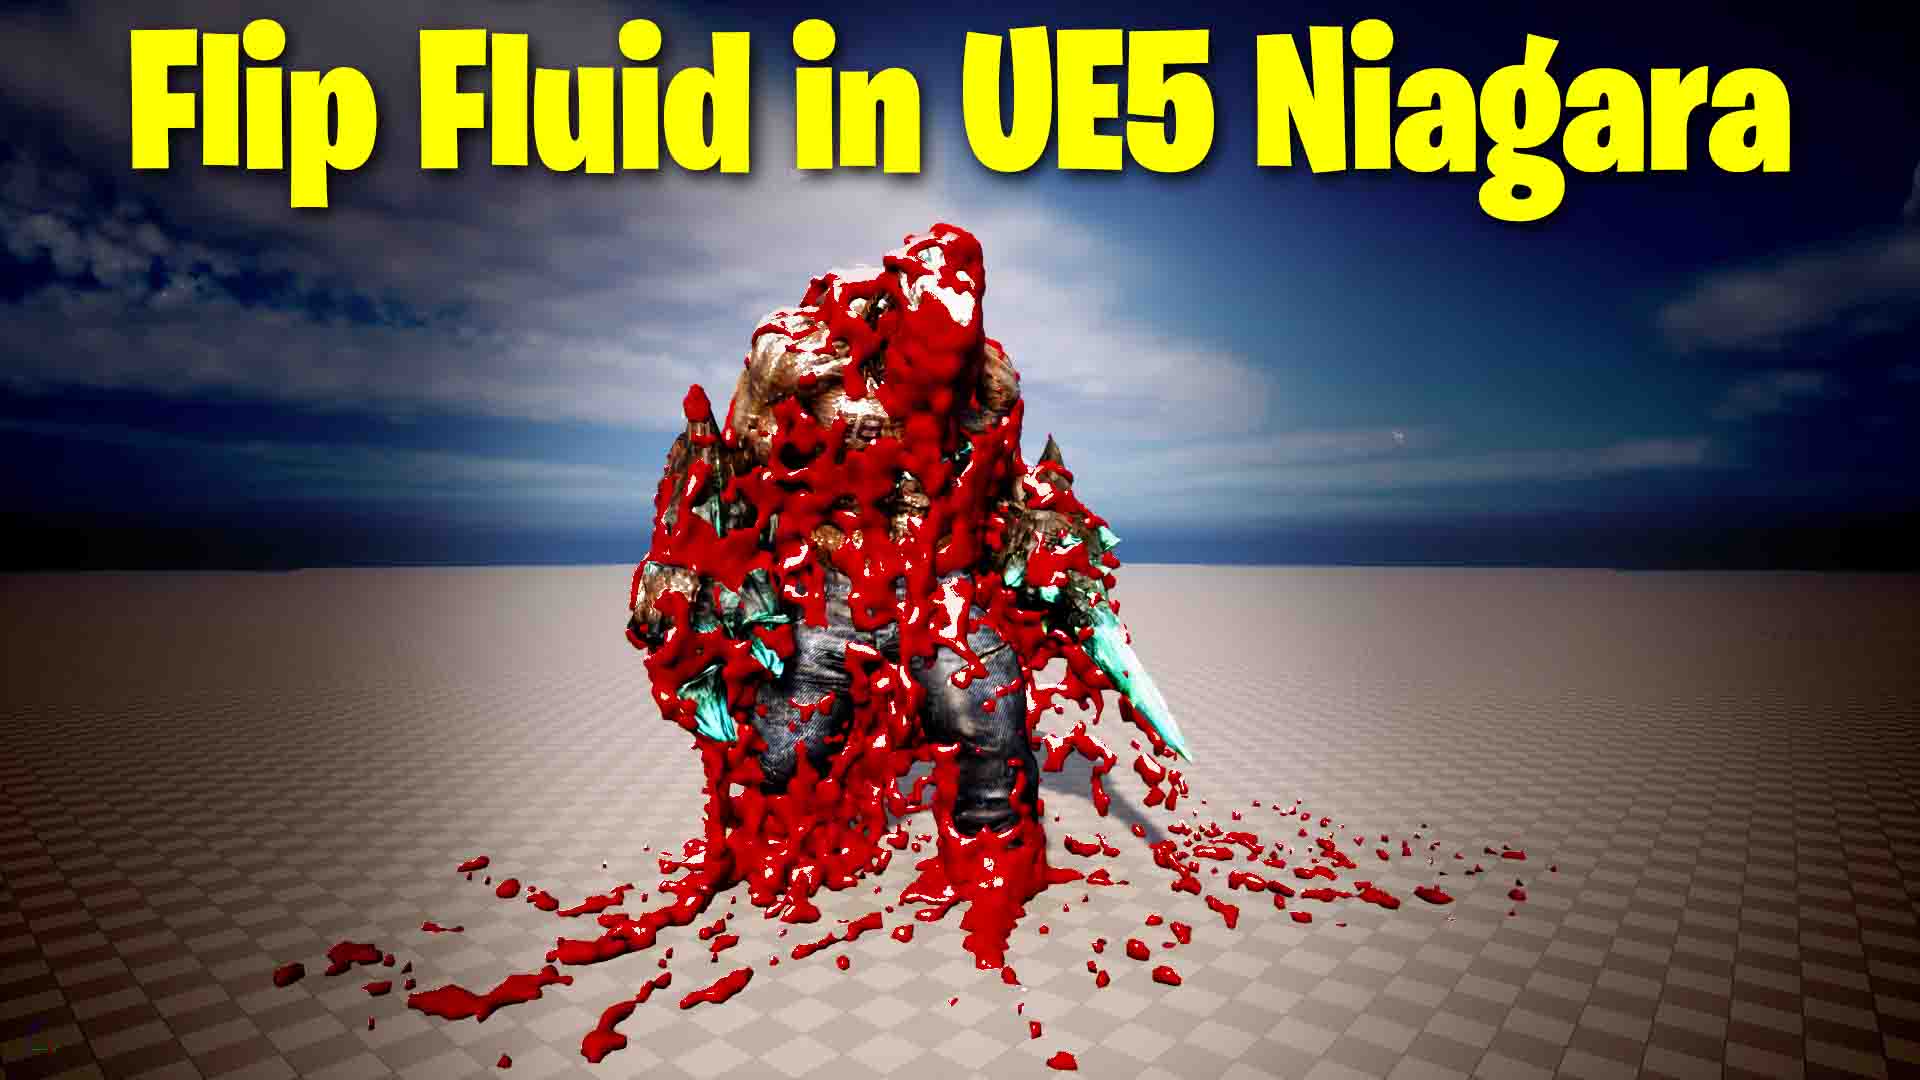
Video Title: Blood Effect Using Flip Fluids in UE5 | Basic Parameters Tutorial
Description: Hi guys, I’m Asif Ali and you’re watching CGHOW. In today’s tutorial, I’ll be walking you through the basic parameters of Flip Fluids in Unreal Engine 5 using Niagara. We’ll create a blood-like fluid effect falling from a character. This isn’t a high-res simulation, but I’ll show you how to create the effect and adjust parameters for better quality.
If you haven’t subscribed to my YouTube channel yet, please subscribe! Like, share, and comment if you find this video helpful. Let’s get started!
[Music]
First off, make sure to subscribe to my channel and click on the bell icon to receive notifications whenever I post a new tutorial!
Steps to Create the Effect:
- Setting Up the Character:
- Drag your character into the viewport.
- Set up the Niagara system to use Flip Fluids by creating a new folder and selecting the Flip Fluid template.
- Adjusting Fluid Parameters:
- Open the Flip Fluid system. You can turn on the boundaries in the user parameters to control the fluid’s container and which sides are open (e.g., right, left, front).
- Adjust the velocity settings to control how the liquid flows (you can turn off the velocity if you want the fluid to fall straight down).
- Changing the Fluid Source:
- Replace the default sphere location with the character’s static mesh. Adjust the size of the fluid container to match the character’s size.
- Material and Color:
- To change the fluid’s color, duplicate the default material (don’t edit the original material) and set it to a red color, making it look like blood.
- You can adjust opacity and metallic properties to refine the look of the fluid.
- Adjusting Fluid Resolution:
- You can control the fluid’s resolution by modifying the max number of cells in the user parameters. Increasing the value results in higher resolution and more detail (which may slow down performance).
- Set the overall resolution in the renderer section. A lower resolution will speed up the simulation but reduce detail.
- Particle Size and Smoothing:
- The particle size multiplier controls how particles merge. Decrease the size to make particles connect or increase it to keep them separate.
- Use the smoothing parameter to smooth out the fluid or keep the details sharp.
- Collision:
- For the fluid to collide with the character, add the collision tag in both the character and the fluid system. This will make the fluid interact with the character, just like in the original example.
Final Adjustments:
- Higher Res Simulation: If you want more details, you can increase the resolution and tweak other parameters like smoothing.
- Customizing the Fluid: You can fine-tune these parameters to create different fluid effects based on your needs.
Trendy Tags: #UnrealEngine #VFX #Niagara #FlipFluids #UE5Tutorial #BloodEffect #GameDev #VFXArtist
End of Video:
Thanks for watching! Keep learning, keep creating, and I’ll see you in the next tutorial!
Leave a Reply