

Download – https://www.patreon.com/posts/70814728
Patreon- https://www.patreon.com/Ashif
NFT – https://opensea.io/CGHOW
Twitter – https://twitter.com/cghow_
👉👉 If you Liked it – http://bit.ly/2UZmiZ4
Channel Ashif – http://bit.ly/3aYaniw
Support me on – paypal.me/9953280644
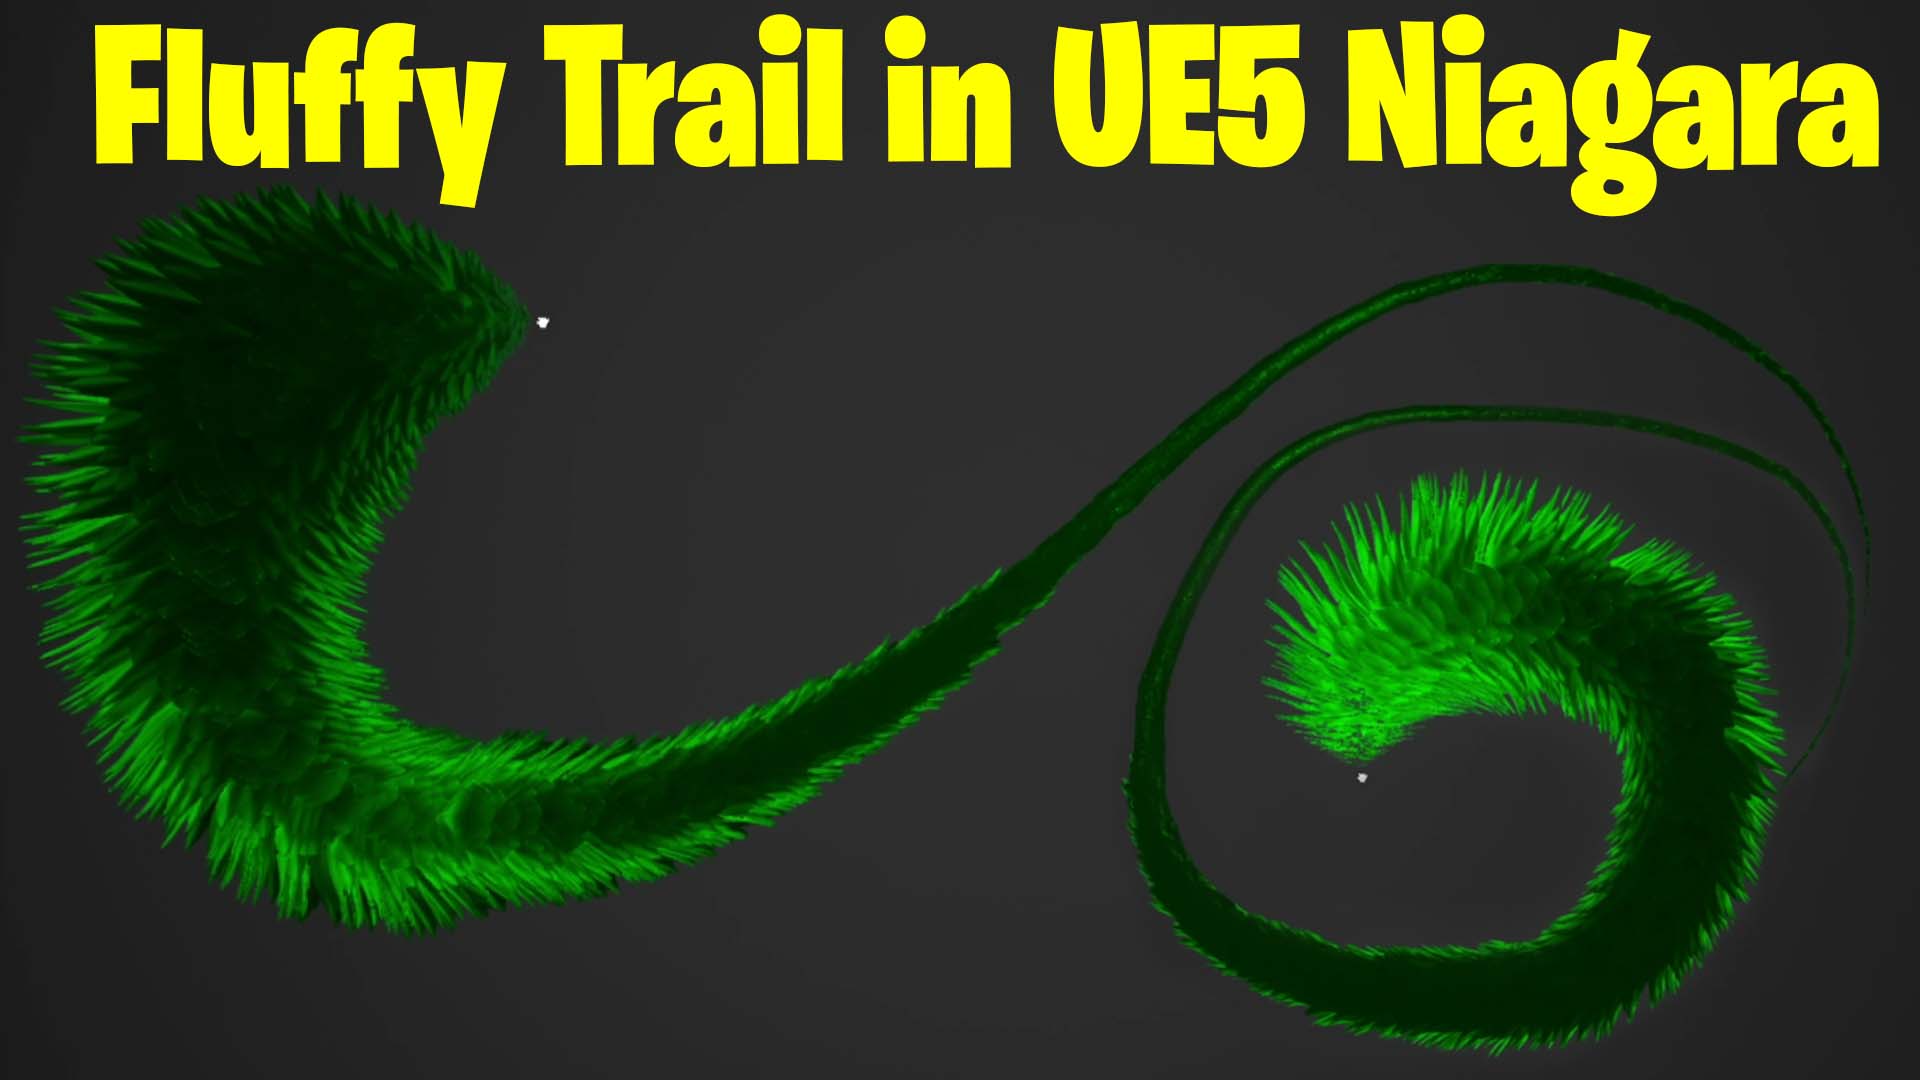
Fluffy Trail in UE5 Niagara Tutorial | Download Files
#cghow #UE5 #UE4Niagara #gamefx #ue5niagara #ue4vfx #niagara #unrealengineniagara #realtimevfx
●Visit – https://cghow.com/
Unreal Engine Marketplace – https://bit.ly/3aojvAa
Artstation Store – https://www.artstation.com/ashif/store
Gumroad – https://cghow.gumroad.com/
Creating a Fluffy Fur-Like Trail Effect in Unreal Engine Niagara
In this tutorial, you’ll learn how to create a stunning fluffy trail effect in Unreal Engine Niagara. The effect resembles a fur dragon’s trail, offering a soft and dynamic look perfect for fantasy-themed projects. The technique builds upon the concepts covered in a previous tutorial on ring trails.
Key Points:
- Fluffy Trail Design: Learn how to create fur-like effects using mesh particles.
- Randomized Rotations: Add variation with random rotation for a natural look.
- Dynamic Scaling and Animation: Apply scaling and animation for a bouncy, lifelike motion.
- Efficient Workflow: Reuse materials and techniques for rapid development.
Step-by-Step Guide:
- Set Up the Base Emitter
- Create a new Niagara emitter.
- Delete unnecessary modules like velocity, drag, and gravity.
- Configure the emitter to use either a spawn rate or spawn per unit, depending on your needs.
- Switch to Mesh Particles
- Replace the default sprite with a mesh.
- Use a mesh such as a leaf for a natural, organic look.
- Orientation and Alignment
- Add Initial Mesh Orientation and set it to “Orient to Vector.”
- Connect the velocity to ensure the particles align with the emitter’s movement direction.
- Adjust orientation using offsets (e.g., 0.25 rotation if the mesh isn’t aligned correctly).
- Add Random Rotation
- Use Initial Mesh Rotation and set a random range for the Z-axis (e.g., -1 to 1) to introduce variation.
- Dynamic Animation
- Use Update Mesh Orientation with slight offsets (e.g., 0.1–0.2 on the Y-axis) to add subtle rotation during movement.
- Scale Over Lifetime
- Add Scale Mesh Size by Curve and create a curve with:
- Start: 0
- Peak: 1 (e.g., at 0.2)
- End: 0 (e.g., at 1)
- Smooth the keys and adjust the curve for a springy, bouncy effect.
- Add Scale Mesh Size by Curve and create a curve with:
- Color Adjustments
- Set the material color (e.g., green or red) and experiment with hues to achieve the desired look.
- Fine-Tuning
- Increase the spawn rate for denser trails.
- Fade the color over life for additional visual appeal.
Additional Tips:
- Material Setup: Use a simple emissive material with a leaf texture to make the particles pop.
- High-Performance Particles: Switch to GPU particles for higher spawn rates if needed.
- Creative Variations: Replace the leaf mesh with other assets like feathers or abstract shapes for different effects.
Trendy Tags:
#UnrealEngine5 #NiagaraEffects #FluffyTrail #FurEffects #GamingVFX #UE5Particles #FantasyVFX #NiagaraTutorials
This tutorial demonstrated how to create a fluffy, fur-like trail using Unreal Engine Niagara. The effect is simple yet versatile, offering opportunities for creative experimentation.
For more tutorials like this, subscribe to CGHOW on YouTube and unlock the full potential of Niagara!
Leave a Reply