
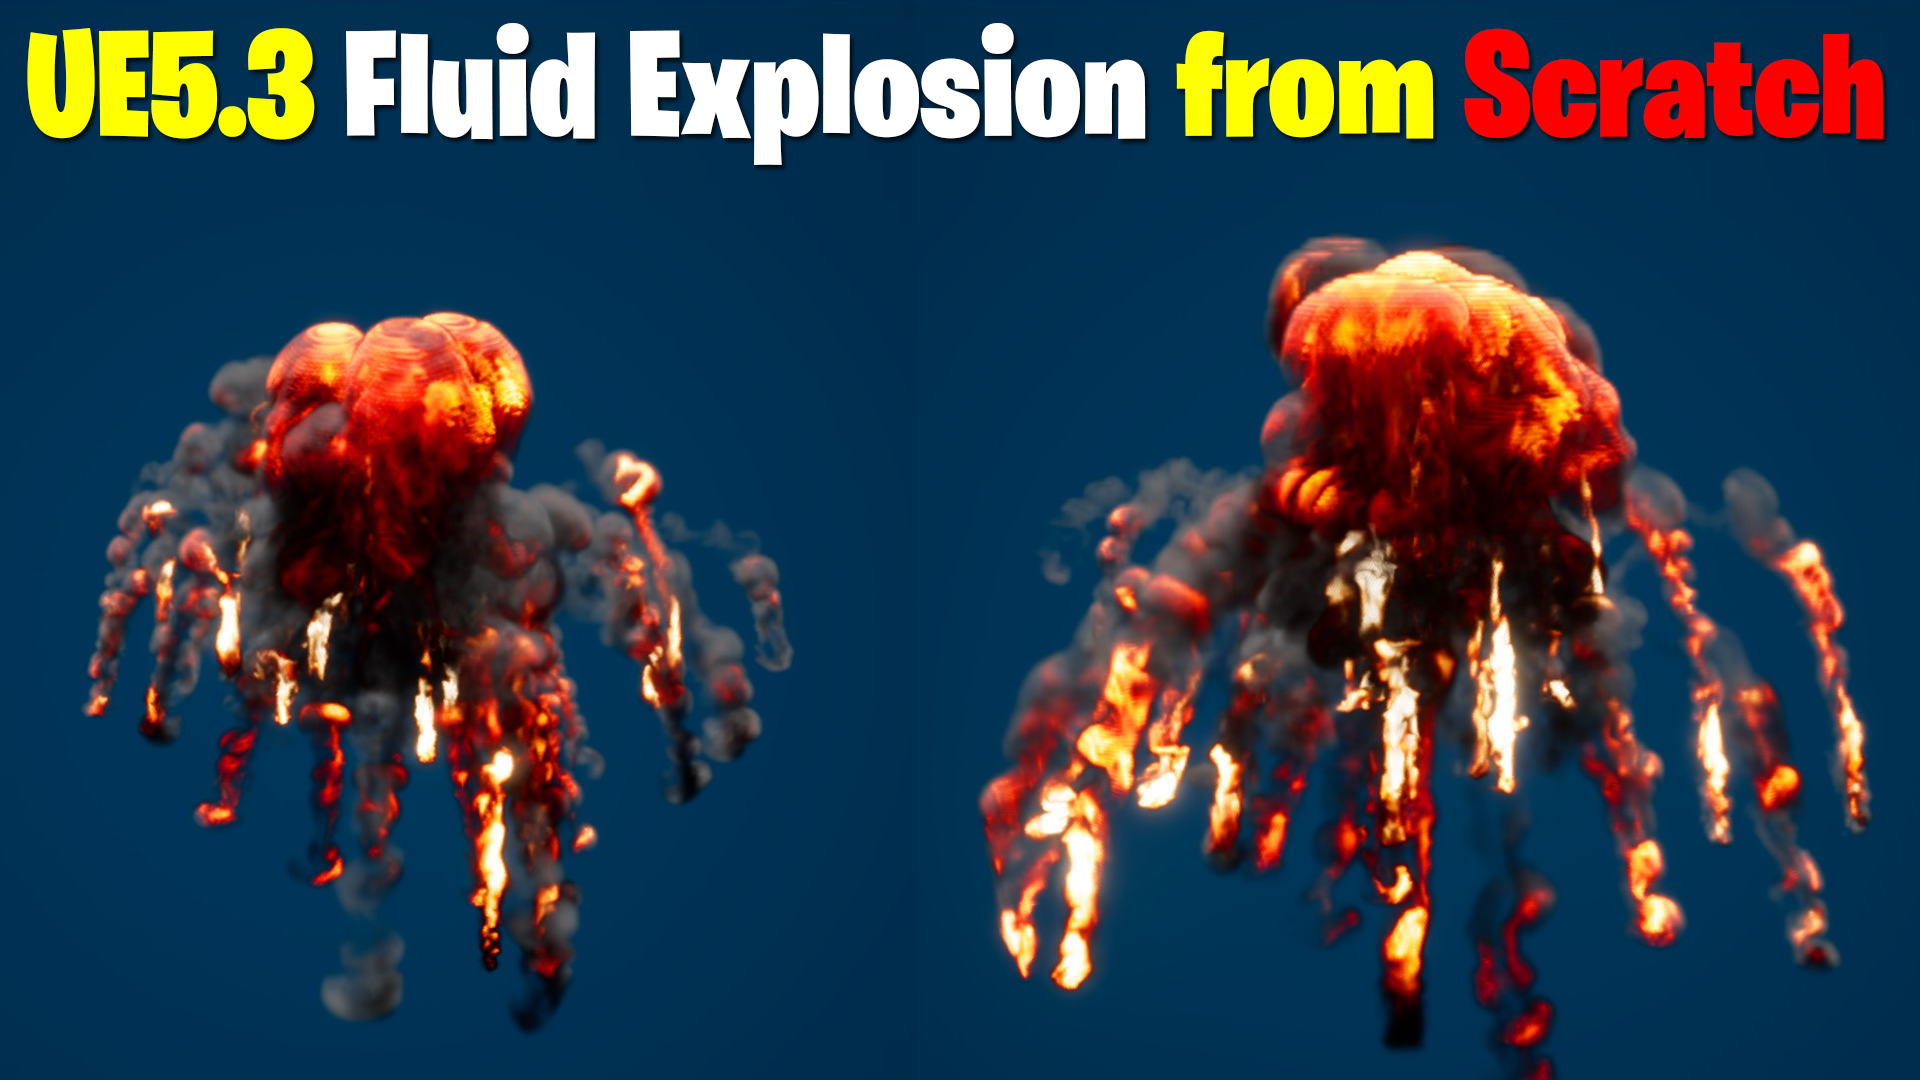

Download – https://www.patreon.com/posts/89266069
Patreon- https://www.patreon.com/Ashif
NFT – https://opensea.io/CGHOW
Twitter – https://twitter.com/cghow_
👉👉 If you Liked it – http://bit.ly/2UZmiZ4
Channel Ashif – http://bit.ly/3aYaniw
Support me on – paypal.me/9953280644
Fluid Explosion | Basics of Fluids in UE5.3 Niagara Tutorial #2 | Download Files
#cghow #UE5 #UE4Niagara #gamefx #ue5niagara #ue4vfx #niagara #unrealengineniagara #realtimevfx
●Visit – https://cghow.com/
Unreal Engine Marketplace – https://bit.ly/3aojvAa
Artstation Store – https://www.artstation.com/ashif/store
Gumroad – https://cghow.gumroad.com/
Creating a Full Explosion from Scratch in Unreal Engine 5.3 | Step-by-Step Tutorial”
Video Transcript Breakdown:
Introduction:
- “Hi guys, I’m Ashif Ali and you’re watching CGHOW. In today’s video, I will show you how to create an explosion from scratch using Unreal Engine 5.3. We will build this step by step, and you’ll learn all the necessary components to make your explosion look realistic. Let’s dive right into it!”
Step 1: Setup the Particle System
- Exploding Particles:
- Use the “Omnidirectional Burst” template for the base explosion effect.
- Modify gravity to make particles move upwards.
- Shorten particle life for quick burst effects.
- Creating the Fluid Gas Effect:
- Add a GPU emitter and integrate fluid gas.
- Adjust radius and density for better effect visualization.
Step 2: Add Fluid Gas Emitter and Smoke
- Initialize the Emitter:
- Use a 3D gas emitter and connect it to the omnidirectional burst emitter.
- Ensure the sphere source is turned off to avoid unwanted emissions.
- Use temperature settings to add fire-like effects to the explosion.
Step 3: Fine-tuning the Explosion Effect
- Adjust the Bounding Box:
- Resize the bounding box for better containment of the effect.
- Increase spawn rate for a more intense burst.
- Optimizing Quality and Adjusting Particle Life:
- Reduce resolution for performance and tweak particle life to get the desired effect.
Step 4: Smoke and Temperature Settings
- Control Smoke Behavior:
- Adjust the dissipation rate for smoke particles.
- Use vorticity to add more realistic turbulence to the smoke.
- Adjust Temperature Settings:
- Control the temperature’s lifespan to make the explosion cooler or hotter.
- Adjust the “black body” settings to fine-tune the color of the flames.
Step 5: Add Trails and Additional Effects
- Create the Explosion Trails:
- Duplicate the omnidirectional burst and adjust parameters to create trailing smoke.
- Modify bounding box and spawn rate for a smoother trail effect.
Step 6: Final Adjustments and Result
- Fine-tune the Radius:
- Adjust the radius of the trail emitter using curves.
- Customize the look and feel by increasing the resolution and adjusting colors.
Conclusion:
- “Now you can see the full explosion effect we created from scratch, complete with trails and smoke. I hope you found this tutorial helpful. In the next video, we will cover more advanced topics. Don’t forget to subscribe, and hit the bell icon to get notifications for my upcoming tutorials. Bye for now and take care!”
Key Points:
- Adjust gravity for upwards particle movement.
- Integrate fluid gas and 3D emitters for realistic effects.
- Tweak temperature, density, and vorticity for better realism.
- Create trails and adjust radius for smoother effects.
- Use resolution settings to optimize performance.
Tags:
#ExplosionEffect #UnrealEngine #Niagara #VFX #UnrealEngineTutorial #CGHOW #ParticleSystem #GPUEmitter #FireEffect #3DEmitter
Leave a Reply