

Download – https://www.patreon.com/posts/66191761
NFT – https://opensea.io/CGHOW
Twitter – https://twitter.com/cghow_
👉👉 If you Liked it – http://bit.ly/2UZmiZ4
Channel Ashif – http://bit.ly/3aYaniw
Support me on – https://www.patreon.com/Ashif
Support me on – paypal.me/9953280644
Holographic Ribbon FX in UE5 Niagara Tutorial | Download Files
#cghow #UE5 #UE4Niagara #gamefx #ue5niagara #ue4vfx #niagara #unrealengineniagara #realtimevfx
●Upload Your Tutorials/Work – https://cghow.com/
Purchase Effect Package From Unreal engine Marketplace –
Unreal Engine Niagara Effects in Marketplace – https://youtu.be/DF4Lb_btEus
Niagara Effects Pack in Marketplace – https://youtu.be/g6_k8T7FqHA
Unreal Engine Advanced Magical Effects in Marketplace – https://youtu.be/0Dn3GLIzhMo
Smoke in UE4 Niagara Pack01 in Unreal Engine Marketplace – https://youtu.be/38BPA_9yqJ8
UE4 Niagara Fire Pack 01 in Marketplace – https://youtu.be/PW5FL-zZoP4
UE4 Niagara Fire Pack 02 in Marketplace – https://youtu.be/fdLXPlUEzxM
UE4 Niagara Explosions Pack 02 in Marketplace – https://youtu.be/dj-XX9he4aE
Unreal Engine Niagara Effects Pack 03 in Marketplace – https://youtu.be/0kKon43I-Og
Slow Motion Explosion in UE4 Niagara Pack 04 in Marketplace – https://youtu.be/lUK1eW5zRP0
Unreal Engine Niagara Effects pack 04 in Marketplace – https://youtu.be/MihWYB31Gi4
Slow Motion Explosion in UE4 Niagara Pack 04 in Marketplace – https://youtu.be/lUK1eW5zRP0
UE4.25 Niagara Effects Pack 05 in Marketplace – https://youtu.be/sn1HIENVTDI
UE4.25 Niagara Effects Pack 06 in Marketplace – https://youtu.be/pvH_xGQ5jvs
Explosions Package in Unreal Engine Niagara Particle System – https://youtu.be/1mbqWscjUJ4
●Follow FB Page – https://www.facebook.com/cghow0/
●Join FB Group – https://www.facebook.com/groups/cghow/
●Android App – http://bit.ly/2XUnhoR
Playlists-
●Unreal Engine Niagara Tutorials – http://bit.ly/2SmPEuT
●Unreal engine VFX Tutorials -http://bit.ly/2JNXyJZ
●Unity VFX Tutorials – http://bit.ly/2XNGlKz
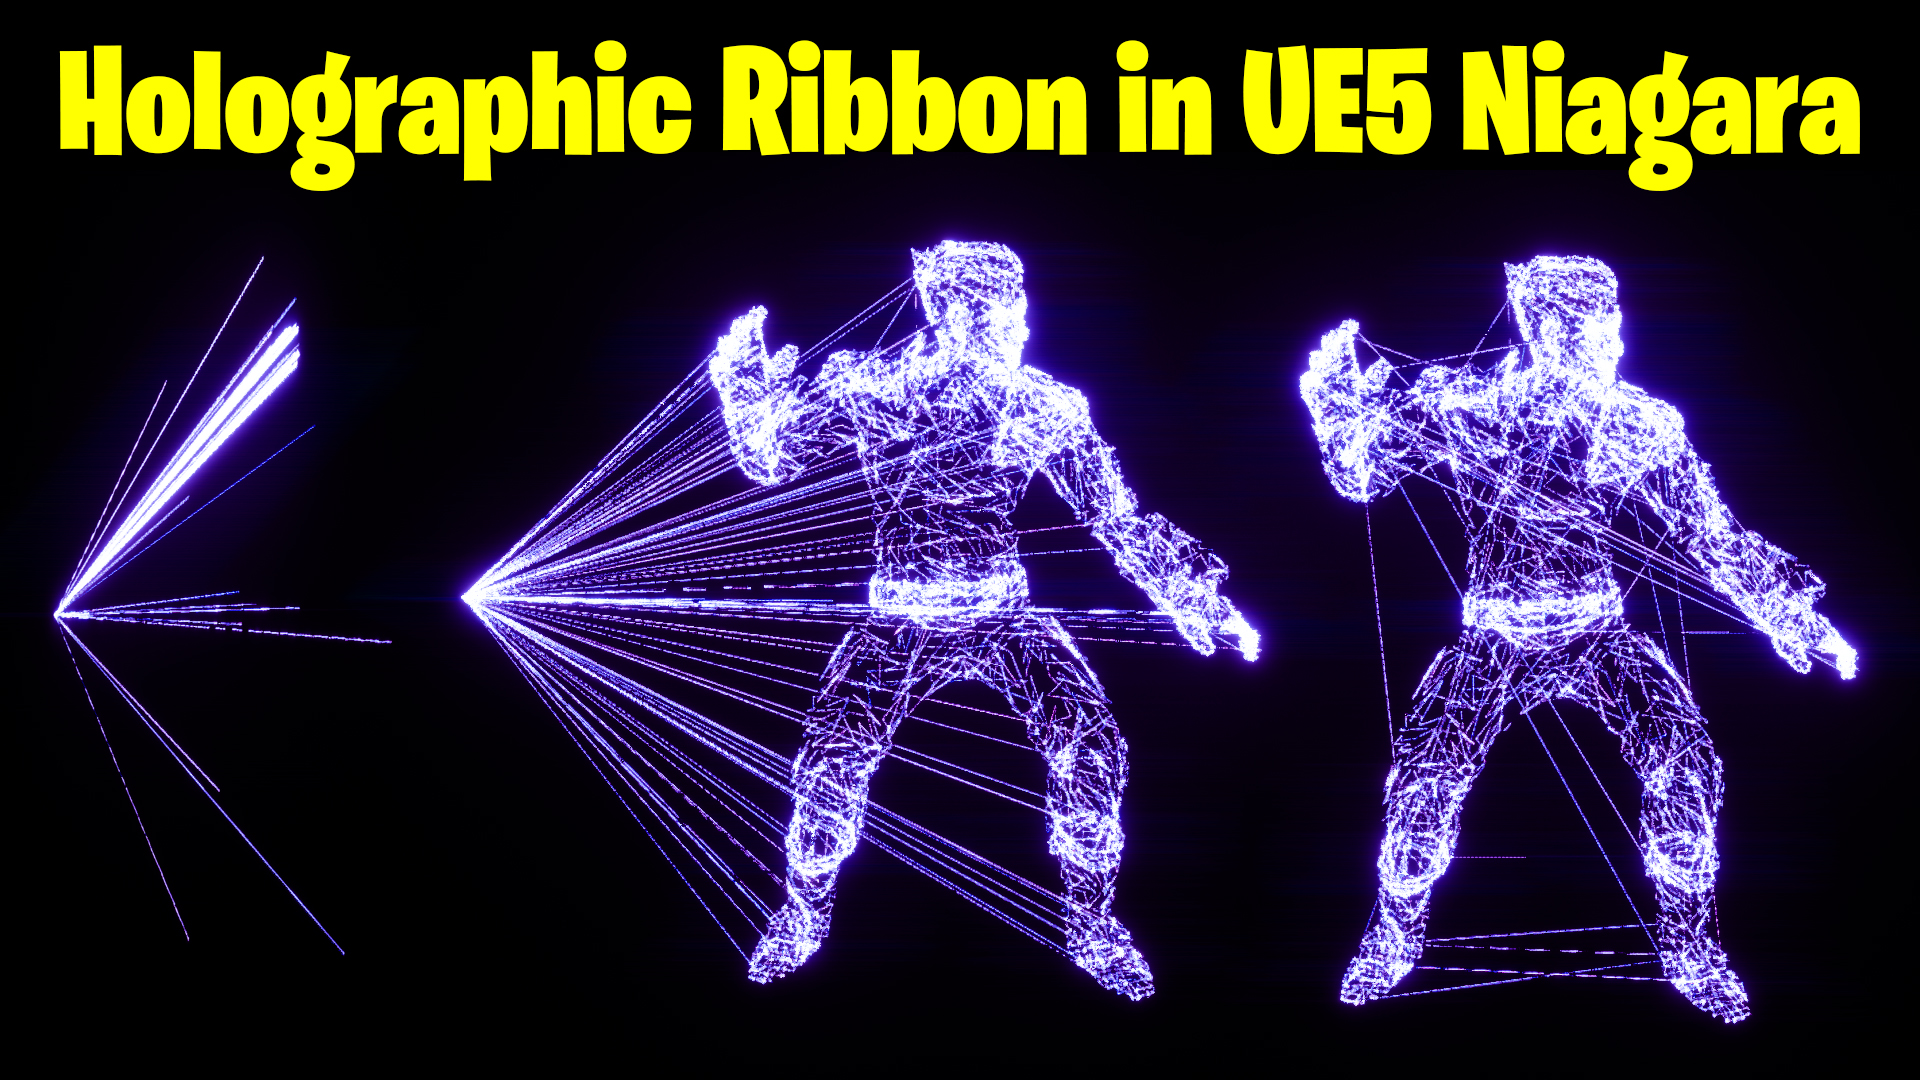
Hi guys, I’m Asif Ali, and you’re watching CGHOW. Today, I’m going to show you how I created this holographic effect using just a ribbon in Unreal Engine. You can see here how scaling the source creates this effect, and I can also move the source to change the shape and position of the effect. All of this happens with just one emitter. Let’s get started!
Before we dive in, don’t forget to subscribe to my channel and hit the bell icon so you won’t miss any of my future tutorials. If you like the video, don’t forget to like, share, and comment. Now, let’s jump into it!
[Step 1: Overview of the Effect]
Here’s what I’ve got:
- I have a target point that I can move around, and I can also scale it.
- When I scale it, you’ll see how the ribbon forms and creates the holographic character.
- If I scale it down, it disappears again.
- This is all controlled with two parameters: one for distance (which controls the character’s formation) and another for location (which controls its position).
[Step 2: Blueprint Setup]
Let me show you how this works in the blueprint:
- First, I’ve set up two parameters:
- Distance: This controls the creation of the character.
- Location: This controls the position of the ribbon effect.
- I’ve created a Niagara particle system and used these parameters to control the effect.
- In the blueprint, I reference the Niagara particle and link these two variables (float for distance and vector for position).
- I’m using a target point in the viewport to adjust both the scale (for distance) and location of the ribbon.
[Step 3: Rebuilding the Effect]
Let’s rebuild it from scratch to better understand the process.
- Create a new Niagara system. Start with something like the fountain template and rename it (e.g., “Test”).
- Remove the sprite emitter and use a ribbon instead. For this, I’ll use a basic flat color material for the ribbon.
- Now, we’ll remove unnecessary parameters, and I’ll use a spawn burst of 50 particles, with infinite lifetime. This will give us the basic ribbon effect.
[Step 4: Ribbon Alignment
To make the ribbon align properly, we need to:
- Search for the ribbon setting in the system.
- Create a new float parameter and call it “Ribbon Link Order”.
- Connect this to the execution index and place it before the sphere location.
This fixes the ribbon’s alignment and ensures it behaves the way we want. You can use a torus shape instead of a sphere to control the ribbon’s distribution.
[Step 5: Adjusting the Ribbon
You can adjust the ribbon’s appearance further by:
- Making it a tube.
- Increasing the radius of the torus to shape the ribbon as needed.
[Step 6: Using Static Meshes for More Control]
Now let’s get creative with static meshes:
- Create a scratch pad module to use the static mesh. This allows the ribbon to follow the vertices of a 3D object, such as a cube or character model.
- For instance, I can take a cube with 24 vertices and link each particle to these vertices.
[Step 7: Final Adjustments with Execution Index]
Here’s how we fine-tune the effect:
- Use the execution index to move through the vertices in order, starting from zero.
- The vertices are distributed in sequence, so you can control where the ribbon connects (for example, from hand to leg or from the center to the outer edges).
[Step 8: Adding Distance Logic]
Now, let’s add a distance check to make the effect interactive:
- We’ll check the distance between two particles. If the distance is less than a specific value (let’s call it range), then the effect should happen. Otherwise, the ribbon resets to the origin.
- You can add a new vector comparison node to handle this, which allows the ribbon to move to a different position when the condition is met.
[Step 9: Finalizing the Effect
We’re almost done! You can now:
- Move the target point in the viewport, and the effect will update accordingly.
- Adjust parameters like the ribbon’s thickness and jitter for added realism.
[Conclusion]
That’s how I created this cool holographic ribbon effect. I hope you found this quick tutorial helpful! I’ll be posting the project files on Patreon so you can download and check them out yourself.
Thanks for watching, and remember: keep learning and keep creating. Until next time, bye!
Leave a Reply