
Hi guys in this video i will show you how to make a lightning projectile in unreal engine Niagara and this is also a homing projectile that returns to the character with user input. that i will do in blueprint bye using Niagara user parameters variables for projectile attraction to the character.
#cghow #unrealengine #gamevfx #gamefx #ue4vfx #ue4fx #niagara #unrealengineniagara #unrealenginevfxtutorials
●Upload Your Tutorials/Work – https://cghow.com/
…………………………………………………………………………………………………………
Purchase Effect Package From Unreal engine Marketplace –
●Niagara Effects Pack – http://bit.ly/2LWgZTx
●Advanced Magical FX – http://bit.ly/2XQYyXL
……………………………………………………………………………………………………………………………………
●Patreon – https://www.patreon.com/Ashif
……………………………………………………………………………………………………………………………………
●Follow FB Page – https://www.facebook.com/cghow0/
●Join FB Group – https://www.facebook.com/groups/cghow/
……………………………………………………………………………………………………………………………………
●Android App – http://bit.ly/2XUnhoR
……………………………………………………………………………………………………………………………………
Playlists-
●Unreal Engine Niagara Tutorials – http://bit.ly/2SmPEuT
●Unreal engine VFX Tutorials -http://bit.ly/2JNXyJZ
●Unity VFX Tutorials – http://bit.ly/2XNGlKz
……………………………………………………………………………………………………………………………………
●Discussion & Help Forum – http://bit.ly/2Lo0Er7
……………………………………………………………………………………………………………………………………

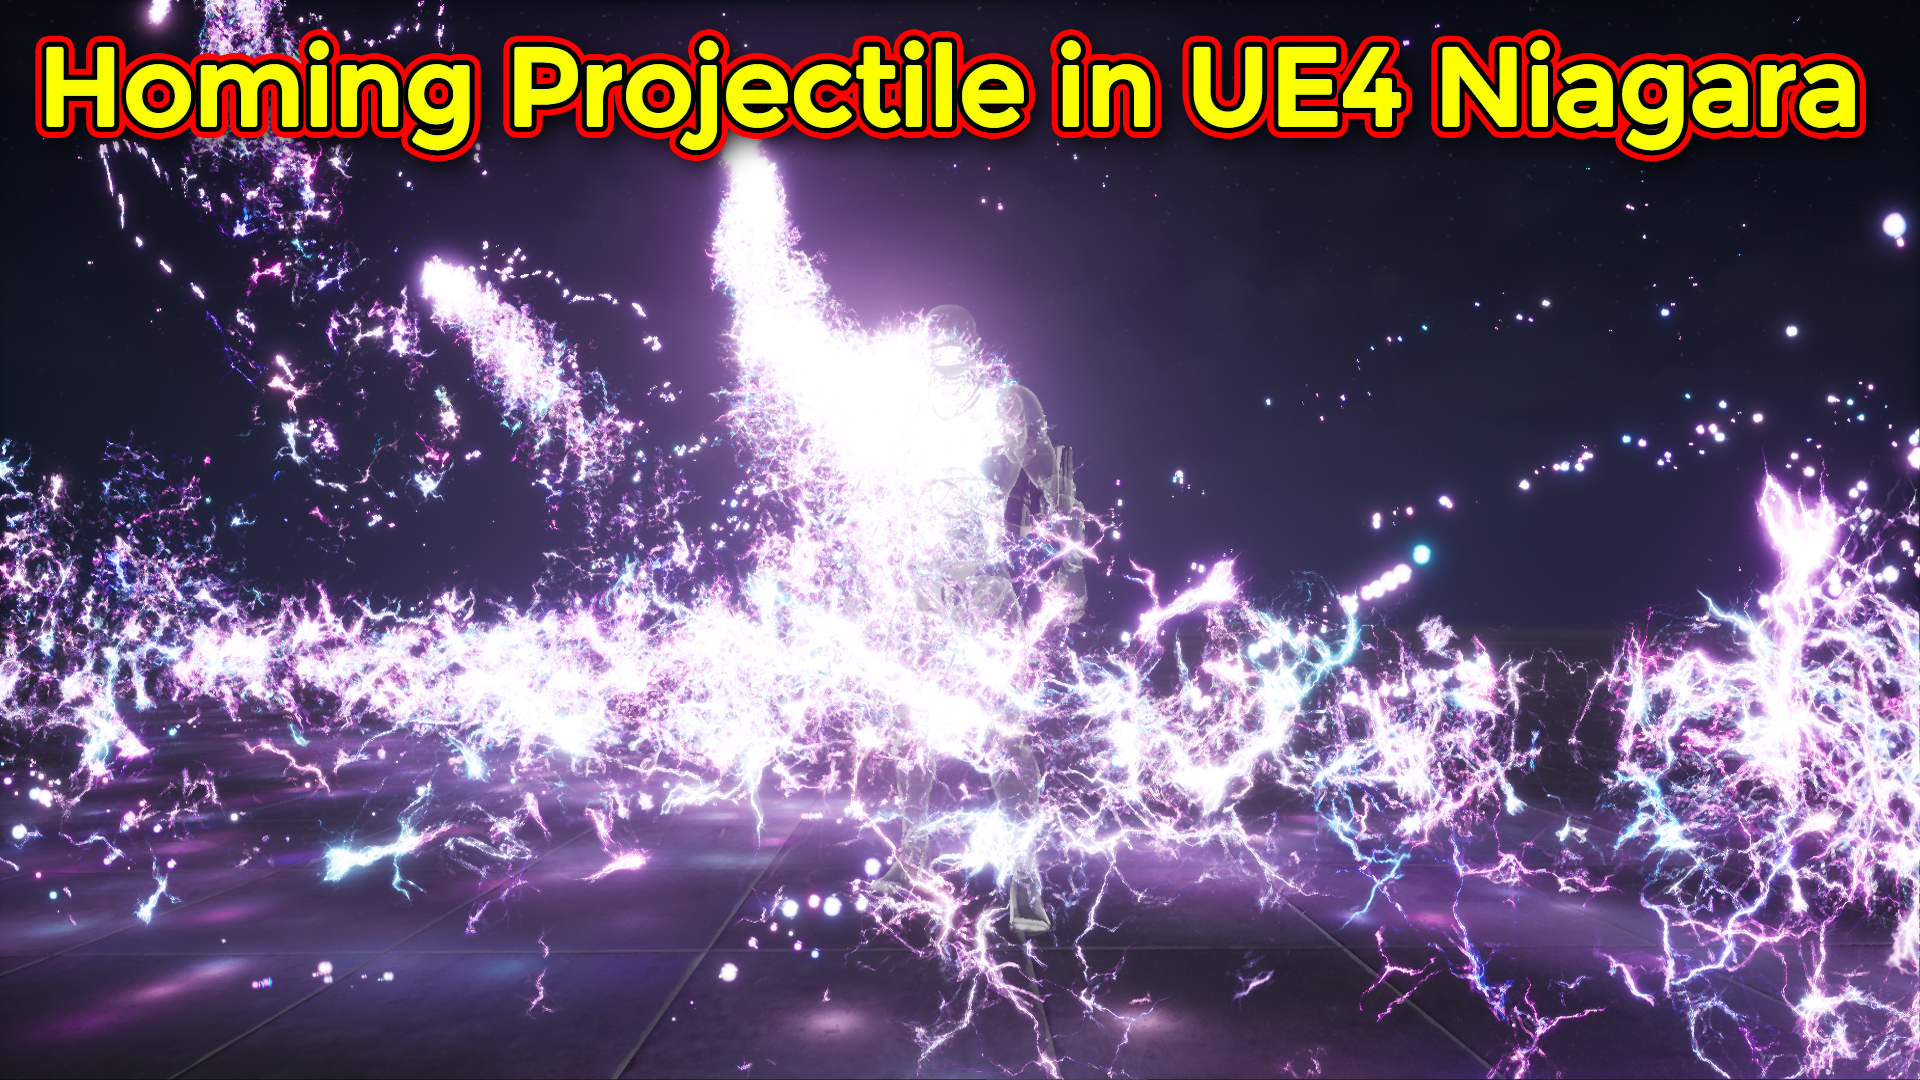
Homing Projectile with Lightning Trails | Unreal Engine Niagara Tutorial
Homing Projectile with Lightning Trails | Unreal Engine Niagara Tutorial


Video Breakdown:
Introduction:
- Asif Ali introduces the concept of homing projectiles, where the projectiles return to the character when the middle mouse button is pressed. The tutorial covers how to create the effect using Niagara and Blueprint.
Key Features of the Effect:
- Random Projectile Movement: The projectiles are not going in a straight line. They follow a random path due to the application of noise, making the effect more dynamic.
- Homing Behavior: When the middle mouse button is pressed, the projectiles return to the character, simulating a “homing” feature.
Steps Covered:
- Projectile Setup:
- Mesh Setup: A simple sphere mesh is used for the projectile with plain color and light connected to it.
- Particle System: A burst of particles is spawned with random velocity (Y-axis), same life duration, and scale. The projectiles also have collision enabled and will bounce.
- Gravity: Gravity is applied to make the projectiles fall naturally towards the ground.
- Homing Mechanism with Attraction:
- Attraction Module: The “Attractor” module in Niagara is used to pull the projectiles toward the character when activated.
- Two parameters are used:
- Strength: Controls how fast the projectile is attracted.
- Position: Defines the center point for the attraction, which is set to the character’s position in the Blueprint.
- Two parameters are used:
- The strength value is user-controlled, allowing flexibility in how fast the projectiles return. For example, increasing the strength to 100 results in the projectiles returning much faster.
- Attraction Module: The “Attractor” module in Niagara is used to pull the projectiles toward the character when activated.
- Blueprint Integration:
- Character Blueprint: When the middle mouse button is pressed, the attraction strength and position are modified to pull the projectiles back to the character.
- The blueprint is connected to the particle system and modifies the Attraction Strength and Attraction Position dynamically when the player interacts with the controls.
- Adding Trails to the Projectiles:
- Particle Trail: A particle trail is added behind the projectiles to simulate movement. The trail uses a sprite radial system with random life, size, and color.
- Noise: Curl noise is applied to give the trail a random, more dynamic look.
- The location event from the source ball generates the position for the trail particles, making it follow the projectiles in real-time.
- Particle Trail: A particle trail is added behind the projectiles to simulate movement. The trail uses a sprite radial system with random life, size, and color.
- Additional Adjustments:
- Randomizing Fall Velocity: The fall velocity of the projectiles can be randomized to further enhance the randomness of the effect.
- A uniform random range is applied to the velocity, making the fall speed between a defined minimum and maximum value.
- Randomizing Fall Velocity: The fall velocity of the projectiles can be randomized to further enhance the randomness of the effect.
- Finishing Touches:
- The final effect has a more polished look with random velocities, random trails, and the dynamic homing behavior.
- The projectiles appear to follow the character and return when the middle mouse button is pressed, creating an interactive and fun experience.
Conclusion:
- Asif Ali wraps up the tutorial by demonstrating the effect in action, encouraging viewers to experiment with the settings to create their own variations of the homing projectiles effect.
- He invites viewers to comment with questions and suggestions and reminds them to subscribe to his YouTube channel for more tutorials.
Takeaways for Future Tutorials:
- Blueprint Integration: Make sure to highlight how Blueprint and Niagara interact to modify particle behavior dynamically. This is a key learning point for users to understand how to control particle effects via Blueprint.
- Interactivity: The tutorial shows how user input (like pressing the middle mouse button) can affect Niagara particle systems, making the tutorial feel more interactive and engaging.
- Randomization Techniques: Emphasizing randomization (noise, velocity, etc.) is essential to creating dynamic, interesting particle effects.
Leave a Reply