

Download – https://www.patreon.com/posts/88965848
Patreon- https://www.patreon.com/Ashif
NFT – https://opensea.io/CGHOW
Twitter – https://twitter.com/cghow_
👉👉 If you Liked it – http://bit.ly/2UZmiZ4
Channel Ashif – http://bit.ly/3aYaniw
Support me on – paypal.me/9953280644
Less Particle More Visible in UE5.3 Niagara Tutorial | Download Files
#cghow #UE5 #UE4Niagara #gamefx #ue5niagara #ue4vfx #niagara #unrealengineniagara #realtimevfx
●Visit – https://cghow.com/
Unreal Engine Marketplace – https://bit.ly/3aojvAa
Artstation Store – https://www.artstation.com/ashif/store
Gumroad – https://cghow.gumroad.com/
Creating a Dynamic Effect with Fewer Particles in Unreal Engine 5 Niagara
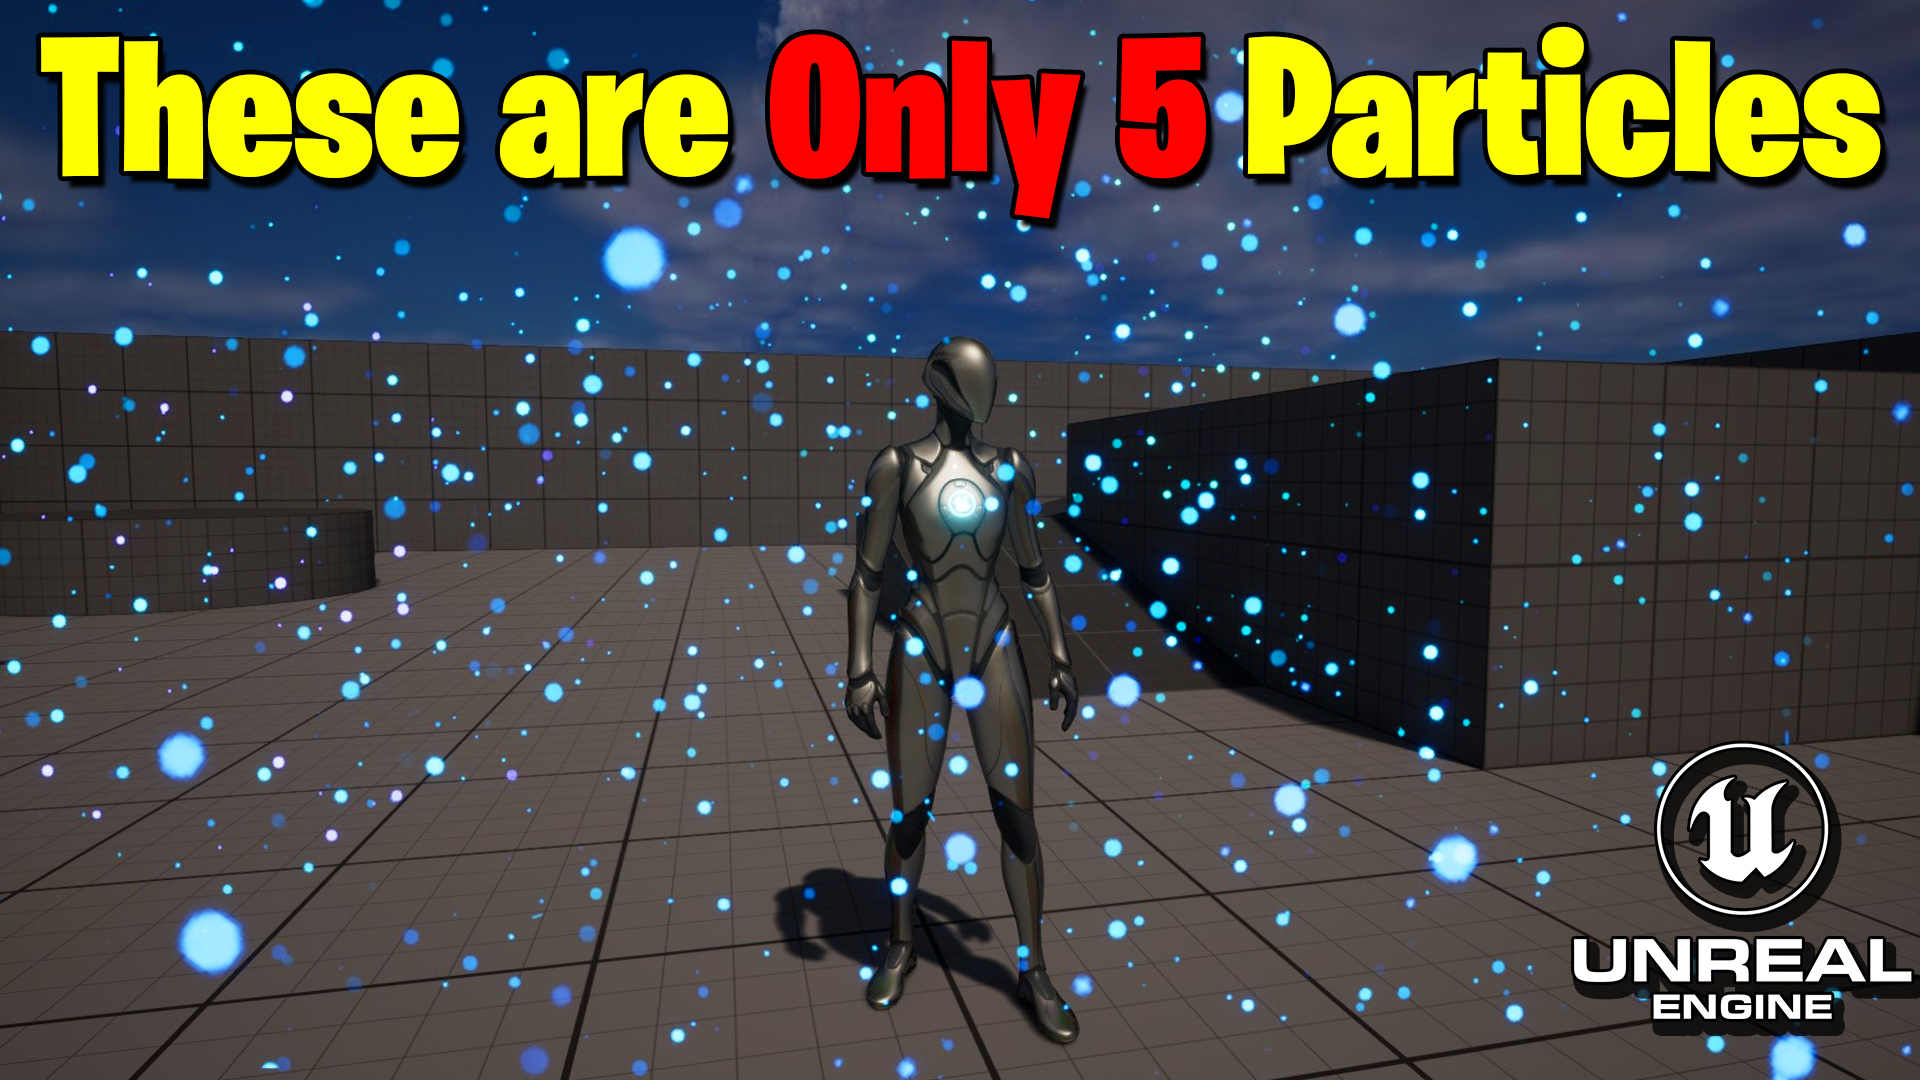
Description: In this tutorial, Ashif Ali demonstrates how to achieve a dynamic particle effect using just five particles while maintaining a full, rich look. Instead of using a large number of particles, this technique leverages materials and textures to create the appearance of multiple particles in motion. By utilizing specific material functions and Photoshop to create randomized textures, you can simulate the look of a more complex system with fewer resources. This is a great method to optimize performance without compromising the visual quality of your effect. Let’s dive into how to achieve this in Unreal Engine 5’s Niagara system.
Key Notes:
- Start with a basic Niagara particle system: Begin by using the “Fountain” emitter to create a set of particles. Adjust the velocity, gravity, and sphere render size to achieve your desired look.
- Reduce the number of particles: Instead of using many particles, limit the number to 5 for a lighter effect while keeping the look consistent with a more particle-dense system.
- Create custom textures in Photoshop: Use Photoshop to design a randomized texture with a few white pixels spread across a black canvas. Offset and noise the pattern to add variety and create a more natural effect.
- Use the ‘Chaos Normal From Heightmap’ function: This function adds randomized motion to your texture, simulating the effect of many particles moving in different directions without having to manually replicate multiple particles.
- Apply this texture to a material: Set the material to unlit, two-sided, and connect it to the particle system. Use radial and alpha operations to fine-tune the appearance.
- Adjust particle settings: Increase the particle size and tweak the particle color to make the effect more visible and dynamic. The final result will give the illusion of many particles with just a few.
Tags:
- Unreal Engine 5
- Niagara VFX
- Particle Systems
- Material Creation
- Performance Optimization
- Photoshop for Textures
- Chaos System
- VFX Tutorials
Additional Notes: This technique is especially useful for optimizing your effects when performance is a concern, as it reduces the number of particles used in your scene while still achieving a full and rich effect. By combining material manipulation and texture tricks, you can create a complex-looking particle system with minimal resource usage. The use of Photoshop for texture generation adds another level of customization to your effects, making them more unique and dynamic.
Leave a Reply