
Download – https://www.patreon.com/posts/71140557
Patreon- https://www.patreon.com/Ashif
NFT – https://opensea.io/CGHOW
Twitter – https://twitter.com/cghow_
👉👉 If you Liked it – http://bit.ly/2UZmiZ4
Channel Ashif – http://bit.ly/3aYaniw
Support me on – paypal.me/9953280644
Lightnings in UE5 Niagara Tutorial | Download Files
#cghow #UE5 #UE4Niagara #gamefx #ue5niagara #ue4vfx #niagara #unrealengineniagara #realtimevfx
●Visit – https://cghow.com/
Unreal Engine Marketplace – https://bit.ly/3aojvAa
Artstation Store – https://www.artstation.com/ashif/store
Gumroad – https://cghow.gumroad.com/
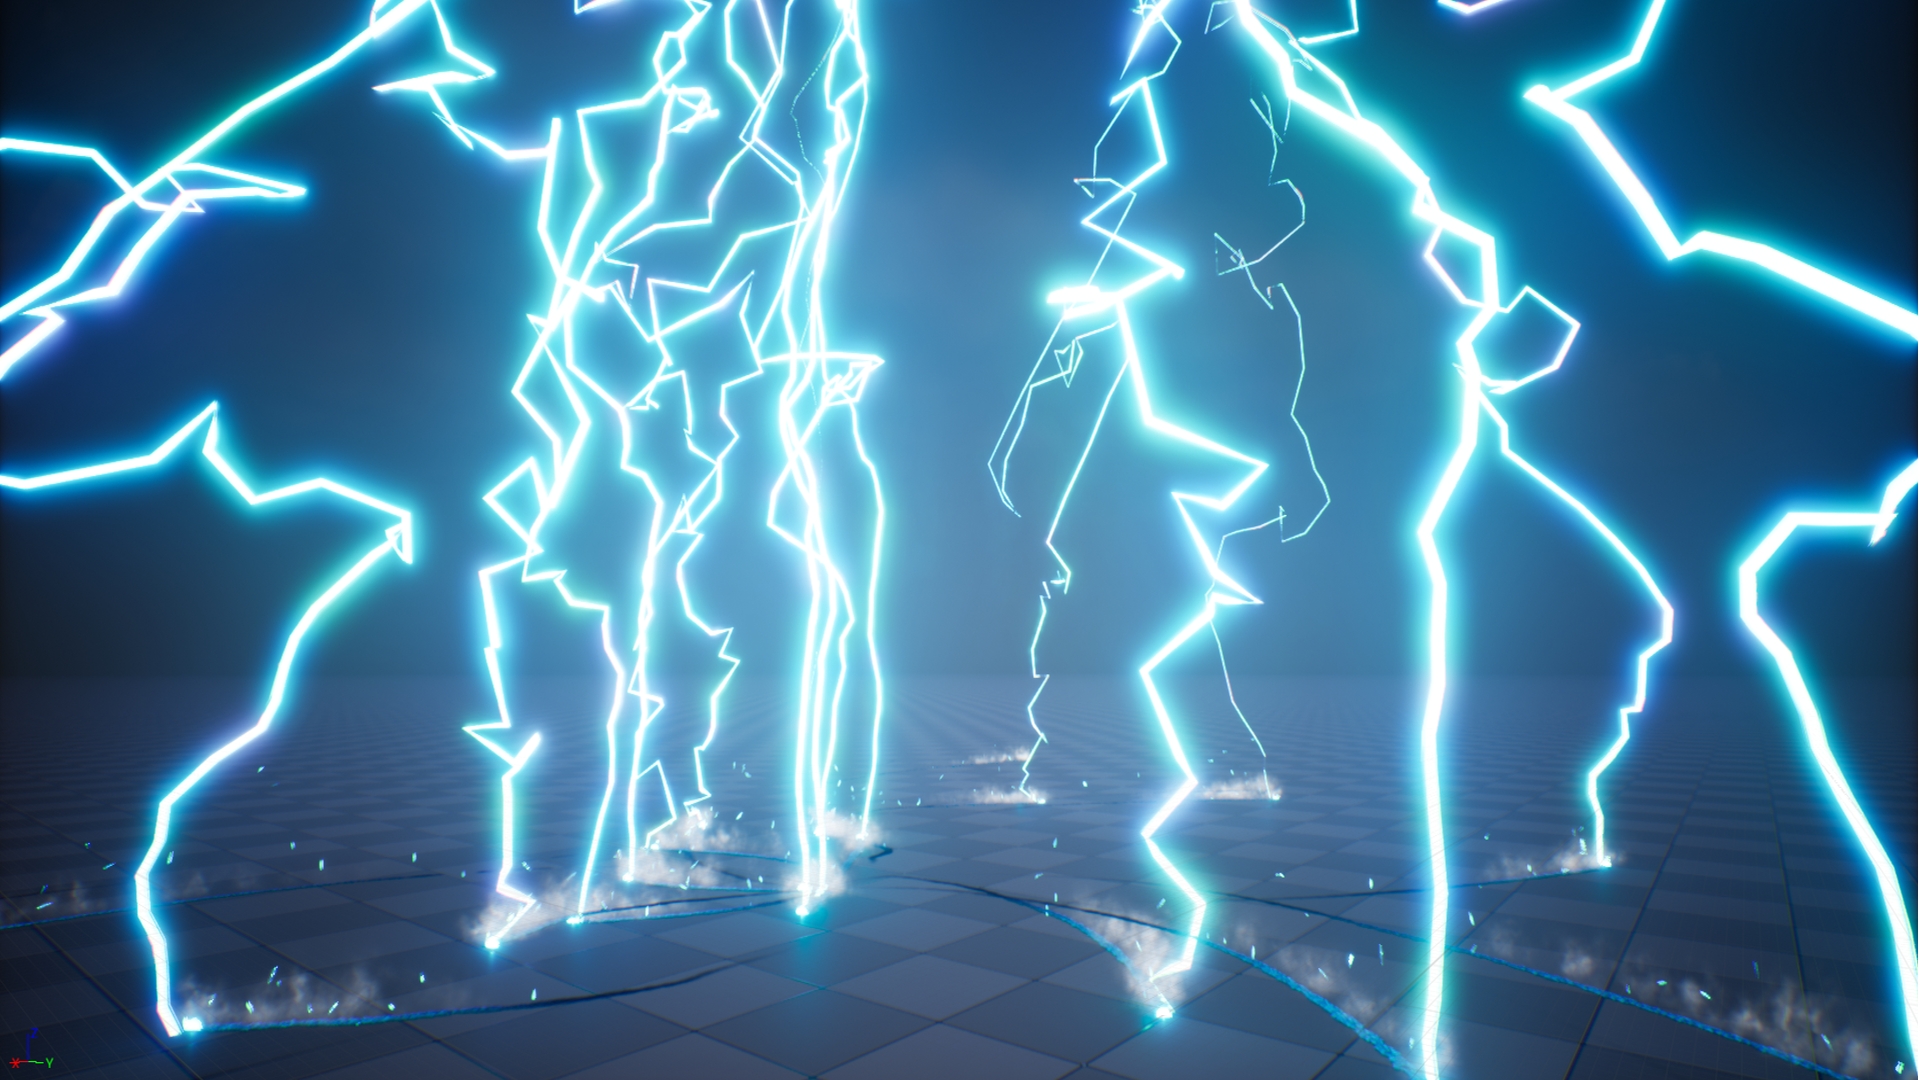
Title: Creating Multiple Lightning Effects in Unreal Engine
Introduction: Hi guys, I’m Asif Ali and you’re watching this video. Today, I’ll show you how I created these multiple lightning effects, where the lightning travels and interacts with the ground, complete with sparks, smoke, and hit decals. It’s a simple setup that can be done from scratch. If you haven’t subscribed to my channel yet, please do so! Don’t forget to like, share, and comment on the video. Let’s dive into this tutorial!
Tutorial Breakdown:
- Setting up the Scene:
- Create a new folder, “Test”, and within that, set up a “fountain” emitter.
- Rename the first emitter as Source.
- Turn off the Pause Process for smoother playback.
- Source Particle Setup:
- Instead of Spawn Rate, use a Burst with a particle emitted every 2 seconds.
- Set the particle life to 2 seconds.
- Use random direction for particle emission but no gravity for consistent travel.
- Dynamic Beam for Lightning:
- Add a Dynamic Beam emitter for the lightning effect.
- Adjust beam material (can use a flat color or custom texture).
- For the beam’s start and end positions, create a Scratchpad and link it to the position of the Source emitter.
- To introduce offset, use a local position adjustment to modify the start of the beam, creating a more dynamic appearance.
- Adding Curl Noise for Realistic Lightning Movement:
- To make the lightning beam move organically, add Curl Noise to affect the center of the beam.
- Use a Curve to control the intensity of noise, ensuring it only affects the middle section of the beam.
- Adjust the parameters to fine-tune the randomness of the lightning’s path.
- Adding Spark Particles:
- Create a new emitter for sparks. Emit particles from the source with random velocities.
- Use random colors and adjust size to simulate realistic sparks upon lightning impact.
- Smoke Effect:
- Duplicate the spark emitter and modify the settings for smoke effects.
- Use a cloud texture and adjust size and velocity to create a wispy, dissipating smoke effect.
- Adding Hit Decals:
- Add a Hit Mark decal emitter to simulate the impact point of the lightning on the ground.
- Use a simple texture to represent the burn mark (e.g., a normal map texture).
- Apply random rotation and scale for a more organic effect.
- Final Adjustments:
- Add Curl Noise to randomize the rotation of the lightning particles.
- Adjust the Source emitter to emit particles at random positions with varying velocities.
- Blueprint Setup:
- Use a Level Blueprint to trigger the spawning of lightning effects at specific locations.
- Set up a Timer to loop the lightning effect, adjusting the spawn rate for desired frequency (e.g., every 0.2 seconds).
- Final Result:
- The lightning will now travel, interact with the ground, and trigger sparks, smoke, and decals in a realistic manner.
Key Points in Bold:
- Burst particle emission (2-second interval)
- Dynamic Beam emitter for lightning
- Curl Noise for random movement
- Smoke and spark effects with custom settings
- Hit decals for ground impact
- Level Blueprint to trigger effects
Trendy Tags: #LightningEffect #UnrealEngine #VFX #DynamicBeam #CurlNoise #ParticleEffects #Niagara #GameDesign #VisualEffects #UnrealEngineTutorial #UE4 #FX #Sparks #SmokeEffects #GameDevelopment
Additional Notes:
- The settings for the lightning effect, sparks, and smoke are highly customizable based on the desired intensity and style.
- Make sure to experiment with different textures for sparks and smoke to get varied looks for your lightning effects.
- The Level Blueprint can be used to control the frequency and randomness of the lightning strikes, making it dynamic for use in various gameplay scenarios.
Leave a Reply