

Download – https://www.patreon.com/posts/80337471
Patreon- https://www.patreon.com/Ashif
NFT – https://opensea.io/CGHOW
Twitter – https://twitter.com/cghow_
👉👉 If you Liked it – http://bit.ly/2UZmiZ4
Channel Ashif – http://bit.ly/3aYaniw
Support me on – paypal.me/9953280644
Modeling for VFX in Unreal Engine 5.1 Tutorial | Download Files
#cghow #UE5 #UE4Niagara #gamefx #ue5niagara #ue4vfx #niagara #unrealengineniagara #realtimevfx
●Visit – https://cghow.com/
Unreal Engine Marketplace – https://bit.ly/3aojvAa
Artstation Store – https://www.artstation.com/ashif/store
Gumroad – https://cghow.gumroad.com/
Create a Twisted Cone in UE5 Without External Tools
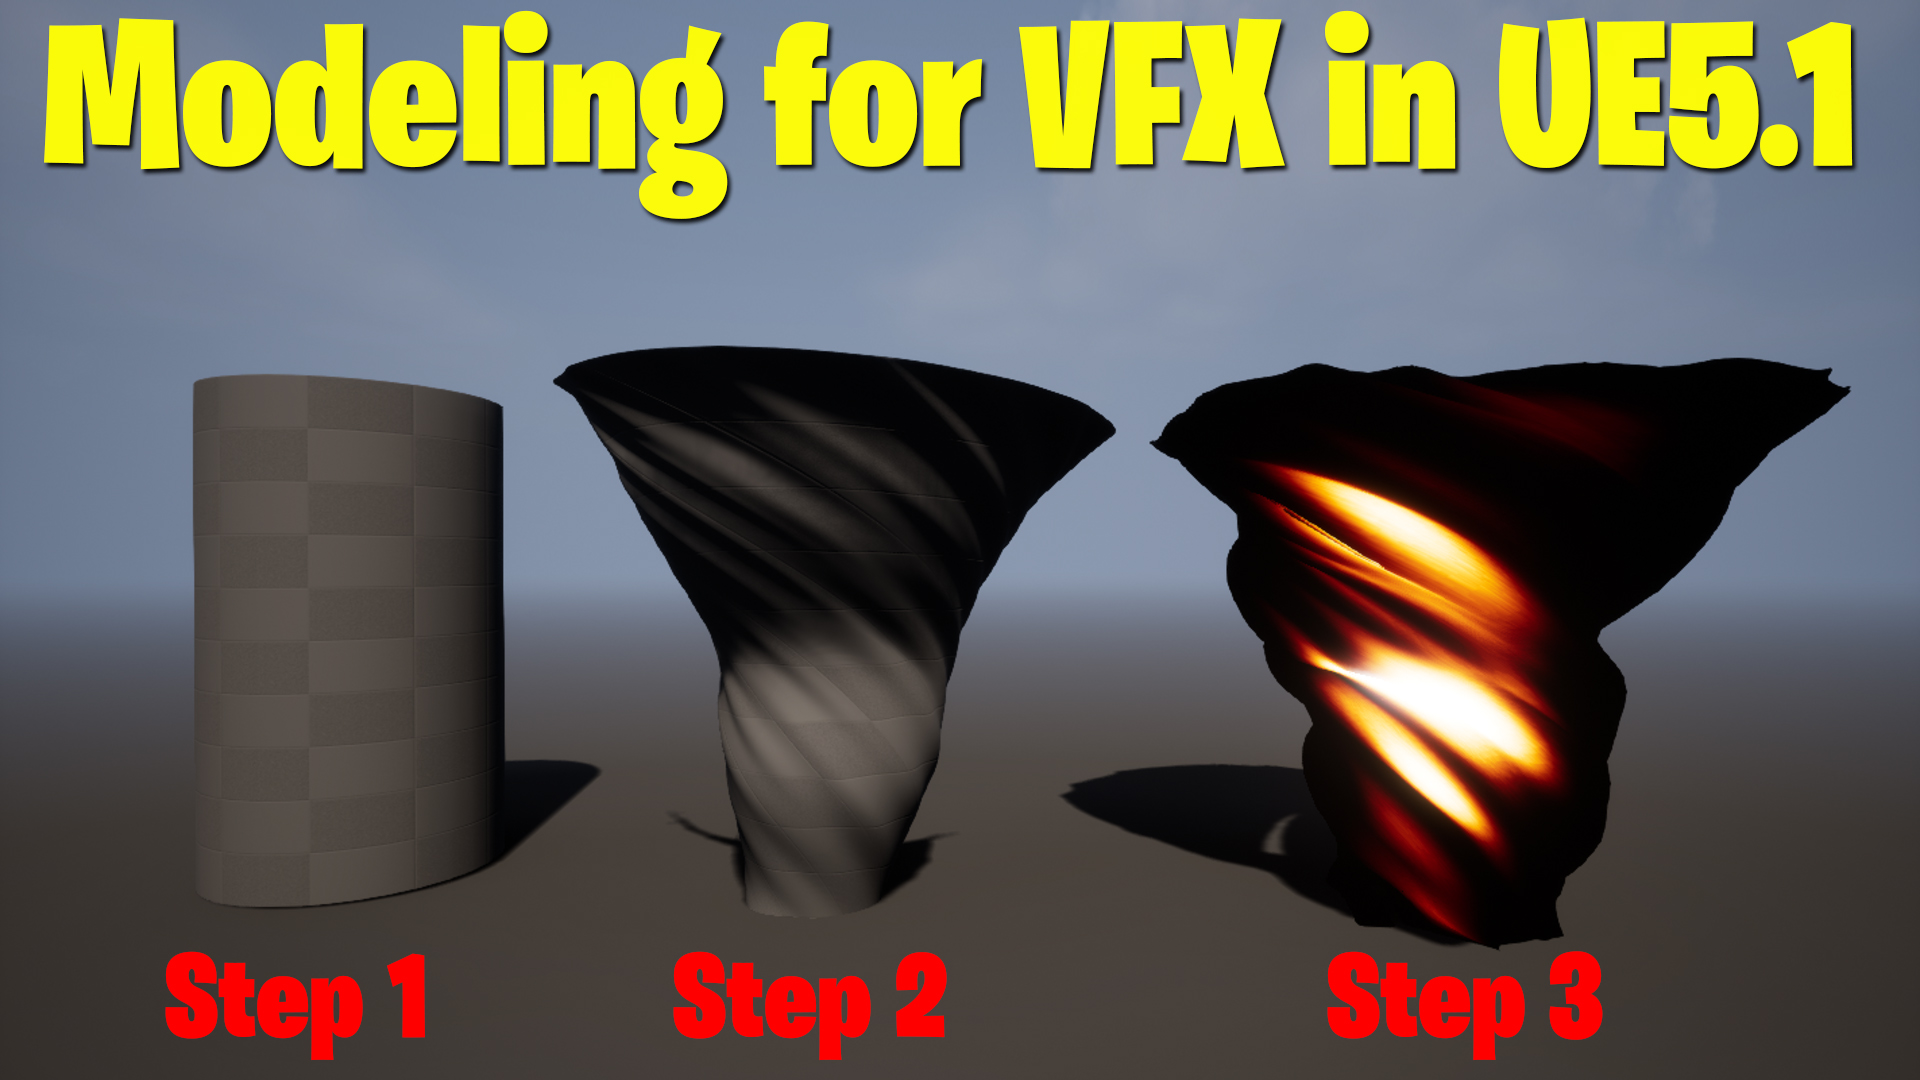
In this tutorial, I’ll guide you through creating a unique twisted cone directly within Unreal Engine 5, eliminating the need for external 3D modeling tools. We’ll also apply a cool material to the mesh for added flair.
Description
Learn how to model a twisted cone from a cylinder using Unreal Engine 5’s built-in modeling tools. This quick and efficient method leverages tools like the Modeling Tab, Deformers, and Material Editor. Follow along to create impressive meshes and apply dynamic materials without leaving UE5.
Key Points
- Enable Modeling Tools: Access the Modeling Tab with
Shift + 5. - Shape Creation: Create a cylinder using the Shapes option, adjusting radius and height as needed.
- Delete Caps: Use Poly Edit to remove the top and bottom faces.
- Refine Shape:
- Use Lattice to scale vertices for a cone shape.
- Subdivide the cylinder to add more vertices and enable advanced deformation.
- Deform & Twist: Apply Wrap and Twist deformers to achieve the twisted cone look.
- Displacement for Detail: Add texture and noise using Displace with Perlin noise for surface irregularities.
- Smooth Mesh: Utilize the Smooth tool to polish your cone.
Material Application
- Create a Noise Texture:
- Add a noise texture and pan it for animation.
- Adjust tiling to achieve the desired effect.
- Fade Effect:
- Use Texture Coordinate with a Mask Component to fade texture at the top and bottom.
- Multiply results for precise fading control.
- Add Glow with Blackbody:
- Use Blackbody to create a glowing effect by multiplying the noise texture with a temperature value.
- Set temperature values (e.g., 4000–5000) for a realistic glow.
- UV Editing:
- Adjust UVs in the UV Editor to fit the 0–1 UV space.
- Scale and transform UVs for precise mapping.
Notes
This workflow allows you to create complex shapes and materials without relying on external 3D modeling software. The methods outlined here save time and streamline your workflow in UE5.
Tags
#UnrealEngine5 #ModelingTools #NiagaraVFX #UE5Tips #MaterialEditor
Leave a Reply