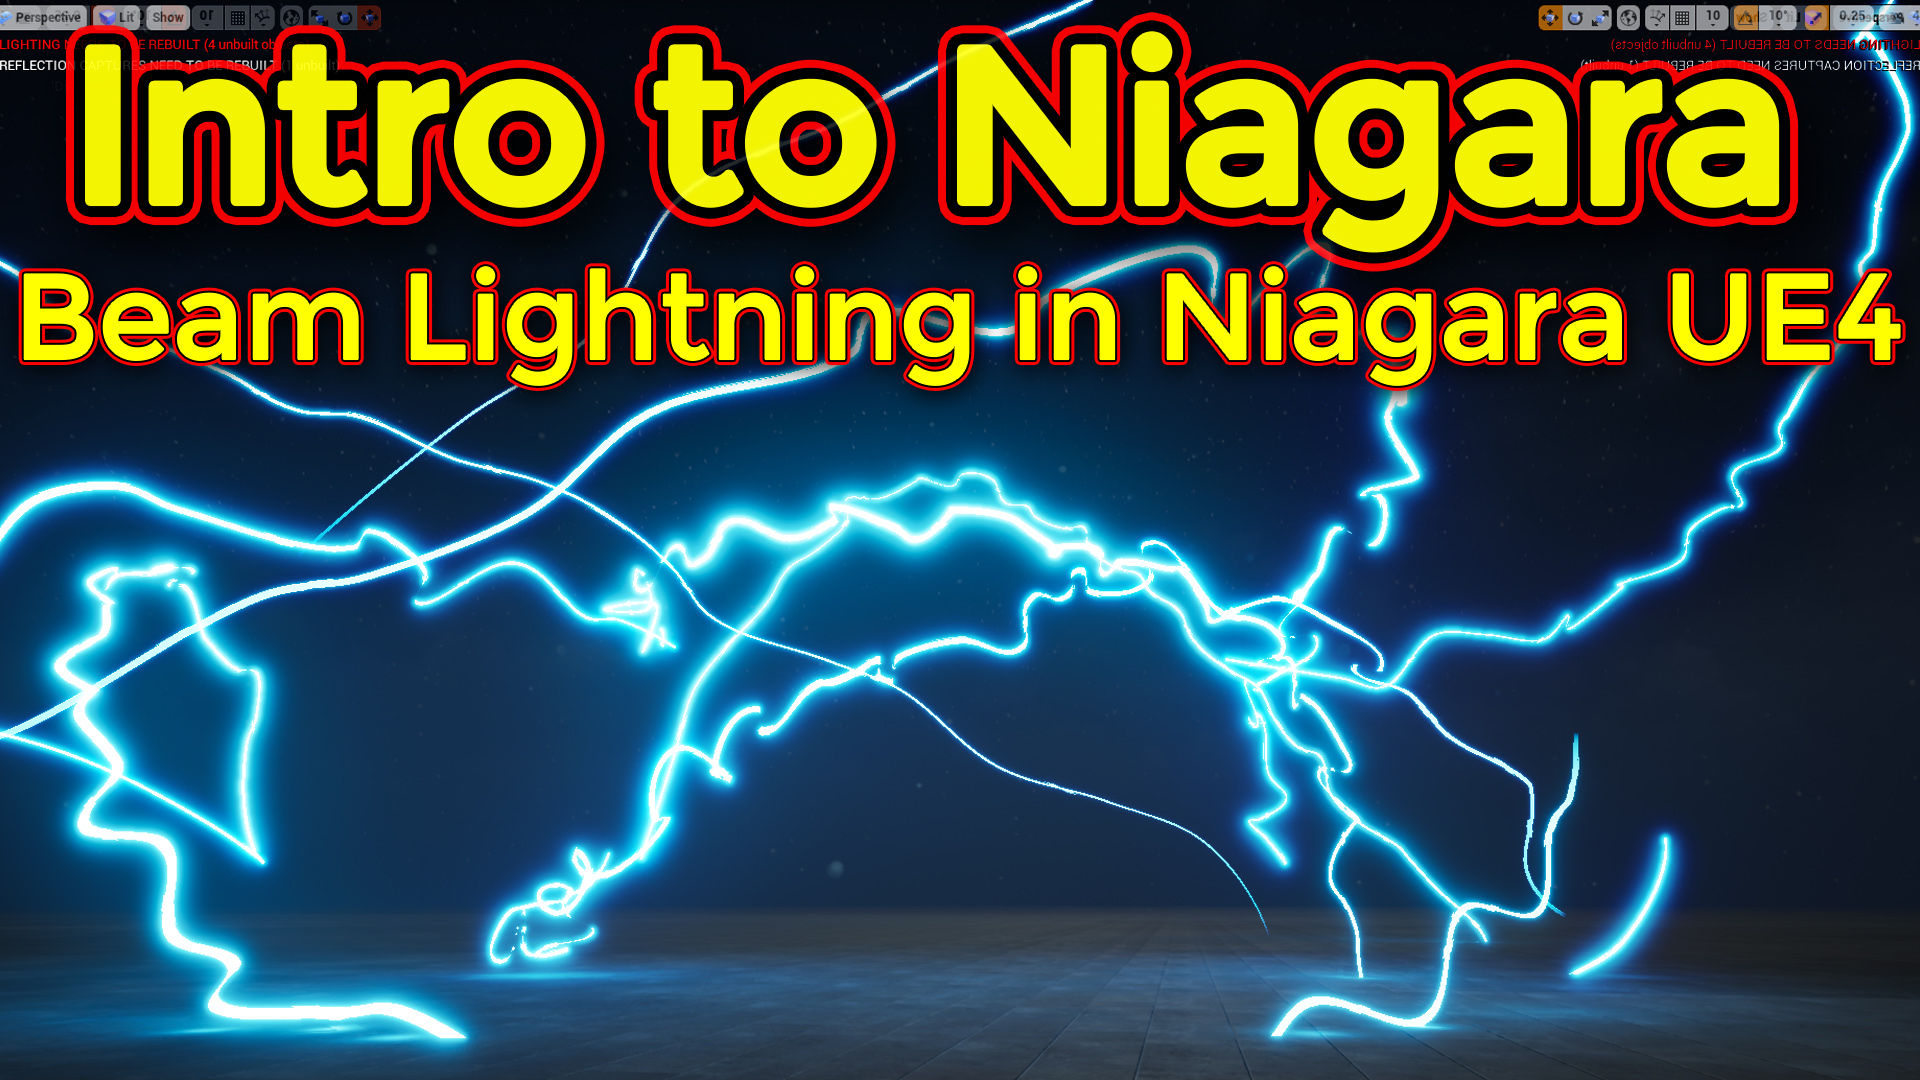
Hi guys in this video i will create a beam lightning effec twith ribbon emitter in unreal engine niagara.
#cghow #unrealengine #gamevfx #gamefx #ue4vfx #ue4fx #niagara #unrealengineniagara #unrealenginevfxtutorials
●Upload Your Tutorials/Work – https://cghow.com/
…………………………………………………………………………………………………………
Purchase Effect Package From Unreal engine Marketplace –
●Niagara Effects Pack – http://bit.ly/2LWgZTx
●Advanced Magical FX – http://bit.ly/2XQYyXL
……………………………………………………………………………………………………………………………………
●Patreon – https://www.patreon.com/Ashif
……………………………………………………………………………………………………………………………………
●Follow FB Page – https://www.facebook.com/cghow0/
●Join FB Group – https://www.facebook.com/groups/cghow/
……………………………………………………………………………………………………………………………………
●Android App – http://bit.ly/2XUnhoR
……………………………………………………………………………………………………………………………………
Playlists-
●Unreal Engine Niagara Tutorials – http://bit.ly/2SmPEuT
●Unreal engine VFX Tutorials -http://bit.ly/2JNXyJZ
●Unity VFX Tutorials – http://bit.ly/2XNGlKz
……………………………………………………………………………………………………………………………………
●Discussion & Help Forum – http://bit.ly/2Lo0Er7
……………………………………………………………………………………………………………………………………


Video Title:
Beam Particle in Niagara – Creating Lightning Effects
Description:
In this tutorial, we will explore how to create Beam Particles in Niagara and use them to make a lightning effect. Starting with the basic setup of a beam emitter, we will walk through how to control the beam’s behavior, its position, and its movement, and then we will add randomness to simulate the natural jittering and randomness of lightning. We’ll also cover how to control the effect using user parameters in both the Niagara emitter and Blueprint. This tutorial will help you understand how to use the beam template and its associated modules to create dynamic and visually exciting effects.
What We’ll Cover:
- Creating Beam Particles: Learn how to set up a basic beam emitter and adjust its properties for different effects.
- Beam Behavior: Control the start and end points of the beam, and adjust its size and direction to fit your desired outcome.
- Creating a Lightning Effect: We’ll use the beam to simulate a lightning strike, adding randomness to its motion, speed, and color.
- User Parameters for Control: We will show how to use user parameters to control the beam’s spawn rate and behavior, which can be modified dynamically in Blueprint.
- Randomization: How to randomize the beam’s position and behavior to give the effect a more natural, chaotic look.
- Blueprint Integration: Learn how to integrate user parameters into Blueprints to adjust the beam’s behavior in real-time during gameplay.
Key Steps:
- Setting up Beam Emitters: Start with the Beam Template and configure its size, spawn rate, and life.
- Beam Movement: Learn how to control the start and end points of the beam and manipulate the beam’s trajectory using tangents and velocity.
- Simulating Lightning: Apply randomization to the beam to create the jittery, unpredictable movement typical of lightning. Learn to tweak velocity and position jitter to make it appear more natural.
- User Parameters: Set up user parameters in the emitter to control values like spawn rate and randomness, which can be adjusted dynamically from the Blueprint.
- Blueprint Setup: Connect user parameters to Blueprints and randomize the lightning effect every frame to create dynamic variations in the gameplay.
- Finalizing the Effect: Add color and light to the beam for visual enhancement, and ensure the effect behaves differently each time it is triggered.
Key Takeaways:
- Beam Particles Basics: Master the fundamentals of creating and controlling beam particles in Niagara.
- Lightning Simulation: Learn how to simulate a realistic lightning effect by manipulating the beam’s position, velocity, and randomness.
- User Control: Gain the ability to control particle behavior dynamically using user parameters, making it easy to integrate your effects into the gameplay.
- Blueprint Integration: Understand how to connect and randomize the beam’s properties in real-time within Blueprints.
- Randomization and Customization: Learn to create diverse, dynamic effects by randomizing values and using curves to modify the appearance of the beam.
Next Steps:
In the next tutorial, we will dive into ribbons and how to use them to create trailing effects, along with a deeper exploration of location events. Stay tuned for more exciting VFX tips!
Tags:
Unreal Engine, Niagara VFX, Beam Particles, Lightning Effect, Particle Systems, Unreal Engine Tutorial, VFX Tutorial, Game Development, Particle Randomization, Blueprint Integration, Real-Time VFX, Visual Effects, Game FX, Niagara Tutorial
Leave a Reply