
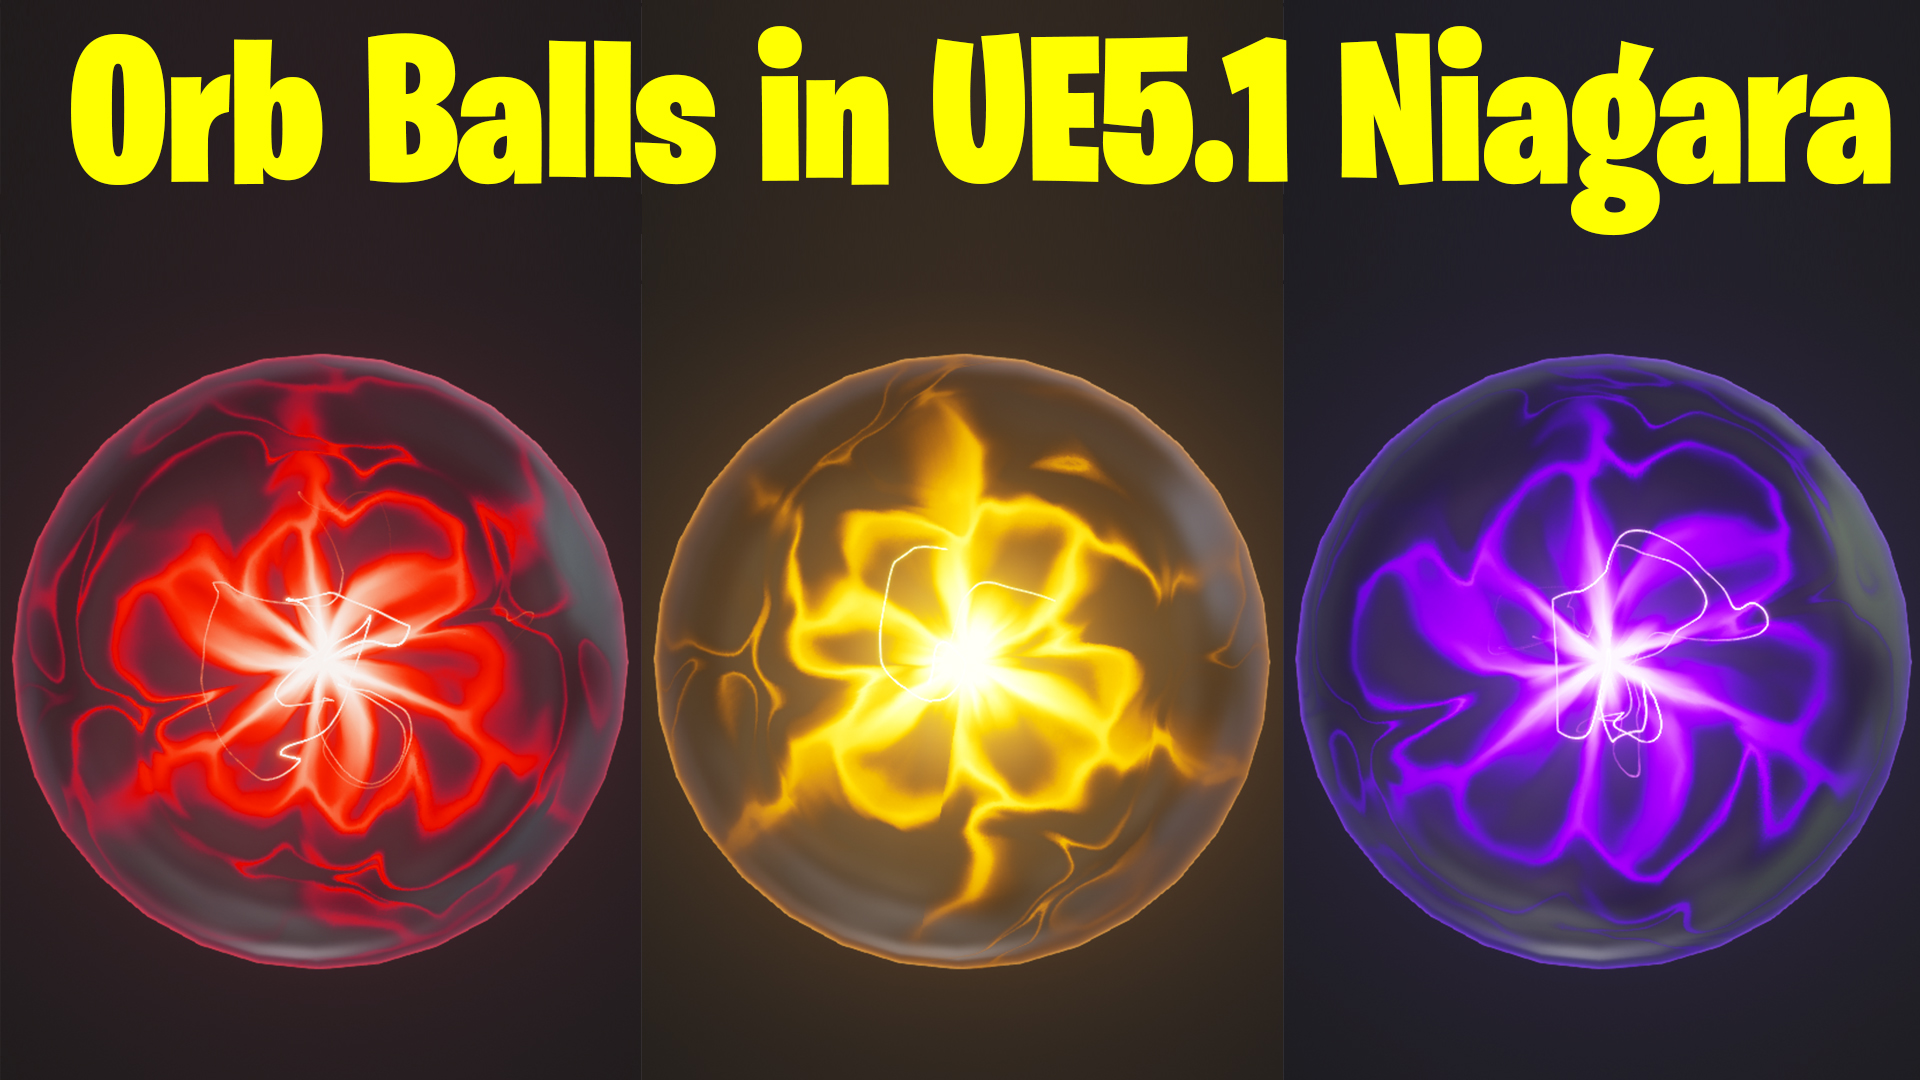

Download – https://www.patreon.com/posts/77853211
Patreon- https://www.patreon.com/Ashif
NFT – https://opensea.io/CGHOW
Twitter – https://twitter.com/cghow_
👉👉 If you Liked it – http://bit.ly/2UZmiZ4
Channel Ashif – http://bit.ly/3aYaniw
Support me on – paypal.me/9953280644
Orb Ball in Unreal Engine 5.1 Niagara Tutorial | Download Files
#cghow #UE5 #UE4Niagara #gamefx #ue5niagara #ue4vfx #niagara #unrealengineniagara #realtimevfx
●Visit – https://cghow.com/
Unreal Engine Marketplace – https://bit.ly/3aojvAa
Artstation Store – https://www.artstation.com/ashif/store
Gumroad – https://cghow.gumroad.com/
Video Introduction:
Hi guys, I’m Ashif Ali, and you’re watching CGHOW! In this video, I’ll be showing you how to create a glowing sphere effect in Unreal Engine 5.1. We’ll start from scratch so you can understand each step clearly, and you can also download the project files from my Patreon. Let’s get started!
Before we dive into the tutorial, make sure to subscribe to my YouTube channel and click on the bell icon so you don’t miss any future videos!
Tutorial Overview:
In this tutorial, we will focus on creating a glowing sphere with light and texture effects using Unreal Engine 5.1. Here’s a breakdown of the process:
Steps to Create the Glowing Sphere Effect:
- Creating the Material
- Start by creating a new material (M_) and set the preview off.
- Use a noise texture (like Aura) and apply a radial blend to make the light center stand out.
- Change blending modes to Color Dodge for a smooth light transition.
- Modify the texture coordinates to generate a gradient effect from the center.
- Use the Power node to control the brightness of the center.
- Adding the Sphere and Material
- Apply the material to a sphere mesh in the scene.
- Adjust the tiling parameters to modify the appearance and make the light effect properly scale on the sphere.
- Use a two-sided plane material for better light visibility from both sides.
- Refining the Effect
- To add a little bump to the texture, use a bump offset with a noise texture.
- Adjust the texture’s scale and connect the bump texture for depth and realism.
- Adjusting Particle Settings
- Create a new particle emitter and assign the material instance to it.
- Tweak the particle size and life span to make it look more natural.
- Set the particle orientation to always face the camera, ensuring the light effect is visible from all angles.
- Reflection and Additional Effects
- Add reflection to the material by using HDR and a reflection vector.
- Use a parameter for particle color to control the overall glow.
- Final Adjustments
- Adjust the life span, size, and drag of the particles to fine-tune the effect.
- Add additional noise or spring forces to create realistic movement for the particles.
Final Touches:
- Check the sphere’s pivot to ensure the glow appears centered.
- Experiment with different textures to get the desired lighting effect.
- Test the final output and adjust parameters as needed to get the perfect glowing sphere.
Additional Notes:
Feel free to experiment with other textures and settings to customize the effect for your project. If you want to learn more about similar effects, check out my other tutorials on creating VFX in Unreal Engine!
Leave a Reply