
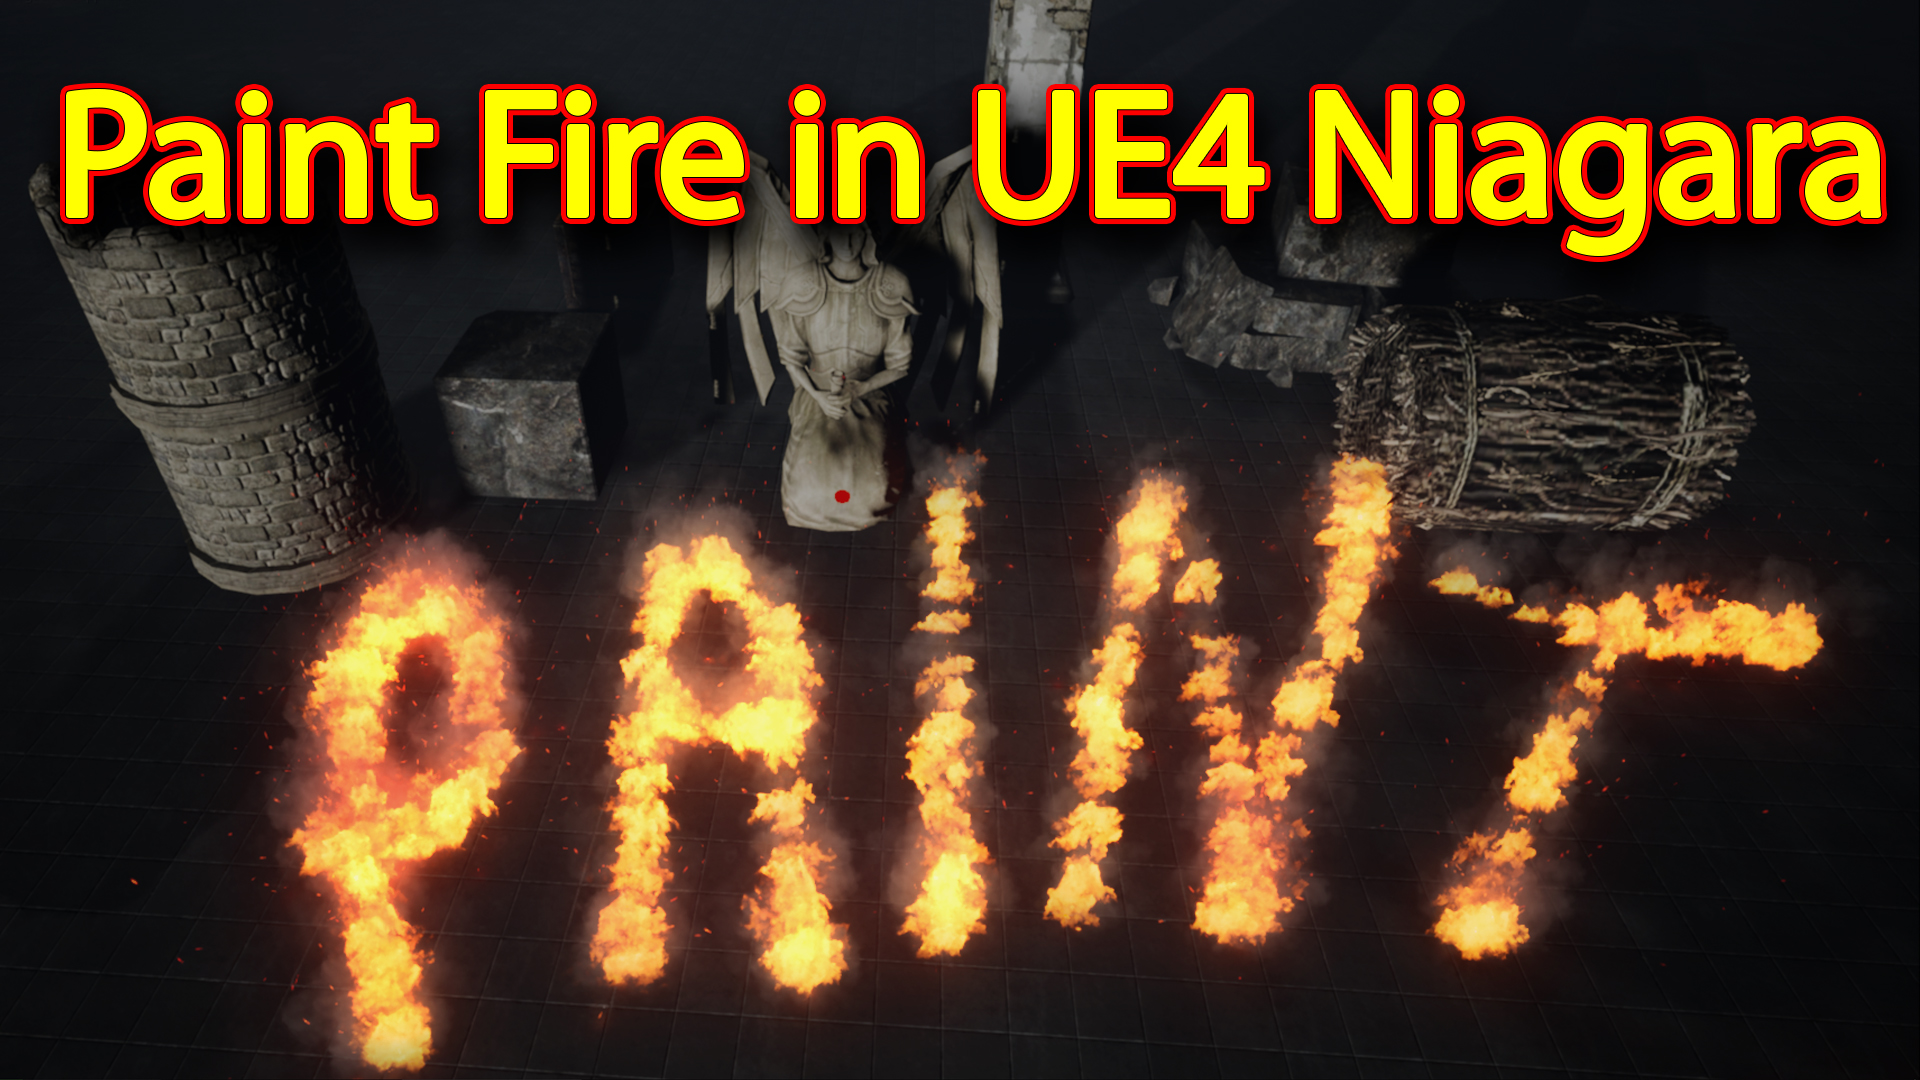

Hi guys in this tutorial you will learn how to paint Effects in unreal engine. so for this video i made simple fire effect in unreal engine Niagara and used blueprint for paint functionality.
#cghow #unrealengine #gamevfx #gamefx #ue4vfx #ue4fx #niagara #unrealengineniagara #unrealenginevfxtutorials
●Upload Your Tutorials/Work – https://cghow.com/
…………………………………………………………………………………………………………
Purchase Effect Package From Unreal engine Marketplace –
●Niagara Effects Pack – http://bit.ly/2LWgZTx
●Advanced Magical FX – http://bit.ly/2XQYyXL
……………………………………………………………………………………………………………………………………
●Patreon – https://www.patreon.com/Ashif
……………………………………………………………………………………………………………………………………
●Follow FB Page – https://www.facebook.com/cghow0/
●Join FB Group – https://www.facebook.com/groups/cghow/
……………………………………………………………………………………………………………………………………
●Android App – http://bit.ly/2XUnhoR
……………………………………………………………………………………………………………………………………
Playlists-
●Unreal Engine Niagara Tutorials – http://bit.ly/2SmPEuT
●Unreal engine VFX Tutorials -http://bit.ly/2JNXyJZ
●Unity VFX Tutorials – http://bit.ly/2XNGlKz
……………………………………………………………………………………………………………………………………
●Discussion & Help Forum – http://bit.ly/2Lo0Er7
……………………………………………………………………………………………………………………………………


This video tutorial outlines the process of creating a fire painting effect in Unreal Engine, specifically using particle systems and blueprints. Here’s a concise breakdown of the process and key steps:
- Creating the Blueprint:
- Start by setting up a basic blueprint using the “fountain” template.
- Add a tick event and a double circle to ensure the crosshair appears at the center of the screen and the effect is aligned accordingly.
- Use line traces to detect where the crosshair hits, and connect these points to spawn particle systems at those locations.
- Particle System Setup:
- The particle system is initially spawned at the location of the line trace impact point.
- Adjustments are made to the system’s rotation using the impact normal to ensure proper alignment with surfaces.
- Implement continuous spawning when holding the left mouse button and stop it when the button is released.
- Adding Fire and Smoke Effects:
- Fire particles are created using starter content textures, with adjustments made to velocity, spawn rate, and size to get the desired look.
- A smoke effect is added using similar techniques, with adjustments to the material and spawn rate to create a realistic interaction with the fire.
- Embers and Glow:
- Create ember effects by duplicating the fire particle system and adjusting parameters for velocity, spawn rate, and size to make them appear more dynamic.
- Add decals for fire interaction with the environment, including glow effects and size variations.
- Fixing Collisions and Rotation:
- Ensure that particle systems properly interact with static meshes and adjust the collision settings to achieve correct particle spawning.
- Beam Effect:
- A mesh beam is introduced as an additional element to the fire effect. Adjustments to size, rotation, and color are made to match the desired look.
- Ensure proper targeting and spawn location by using “Look At” rotation logic.
- Final Adjustments:
- The glow, size, and intensity of the fire, smoke, and embers are fine-tuned.
- The particle system’s spawn rates and behaviors are tweaked for better visual results.
The tutorial concludes with a demonstration of the fire painting effect in action and suggests that additional tutorials will focus on refining the beam effect.
Leave a Reply