
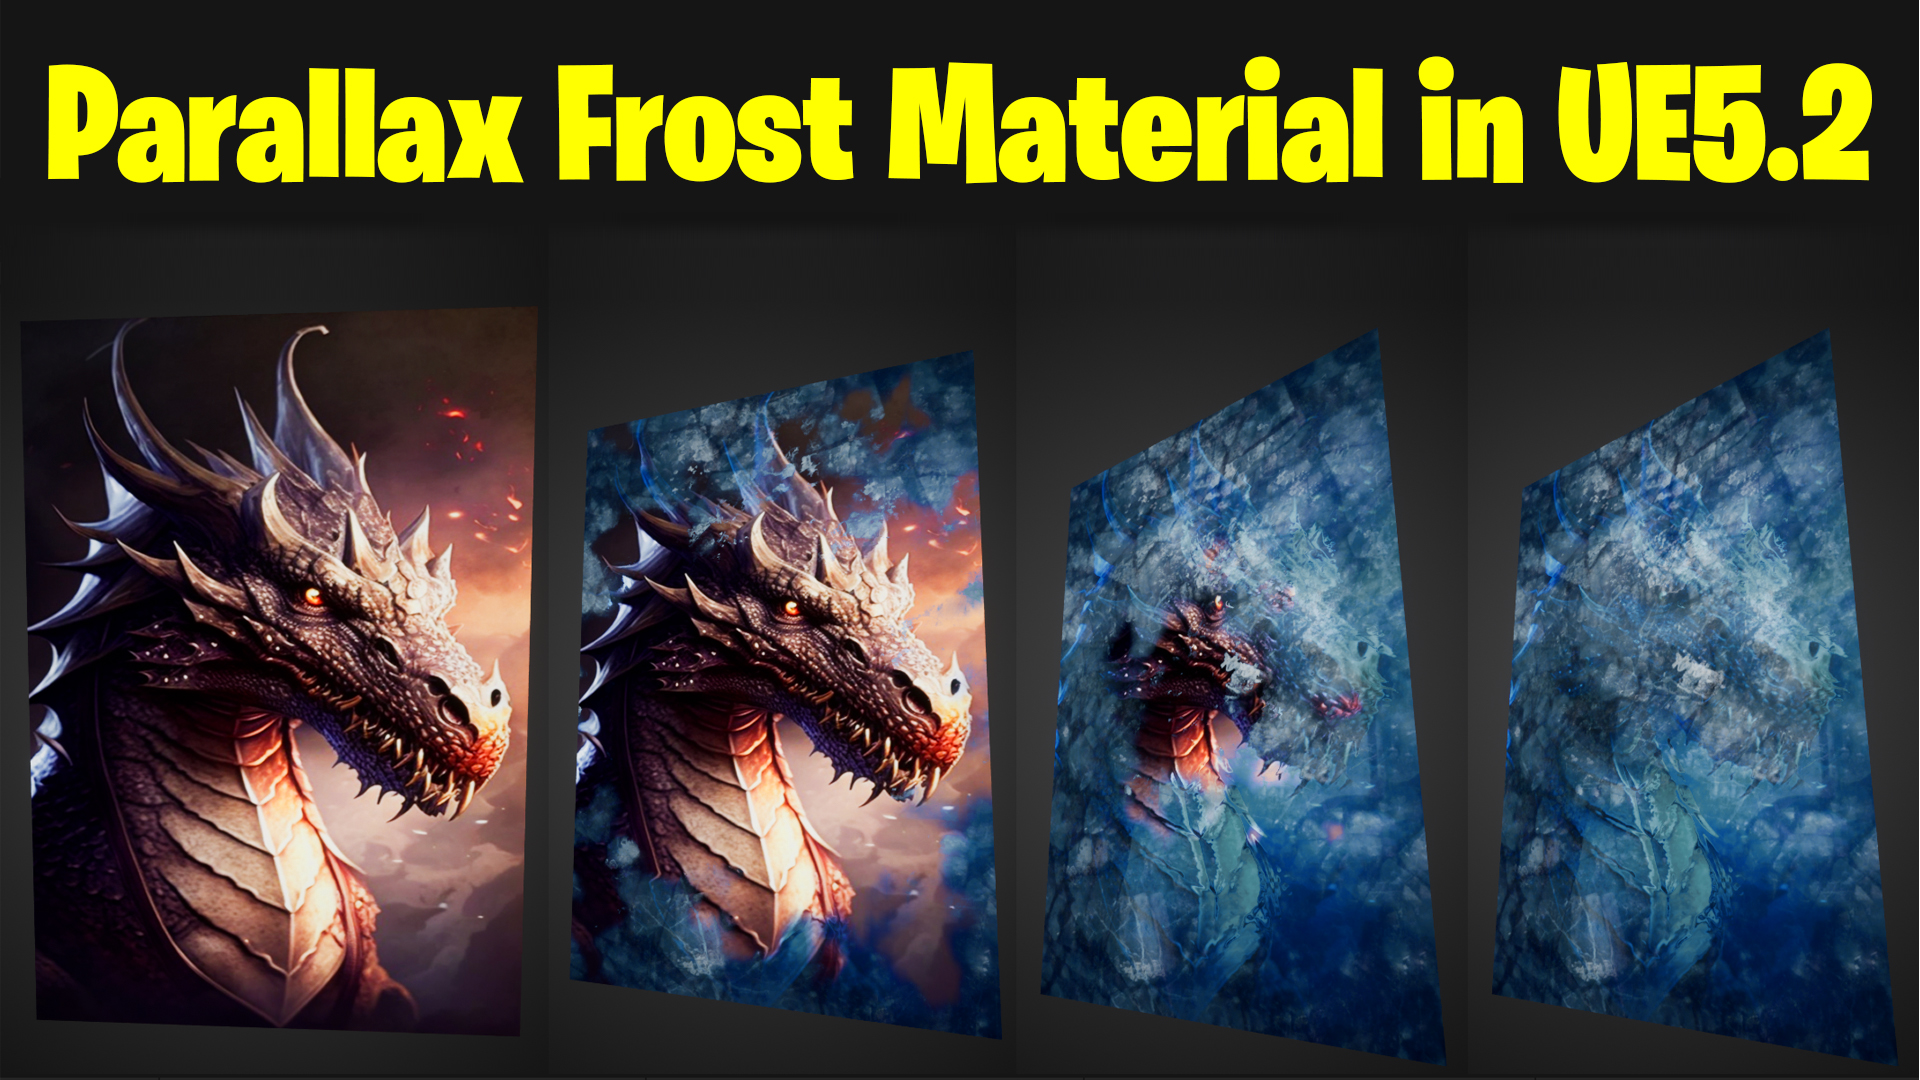

Download – https://www.patreon.com/posts/82796158
Patreon- https://www.patreon.com/Ashif
NFT – https://opensea.io/CGHOW
Twitter – https://twitter.com/cghow_
👉👉 If you Liked it – http://bit.ly/2UZmiZ4
Channel Ashif – http://bit.ly/3aYaniw
Support me on – paypal.me/9953280644
Parallax Frost Material in UE5.2 Tutorial | Download Files
#cghow #UE5 #UE4Niagara #gamefx #ue5niagara #ue4vfx #niagara #unrealengineniagara #realtimevfx
●Visit – https://cghow.com/
Unreal Engine Marketplace – https://bit.ly/3aojvAa
Artstation Store – https://www.artstation.com/ashif/store
Gumroad – https://cghow.gumroad.com/
Hi guys, I’m Ashif Ali, and you’re watching CGHOW. Today, I’m going to show you how to create a frozen effect in Unreal Engine 5.2, complete with a parallax effect. We’ll start with a flat dragon image and then freeze it while adding that cool parallax depth effect. Let’s jump into the tutorial!
Creating the Frozen Effect in Unreal Engine:
- Setting Up the Material:
- Create a Material and drag in your Dragon Texture (make sure you have the normal map too).
- Apply the texture to a Plane and set the material to Unlit.
- Scaling the Texture:
- Scale the texture down using the UV coordinates and set the X-axis to 0.8 for proper texture scaling.
- Cutting the Edges:
- Use a Texture Coordinate node, subtract 0.5, and apply an Absolute function. Then, use a Mask and a Step node to control the texture’s visible region.
- Multiply the output to cut out unnecessary parts and adjust the texture’s size (set the step value to around 0.35).
Creating the Frost Effect:
- Add the Frost Texture:
- Import an Ice Texture and adjust its saturation with a Desaturate node (set to around 0.5).
- Multiply the ice texture with the Radial Gradient for a nice fading effect.
- Smooth Step for Frost Density:
- Use the SmoothStep node to create a smooth transition for the frost. Add parameters for minimum and maximum values to control how far the frost spreads.
- Controlling the Frost’s Look:
- For a better look, use the Saturate node to keep the frost from being too bright.
- Invert the Radial Gradient to make the frost appear around the edges instead of the center.
Fine-Tuning the Effect:
- Animate the Frost:
- Create parameters for density and radius to animate the frost over time. Adjusting these values will give the material a dynamic, frozen look.
- Radial Distortion:
- If you want to add a bit of distortion to the frost, use a Noise node and combine it with the Radial effect for more chaotic, ice-like behavior.
- Parallax Effect with Height:
- To create a parallax effect, use the Bump node and add a height parameter to give the material depth. You can adjust the height to control the intensity of the parallax.
Final Adjustments:
- Masking for Parallax Depth:
- To refine the parallax, multiply the Bump Node with the frost mask. This will give you the effect of the frozen texture appearing to shift with depth.
- Final Tweaks:
- If the parallax is too subtle, use a Power Node to amplify or adjust the intensity. You can animate the parallax effect for even more dynamic changes.
Conclusion:
And that’s how you create a frozen, parallax effect in Unreal Engine! You can now tweak the values to adjust the frost intensity, the parallax depth, and animate the effect for more realism.
Thanks for watching! Keep learning, and I’ll see you in the next tutorial!
Key Takeaways:
- Frozen effect with ice texture and radial gradient for smooth frost.
- Parallax effect created with bump and height parameters.
- Distortion can be added using a noise node for added realism.
Leave a Reply