
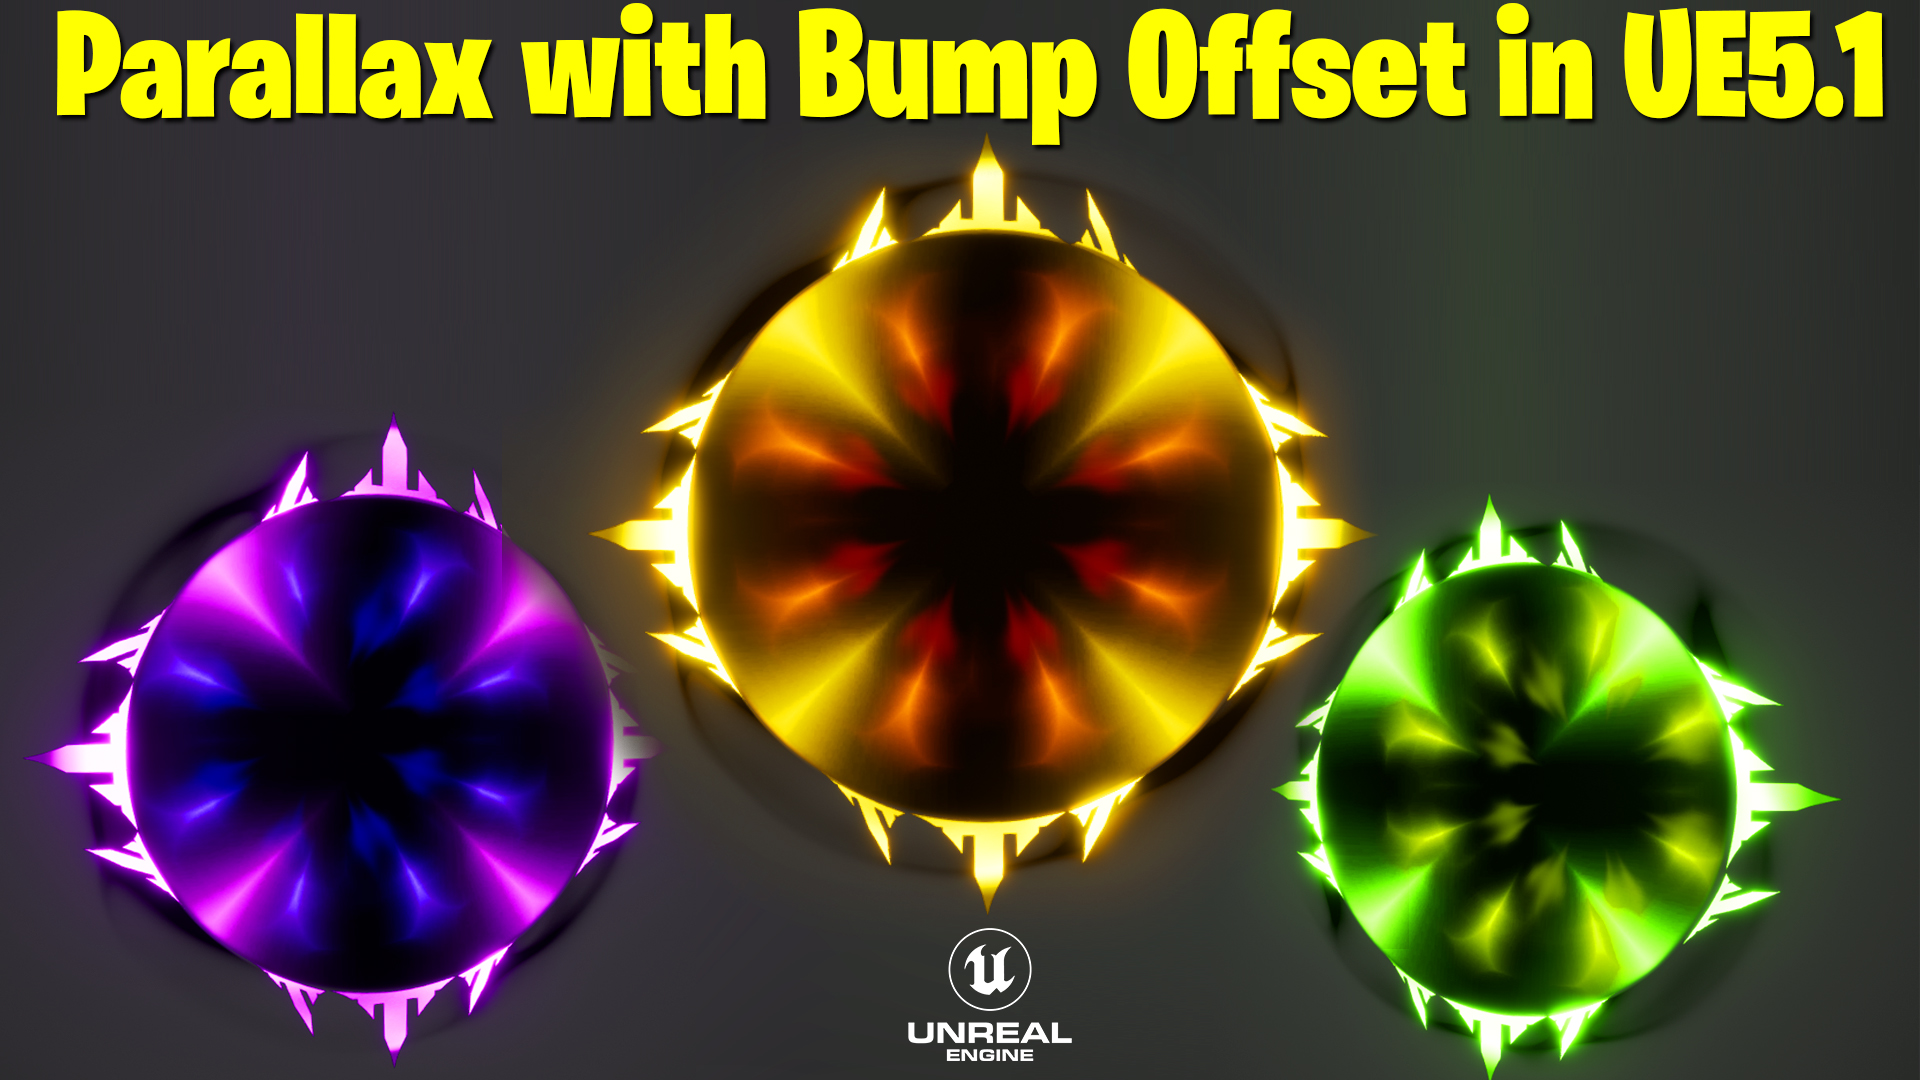

Download – https://www.patreon.com/posts/80110910
Patreon- https://www.patreon.com/Ashif
NFT – https://opensea.io/CGHOW
Twitter – https://twitter.com/cghow_
👉👉 If you Liked it – http://bit.ly/2UZmiZ4
Channel Ashif – http://bit.ly/3aYaniw
Support me on – paypal.me/9953280644
Parallax with Bump Offset in UE5 Material Tutorial | Download Files
#cghow #UE5 #UE4Niagara #gamefx #ue5niagara #ue4vfx #niagara #unrealengineniagara #realtimevfx
●Visit – https://cghow.com/
Unreal Engine Marketplace – https://bit.ly/3aojvAa
Artstation Store – https://www.artstation.com/ashif/store
Gumroad – https://cghow.gumroad.com/
How to Create a Stunning Parallax Material in Unreal Engine 5.1
Welcome to another exciting tutorial on creating advanced materials in Unreal Engine. In this guide, we’ll explore how to build a Parallax material with depth, layers, and customizable parameters to enhance your project’s visual appeal.
Description
This tutorial walks you through the creation of a Parallax material from scratch in Unreal Engine 5.1. Learn how to layer textures, control depth, and apply unique colors for each layer, along with additional effects like spikes and radial masks. By the end of this tutorial, you’ll have a versatile material with customizable features such as hue, mask radius, and spike intensity. The original material file is included for download!
Key Points
- Creating a Base Material: Set up a new material and an instance for flexible adjustments.
- Adding Depth with Bump Nodes: Use a bump node and adjust height parameters for layered depth effects.
- Clamping Textures: Prevent tiling issues by clamping textures.
- Layering Multiple Textures: Add up to three textures with varying depth and blend them seamlessly.
- Masking with Radial Gradients: Apply radial masks to control the visible areas of the material.
- Customizing Colors: Assign unique colors to each texture layer using parameters.
- Adding Spikes and Glow Effects: Enhance visuals with spike effects and adjust intensity using parameters.
- Hue Control: Add a hue parameter for overall color adjustment.
Steps Covered
- Material Setup:
- Create a new material and set up a folder for organization.
- Use a ring texture to establish the base texture.
- Adding Depth:
- Use a bump offset node to create depth.
- Add layers with different depth values using parameters like “depth1,” “depth2,” etc.
- Texture Clamping:
- Clamp textures to avoid tiling beyond the desired area.
- Radial Mask Application:
- Generate a radial gradient with sharp edges and use it as a mask.
- Adjust mask radius to refine visibility.
- Color Customization:
- Multiply textures with color parameters for distinctive layers.
- Blend colors dynamically using “lerp” nodes.
- Spike and Glow Effects:
- Add spike textures and blend them with base colors.
- Use multiplier nodes to adjust glow intensity.
- Fine-Tuning:
- Incorporate polar coordinates for aura-like effects.
- Adjust scale and opacity parameters for perfect visuals.
- Hue Adjustment:
- Add a hue shift parameter for final color corrections.
Tags
- Unreal Engine 5
- Parallax Material
- UE5 Materials
- Advanced Material Design
- Game Development
- Visual Effects
Additional Notes
- Experiment with different ring and spike textures to create unique effects.
- Optimize the material instance by grouping parameters for easy access.
- Combine this Parallax material with dynamic lighting for more immersive results.
Leave a Reply