

Download – https://www.patreon.com/posts/66370335
NFT – https://opensea.io/CGHOW
Twitter – https://twitter.com/cghow_
👉👉 If you Liked it – http://bit.ly/2UZmiZ4
Channel Ashif – http://bit.ly/3aYaniw
Support me on – https://www.patreon.com/Ashif
Support me on – paypal.me/9953280644
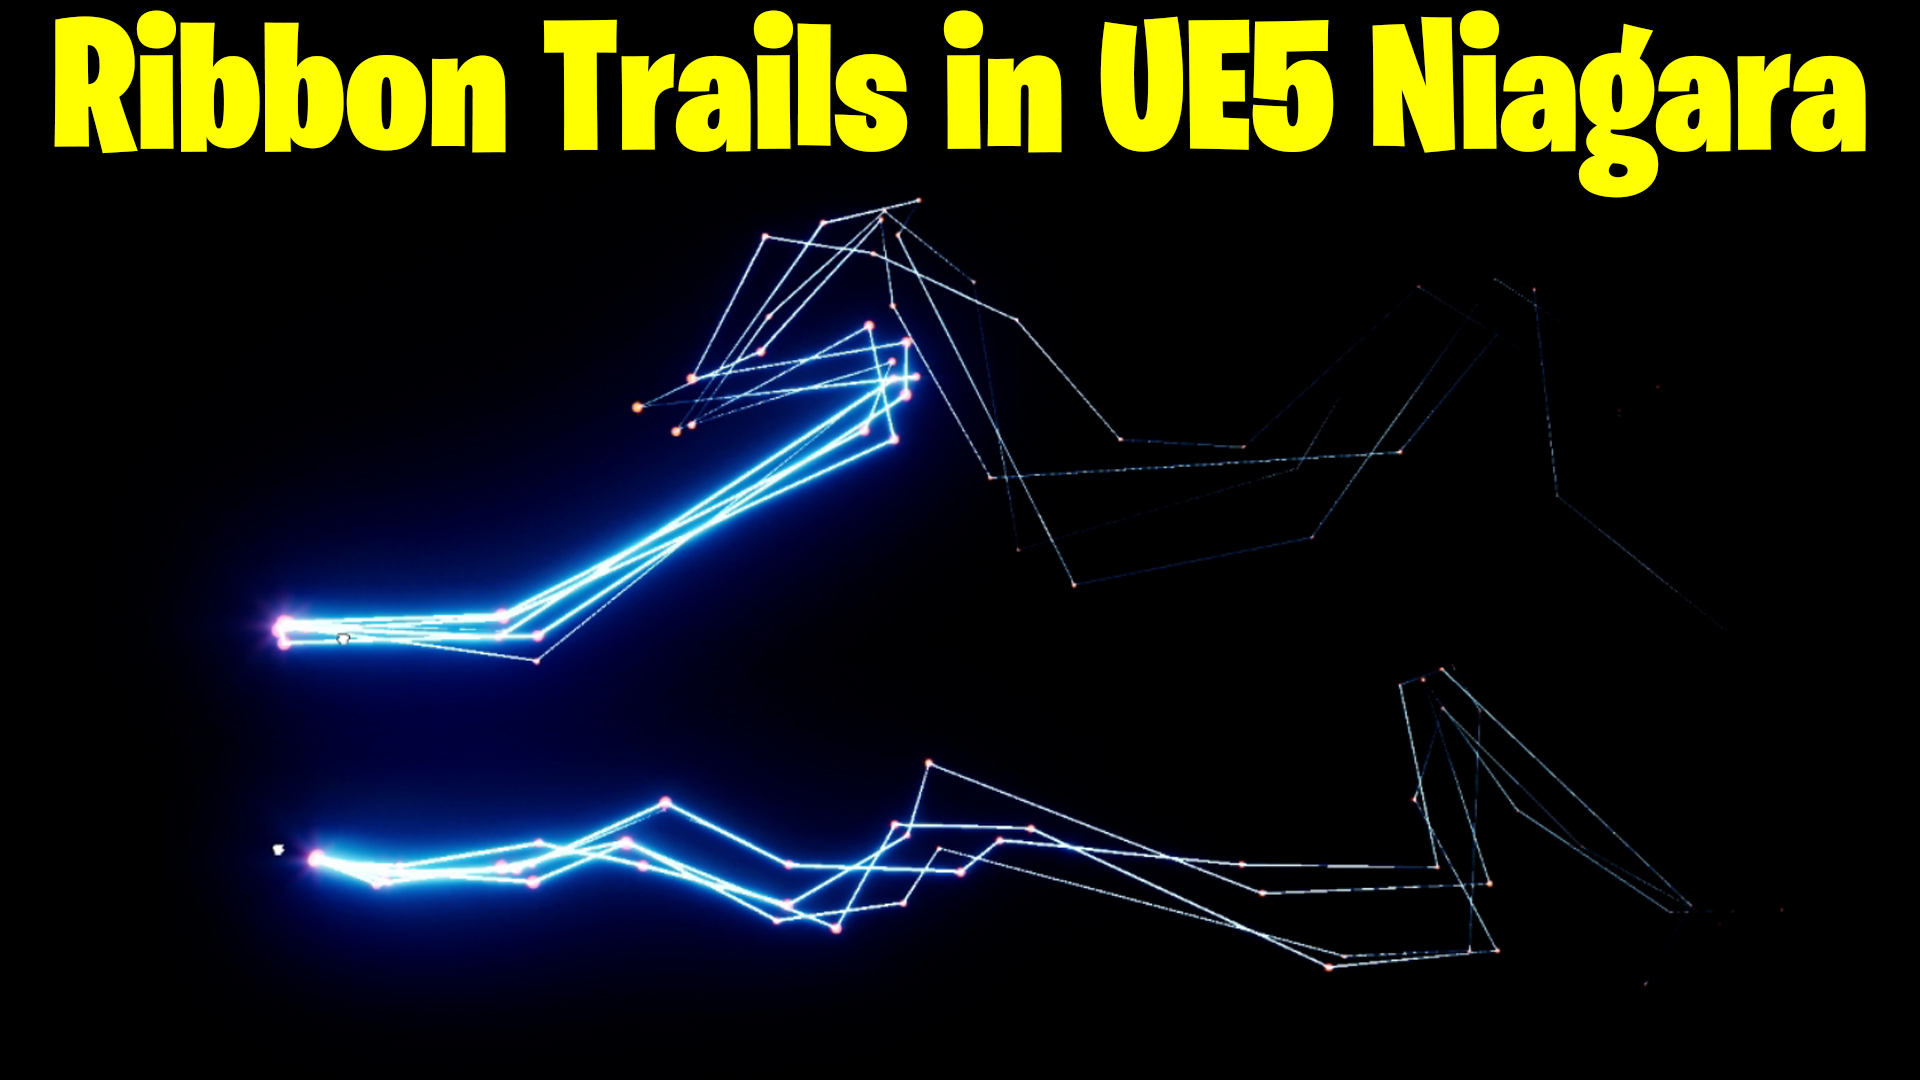
Ribbon Trails in UE5 Niagara Tutorial | Download Files
#cghow #UE5 #UE4Niagara #gamefx #ue5niagara #ue4vfx #niagara #unrealengineniagara #realtimevfx
●Upload Your Tutorials/Work – https://cghow.com/
Purchase Effect Package From Unreal engine Marketplace –
Unreal Engine Niagara Effects in Marketplace – https://youtu.be/DF4Lb_btEus
Niagara Effects Pack in Marketplace – https://youtu.be/g6_k8T7FqHA
Unreal Engine Advanced Magical Effects in Marketplace – https://youtu.be/0Dn3GLIzhMo
Smoke in UE4 Niagara Pack01 in Unreal Engine Marketplace – https://youtu.be/38BPA_9yqJ8
UE4 Niagara Fire Pack 01 in Marketplace – https://youtu.be/PW5FL-zZoP4
UE4 Niagara Fire Pack 02 in Marketplace – https://youtu.be/fdLXPlUEzxM
UE4 Niagara Explosions Pack 02 in Marketplace – https://youtu.be/dj-XX9he4aE
Unreal Engine Niagara Effects Pack 03 in Marketplace – https://youtu.be/0kKon43I-Og
Slow Motion Explosion in UE4 Niagara Pack 04 in Marketplace – https://youtu.be/lUK1eW5zRP0
Unreal Engine Niagara Effects pack 04 in Marketplace – https://youtu.be/MihWYB31Gi4
Slow Motion Explosion in UE4 Niagara Pack 04 in Marketplace – https://youtu.be/lUK1eW5zRP0
UE4.25 Niagara Effects Pack 05 in Marketplace – https://youtu.be/sn1HIENVTDI
UE4.25 Niagara Effects Pack 06 in Marketplace – https://youtu.be/pvH_xGQ5jvs
Explosions Package in Unreal Engine Niagara Particle System – https://youtu.be/1mbqWscjUJ4
●Follow FB Page – https://www.facebook.com/cghow0/
●Join FB Group – https://www.facebook.com/groups/cghow/
●Android App – http://bit.ly/2XUnhoR
Playlists-
●Unreal Engine Niagara Tutorials – http://bit.ly/2SmPEuT
●Unreal engine VFX Tutorials -http://bit.ly/2JNXyJZ
●Unity VFX Tutorials – http://bit.ly/2XNGlKz
Hi guys, I’m Asif Ali, and welcome back to CGHOW! In today’s video, we’ll create some simple trails using Niagara Ribbons and particle sprites in Unreal Engine 5. Let’s dive into the tutorial!
Before we begin, make sure to subscribe to my channel and hit the bell icon so you get notified whenever I post new tutorials. Let’s get started!
[Step 1: Setting Up the Scene]
First, let’s create a new particle system to work with:
- Create a new folder to keep everything organized, and right-click to create a new Niagara System.
- For this tutorial, I’m using the Fountain emitter as a base.
- We’ll simplify it a bit:
- Remove unnecessary modules like velocity and sphere location.
- Add a drag module for a smoother particle movement. Set the drag to a small curve for better control.
- Set gravity and scale color to off for a cleaner effect.
[Step 2: Adding Ribbon and Sprite]
Now, let’s add ribbons and sprites to our effect:
- Add a Ribbon emitter alongside your existing Sprite emitter.
- For the material, I’ll use a simple additive material for both the ribbons and the particles.
- To make the ribbon straight, go to the Ribbon Render Settings, and disable Tessellation. This will ensure the ribbon stays straight as you move it.
[Step 3: Adding Noise for Randomization]
To give the ribbons some randomness, add curl noise:
- Set the curl noise to a value of 50 to get some nice, chaotic motion.
- This will make the ribbon and particles feel more dynamic and lively.
[Step 4: Adjusting Colors]
Now, let’s add different colors to the ribbons and sprites:
- Both the sprite and ribbon currently have the same color. To make them different, go to the color section of the ribbon renderer.
- Create a new color parameter for the ribbon (e.g., ribbonColor) and assign it a different color (I’ll make mine green).
- For the sprite, you can leave it as red, so you’ll have red particles and green ribbons.
[Step 5: Size Control with Curves]
Next, let’s control the size of the particles and ribbons using curves:
- You can control the size of the sprites and ribbons using curves. I’ll use a curve to make the ribbons fade out over time.
- For the ribbons, go into the ribbon attribute and make sure the size is set to direct so that it initializes correctly.
[Step 6: Randomizing Life and Noise]
Now let’s add some randomness to the life and curl noise settings:
- Duplicate the curl noise module and randomize its settings slightly. You can change the frequency of the curl noise between 1 and 500 for variety.
- To randomize the life of each trail, go to the emitter spawn settings and create a new float parameter called myLife.
- Randomize this myLife value between 0.3 and 1.5. This will ensure that each duplicated emitter has a different life span, making the trails look more natural.
[Step 7: Final Adjustments and Cleanup]
If you want to avoid using multiple emitters, you can use just one emitter and duplicate it within the system. Here’s how:
- You can duplicate the emitter by selecting it and pressing Ctrl + D.
- This will create multiple instances without manually duplicating them in the viewport.
[Conclusion]
And that’s it! You now have a simple yet effective trail system using Niagara ribbons and particle sprites. I hope you learned how to randomize particle properties like color, size, and life to create more dynamic effects.
I’ll upload the original effect on my Patreon for you to download and explore further. Thanks for watching, and remember to keep learning and keep creating. See you next time, bye!
Leave a Reply