
Download – https://www.patreon.com/posts/75293066
Patreon- https://www.patreon.com/Ashif
NFT – https://opensea.io/CGHOW
Twitter – https://twitter.com/cghow_
👉👉 If you Liked it – http://bit.ly/2UZmiZ4
Channel Ashif – http://bit.ly/3aYaniw
Support me on – paypal.me/9953280644
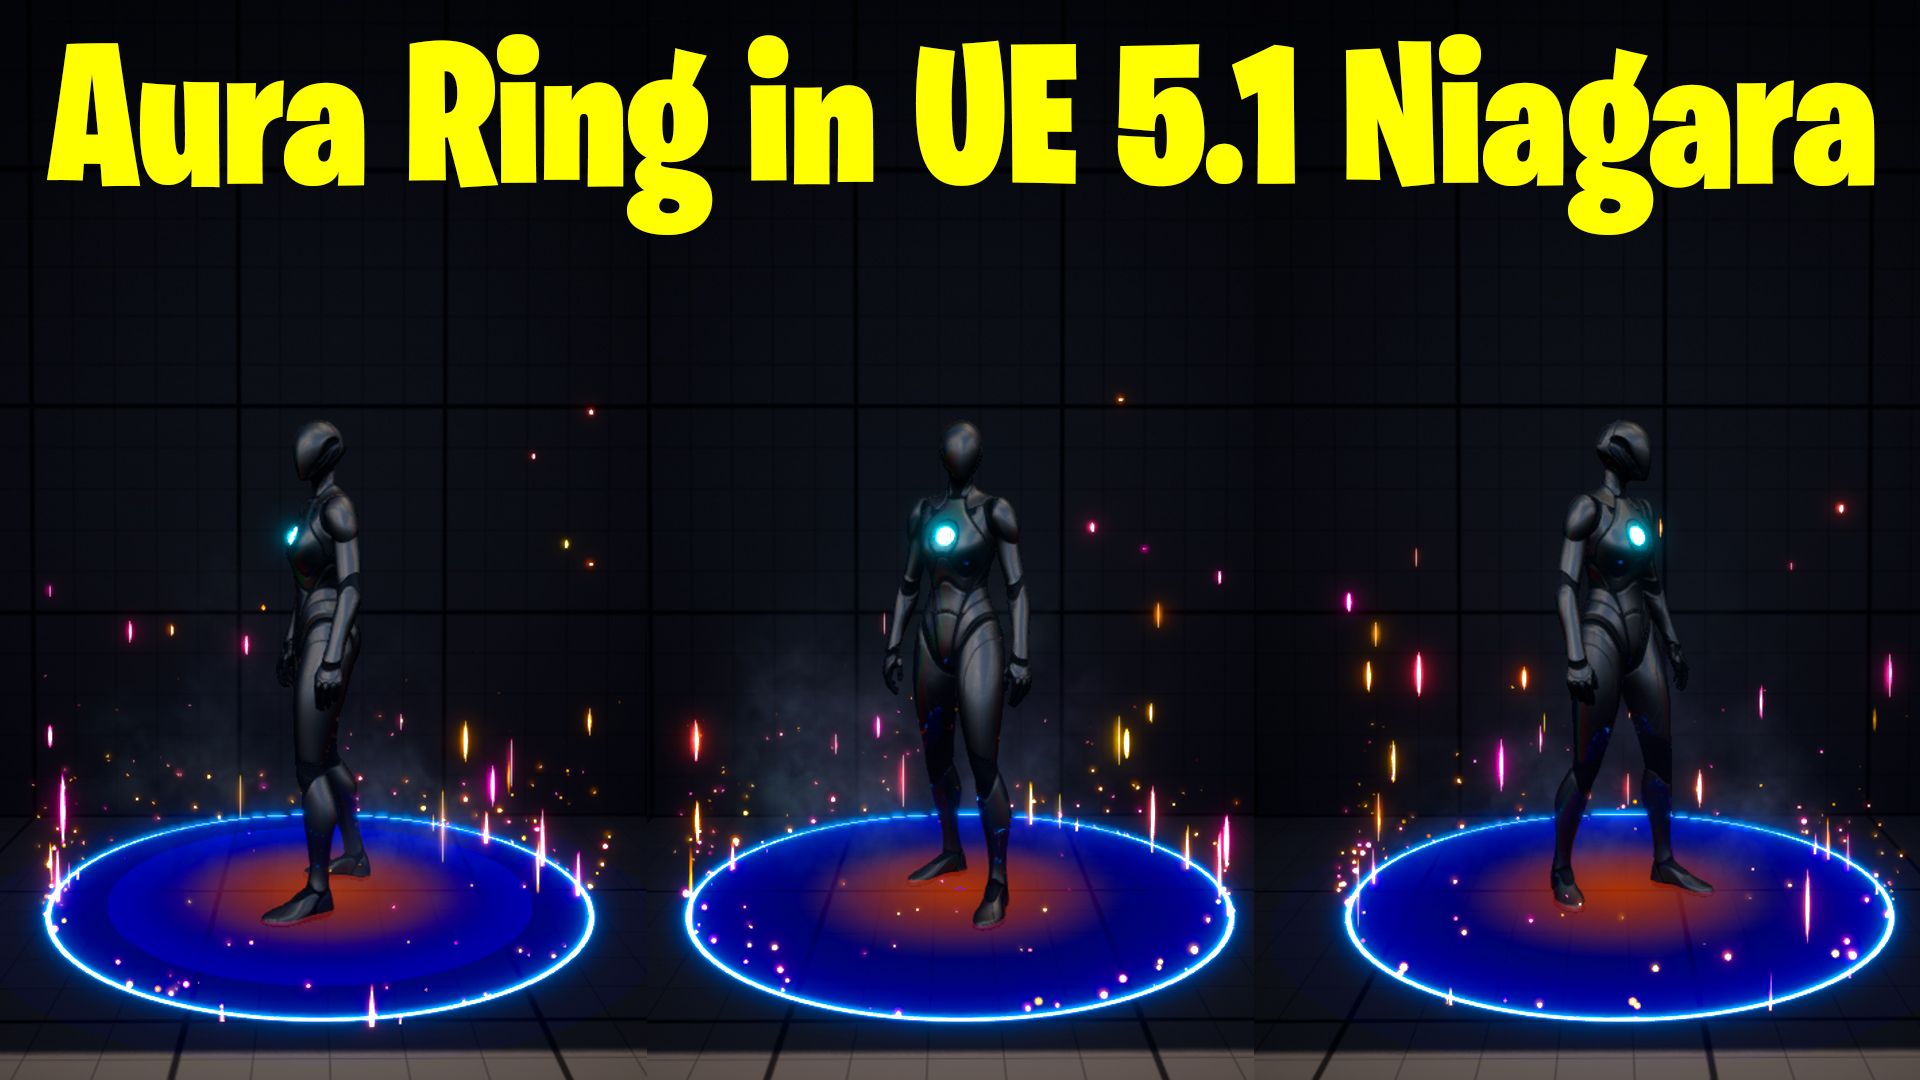
Ring Aura in Unreal Engine 5.1 Niagara Tutorial | Download Files
#cghow #UE5 #UE4Niagara #gamefx #ue5niagara #ue4vfx #niagara #unrealengineniagara #realtimevfx
●Visit – https://cghow.com/
Unreal Engine Marketplace – https://bit.ly/3aojvAa
Artstation Store – https://www.artstation.com/ashif/store
Gumroad – https://cghow.gumroad.com/
Video Title: Creating an Aura Effect Around a Character in Unreal Engine (Niagara Tutorial)
Transcript:
Hi guys, I’m Ashif Ali, and you’re watching CGHOW. Today, I’ll show you how to create this very simple aura effect around a character from scratch in Unreal Engine. If you haven’t subscribed yet, please do so, and make sure to hit the bell icon to receive notifications for new tutorials. Let’s dive into this tutorial!
Step 1: Set up the base effect
- I’ll be using the third-person template in Unreal Engine, and we’ll create our effect here. Start by creating a ring.
- Type in “M_ring1” to get the basic ring setup. We want the ring to be sharp, so we need two radial gradients: one for the larger size and one for the smaller size. We subtract the smaller from the larger to create the edge.
Step 2: Adjusting the parameters
- Make the radius dynamic so we can control it. For this, create dynamic parameters for the radius (R1 and R2) and density (D1 and D2).
- Set up the particle color and opacity mask. Unlink them for more control. Adjust opacity to make the effect more transparent (e.g., 0.5 opacity for the center and 0.2 for the edges).
Step 3: Setting up Niagara
- Create a new Niagara effect and browse to the material you just created. For this emitter, we only need one particle that spawns once and stays forever.
- Set the particle life to infinite.
- Disable “Pause Process On” and adjust the size to 200. We want sharp edges, so increase the density.
- The effect is currently camera-facing. In the “Sprite Render” settings, set the custom alignment and facing vector, and adjust the mesh orientation to use the Z-axis.
Step 4: Linking the effect to the character
- Link the effect to the character by setting it as a local effect. This will make the aura move with the character.
Step 5: Fading the ring
- Duplicate the ring emitter, and reduce the radius for the second one to create a faded effect. Change the alpha value to make it subtler.
- Set the spawn rate for the faded effect and adjust the size accordingly. Lower the opacity further to make the transition smoother.
Step 6: Adding a core glow
- Now let’s add a glowing core in the center. Duplicate the previous emitter and adjust the size and opacity to make it glow. Change the color to orange for a warm effect.
Step 7: Adding ring particles
- Duplicate the glowing core emitter and adjust settings for the “ring particles.” Set the spawn rate to 100 particles and make them spawn forever. Apply a Taurus shape for distribution.
- Set particle velocity, gravity, and curl noise to make the particles move randomly.
Step 8: Animating the particles
- Use a size curve to make the particles scale in and out over time. Adjust the curve to control the smooth transition.
- Set the particle size to a minimum of 0.5 and a maximum of 3.
Step 9: Adding subtle particles
- Copy the ring particle emitter and adjust the spawn rate to 20. Set it to be more subtle with lower gravity and size. Use a curve to scale them smoothly and make them fade in and out.
- Decrease the alpha to 0.2 to keep it subtle.
Step 10: Finalizing the effect
- The effect now looks great, but we can add some smoke for an extra layer. Copy the ring particle emitter and replace it with a smoky texture. Use a 4×4 sub UV texture for the smoke.
- Apply desaturation and adjust opacity and scale for the smoke to make it blend well with the ring effect.
Final adjustments:
- Apply the smoke to a slander shape, and adjust the height to 0, ensuring it stays beneath the character. Lower the opacity to 0.1 to keep the smoke subtle.
- Adjust the size, opacity, and gravity for the perfect final look.
That’s it! You now have a cool, dynamic aura effect around your character. You can tweak the particle sizes, spawn rates, and colors to customize it further.
Thanks for watching! Keep learning, and don’t forget to like, share, and comment on the video if you found it helpful. Bye-bye!
Leave a Reply