
Download – https://cghow.gumroad.com/l/tsykh
Patreon- https://www.patreon.com/Ashif
NFT – https://opensea.io/CGHOW
Twitter – https://twitter.com/cghow_
👉👉 If you Liked it – http://bit.ly/2UZmiZ4
Channel Ashif – http://bit.ly/3aYaniw
Support me on – paypal.me/9953280644
Rocks FX in UE5 Niagara Tutorial | Download Files
#cghow #UE5 #UE4Niagara #gamefx #ue5niagara #ue4vfx #niagara #unrealengineniagara #realtimevfx
●Visit – https://cghow.com/
Unreal Engine Marketplace – https://bit.ly/3aojvAa
Artstation Store – https://www.artstation.com/ashif/store
Gumroad – https://cghow.gumroad.com/
Video Title: Creating a Simple Rock Effect in UE5 Niagara | Blender to Unreal Tutorial
Script:
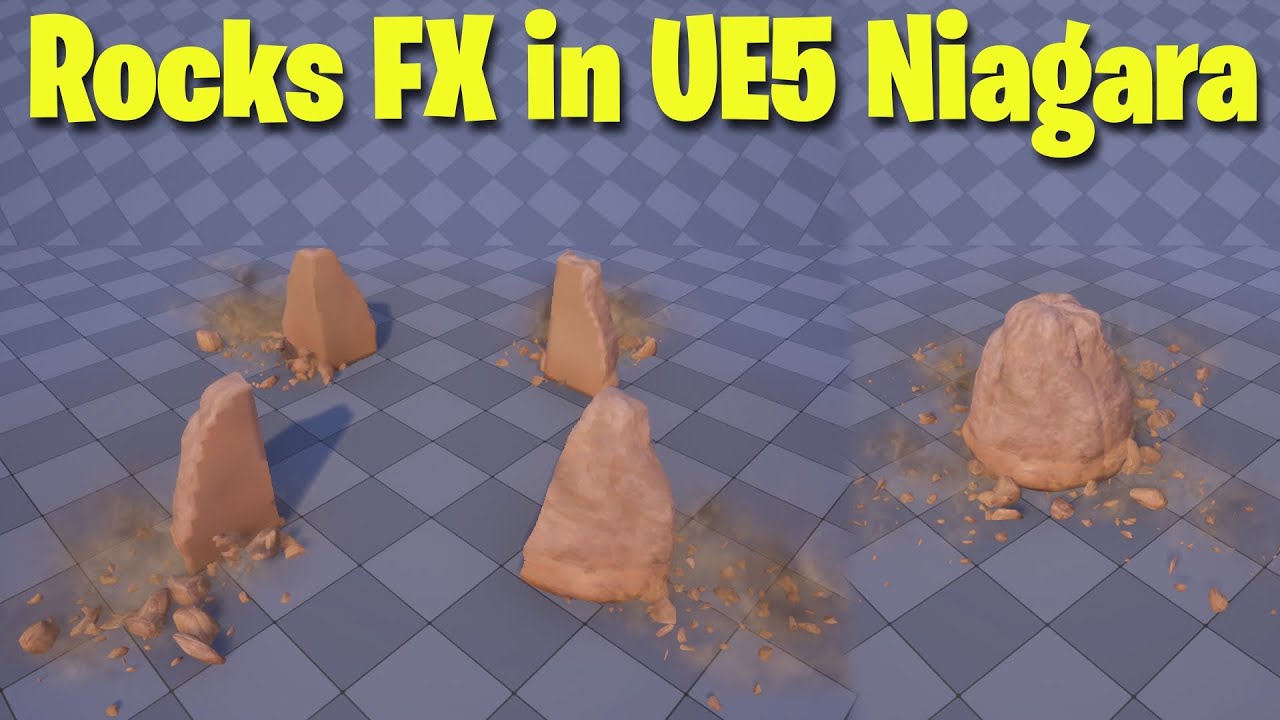
Hi guys, I’m Ashif Ali and you’re watching CGHOW. In today’s video, I’ll show you how I created this simple rock effect using UE5 Niagara and Blender for the rock mesh. If you haven’t subscribed to my YouTube channel, please hit that subscribe button. If you like this video, don’t forget to like, share, and comment. Let’s get started with this tutorial!
[Music]Step 1: Initial Setup
First of all, subscribe to my channel and click on the bell icon so you won’t miss any new videos.
I’ve created a basic rock mesh in Blender. Let me quickly show you the process:
- In Blender, I create a rock mesh and divide it into four parts along the X and Y axes using the Boolean modifier.
- I unwrap the UVs and export the mesh as an FBX file.
Step 2: Importing to Unreal Engine
Now, let’s jump to Unreal Engine:
- In Unreal, I import the rock mesh. There are five meshes, but I’ll only use four of them for the effect.
- When I drag the meshes into the viewport, they’re aligned perfectly, so I’m ready to move to the next step in Niagara.
Step 3: Creating Niagara Effect
Now, I’ll create a Niagara effect:
- Go to the Niagara system and create a new emitter for the rocks.
- Add a mesh renderer and select the four rock meshes.
- For the location, use a Torus shape, set to a radius of 0, and adjust the burst for particle emission.
Now we have a simple rock drop effect!
Step 4: Animating the Rocks
Next, I’ll animate the position of the rocks:
- Add a position modifier and animate the Z position to make the rocks move from underground to above ground.
- To make the animation smooth, I’ll use a curve for the Z position and adjust the values to control the speed at which the rocks rise and fall.
Step 5: Fixing Mesh Order
There’s an issue with the mesh order, so I’ll rename the meshes and re-export them to fix this problem.
Step 6: Adding Dust and Debris
Now, let’s add some dust and debris for more realism:
- Create a secondary emitter for dust, using a simple sphere for the spawn area.
- Add a texture for the dust and adjust its size and color to match the rock effect.
- Also, add some small debris by duplicating the rock emitter and adjusting the velocity and size.
Step 7: Final Tweaks and Jitter Effect
Finally, I’ll add some jitter to the rocks to make them look like they’re vibrating slightly as they fall. The vibration stops once they reach the ground.
Step 8: Conclusion
And that’s it! We now have a simple, but effective, rock effect in UE5 Niagara. You can always add more details like lighting or environmental effects if needed.
Thanks for watching, and as always, keep learning. Bye!
Leave a Reply