

Download – https://cghow.gumroad.com/l/zvhvqi
Download – https://artstn.co/m/Rxdqr
Ref – https://bit.ly/3zekJIa
Patreon- https://www.patreon.com/Ashif
NFT – https://opensea.io/CGHOW
Twitter – https://twitter.com/cghow_
👉👉 If you Liked it – http://bit.ly/2UZmiZ4
Channel Ashif – http://bit.ly/3aYaniw
Support me on – paypal.me/9953280644
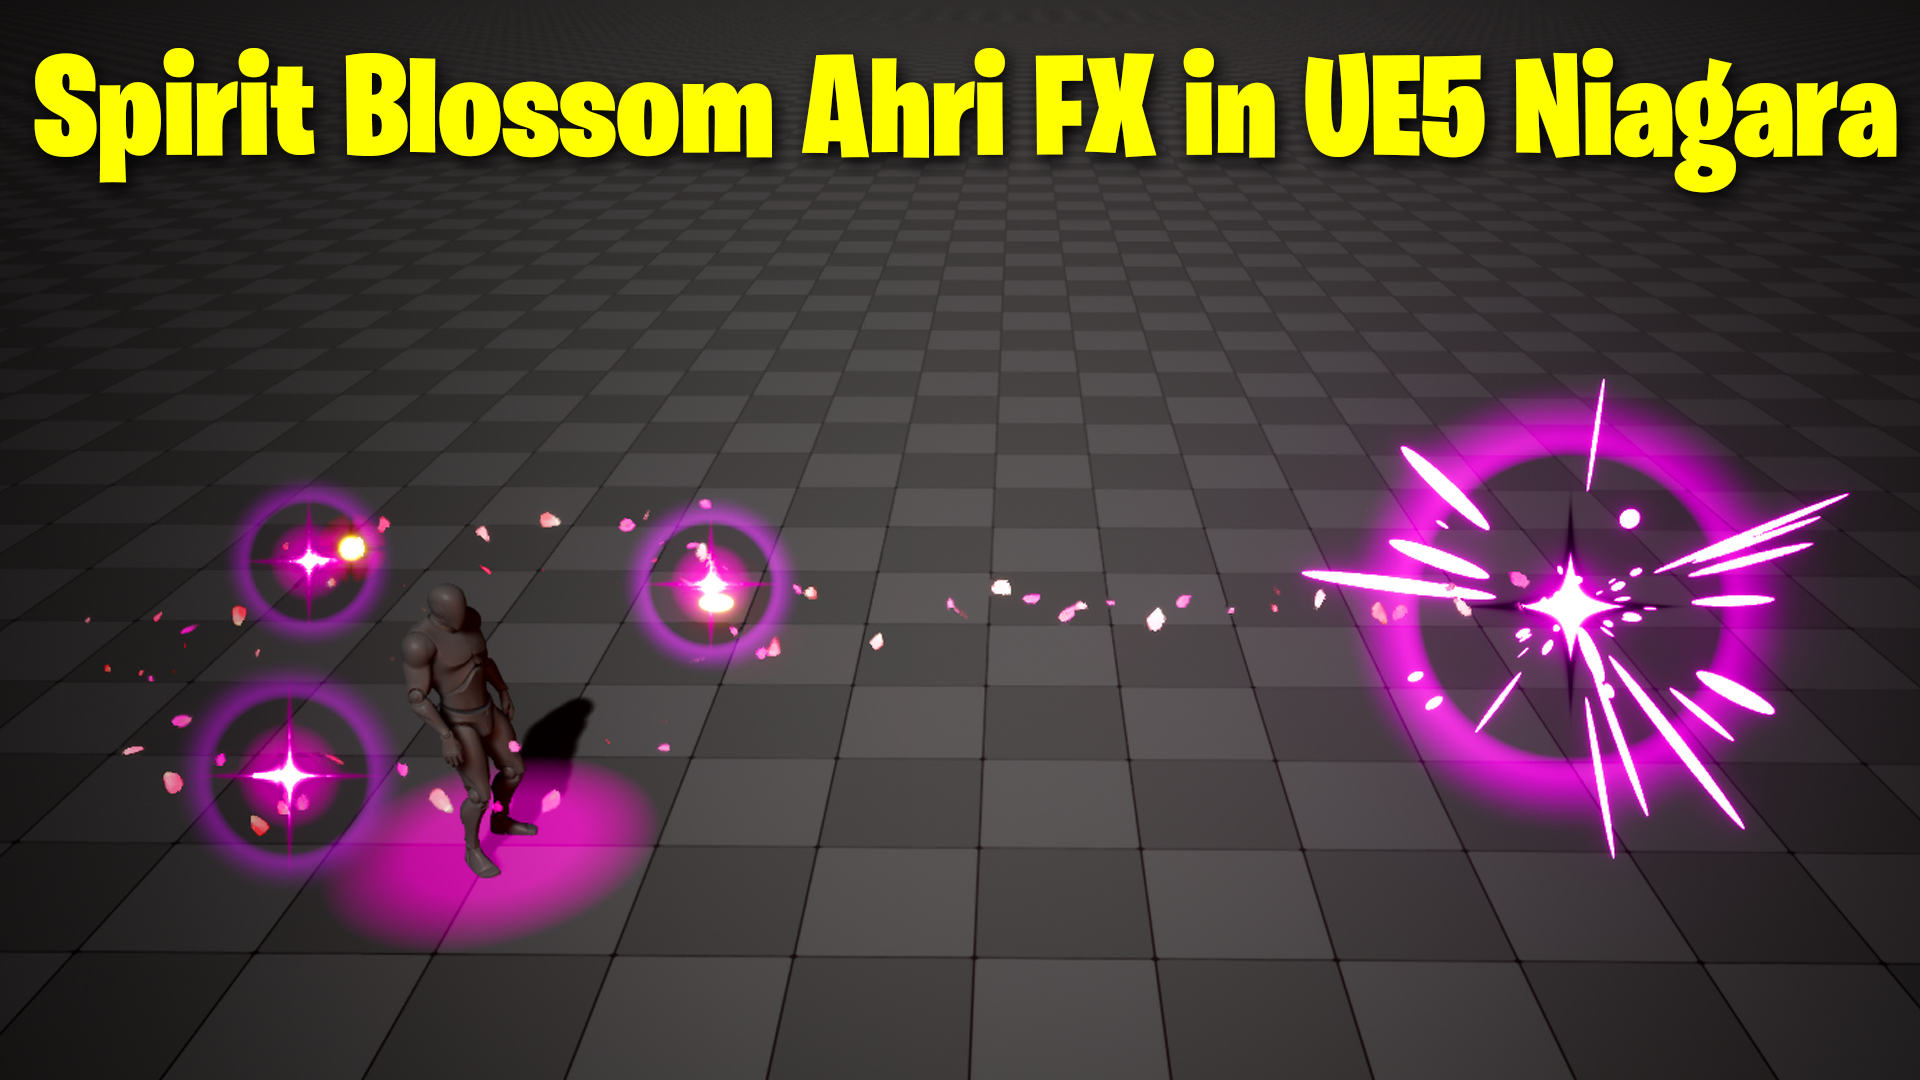
Spirit Blossom Ahri FX in UE5 Niagara Tutorial | Download Files
#cghow #UE5 #UE4Niagara #gamefx #ue5niagara #ue4vfx #niagara #unrealengineniagara #realtimevfx
●Visit – https://cghow.com/
Unreal Engine Marketplace – https://bit.ly/3aojvAa
Artstation Store – https://www.artstation.com/ashif/store
Gumroad – https://cghow.gumroad.com/
Video Introduction:
“Hi guys, I’m Asif Ali, and you’re watching CGHOW. In today’s video, we will create a beautiful rotating particle effect based on a Blossom fan art from League of Legends. If you haven’t subscribed to my YouTube channel yet, please subscribe. If you like this video, don’t forget to like, share, and comment. Without further ado, let’s start this tutorial.”
Step 1: Scene Setup
- Start by setting up the level.
- Use a simple plane for the ground and adjust the size.
- Add a light to enhance the glow effect, with adjustable intensity.
Step 2: Creating the Glow Effect
- Create an emitter called “Fountain.”
- Set up a simple particle with a duration of 1 second.
- Make the particle pink, ground-facing with custom alignment.
- Apply a fade-out effect for the particle’s life cycle.
Step 3: Rotating Particles
- Duplicate the particle for a rotating effect. Set the spawner to emit 3 particles.
- Use the “Rotate Around Point” module for rotation and adjust the speed.
- Set the particle’s life span and control its rotation.
Step 4: Particle Death and Spawn Timing
- Adjust particle lifespan and spawn delay.
- Set the particles to die when they reach a certain position (e.g., y-axis = 150).
- Fix the issue of particles adjusting their gap by turning off the execution depth.
Step 5: Additional Rotation Control
- Create a custom “Spin” module to control the speed and prevent particles from shifting positions while rotating.
- Control rotation speed with a user parameter for easy adjustment.
Step 6: Adding Star Effect
- Create a star material using radial and power modules.
- Use a dynamic parameter for customization.
- Set the star to fade and change color after a certain time.
Step 7: Adding Rings
- Create rings by using two radials and subtracting them to form a ring shape.
- Adjust their size and color to match the desired effect.
Step 8: Petals Effect
- Use an emitter to spawn petals, adjusting gravity and spawn location.
- Apply a basic petal material and randomize size and rotation to make them look more natural.
Step 9: Projectile and Shooting Effect
- Duplicate the glow effect and make it a projectile.
- Add velocity on the y-axis for movement.
- Attach a particle spawn event that triggers when the particle dies.
Step 10: Final Adjustments
- Add a glow effect to the projectile when it dies, using a pink color.
- Use the “Star” material to create an impact star when the projectile dies.
- Add rings and additional particles to enhance the impact effect.
Conclusion:
“We’ve now completed our effect! We’ve created a rotating, shooting particle system with glowing stars, rings, and petals. I hope you learned something new today. Don’t forget to subscribe for more Unreal Engine VFX tutorials. Thanks for watching, and I’ll see you in the next video!”
Leave a Reply