
Download – https://www.patreon.com/posts/79336428
Patreon- https://www.patreon.com/Ashif
NFT – https://opensea.io/CGHOW
Twitter – https://twitter.com/cghow_
👉👉 If you Liked it – http://bit.ly/2UZmiZ4
Channel Ashif – http://bit.ly/3aYaniw
Support me on – paypal.me/9953280644
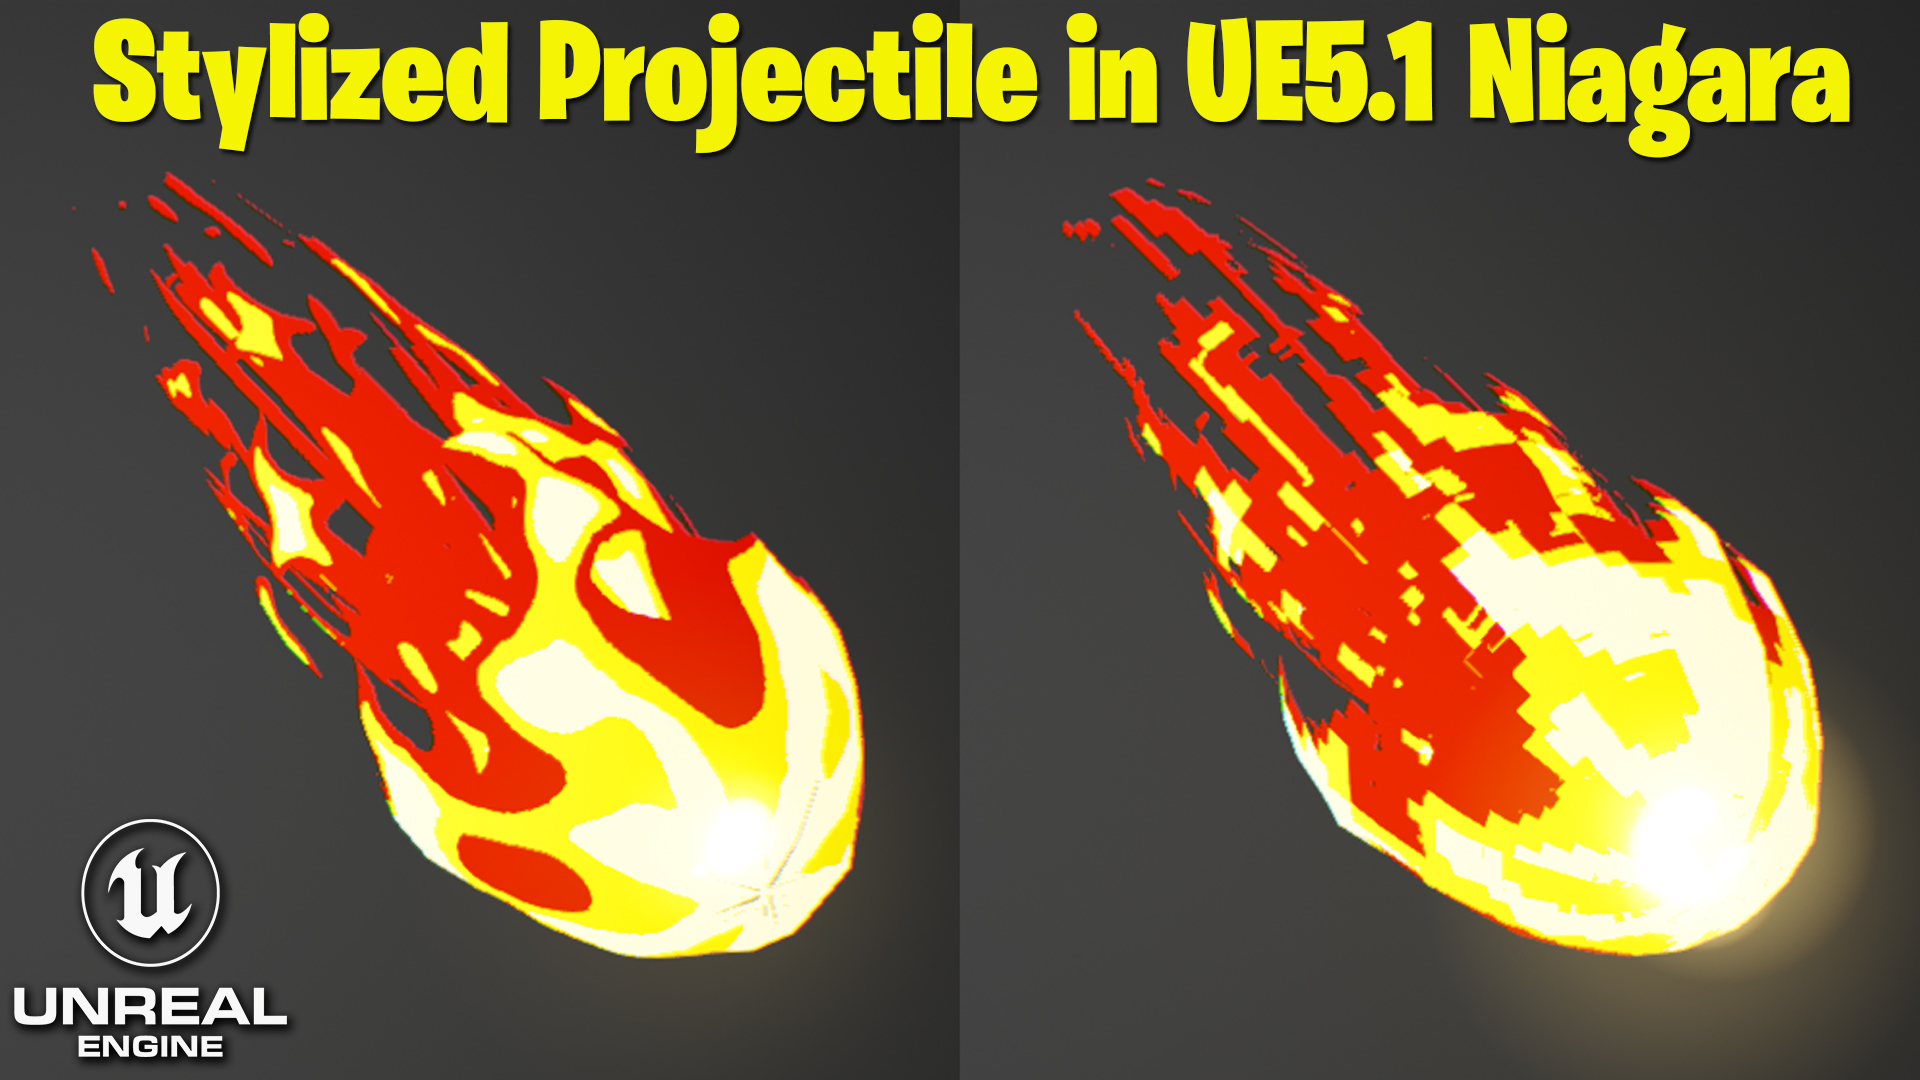
Stylized Projectile in Unreal Engine 5.1 Niagara Tutorial | Download Files
#cghow #UE5 #UE4Niagara #gamefx #ue5niagara #ue4vfx #niagara #unrealengineniagara #realtimevfx
●Visit – https://cghow.com/
Unreal Engine Marketplace – https://bit.ly/3aojvAa
Artstation Store – https://www.artstation.com/ashif/store
Gumroad – https://cghow.gumroad.com/
Video Title: Stylized Projectile Effect in UE 5.1 Niagara
Host Introduction:
- Hi guys, I’m Ashif Ali and you’re watching CGHOW. Today, we’re going to recreate a stylized projectile effect in Unreal Engine 5.1 Niagara.
1. Material Creation (Stylized Effect):
- Master Material Setup:
- Start by creating a master material and an instance material.
- Use a texture and manipulate it to create a pixelated look or layered effect.
- Pixelating the Texture:
- Multiply texture coordinates and apply a floor operation, which will round out the values and make the texture appear pixelated.
- Adjust the tiling and panning to get a more dynamic look.
- Opacity Mask:
- Create an opacity mask to cut out the texture into layers.
- Use a gradient to control the transition between these layers.
- Adding Colors:
- Blend three different colors (e.g., yellow, orange, red) to create a stylized effect.
- Control the intensity of the gradient using a power parameter.
- Instance Material:
- Create an instance of the material and tweak parameters like tiling, opacity, and color blending to fine-tune the appearance.
2. Setting up the Particle System in Niagara:
- Emitter Creation:
- Create a new emitter and use a sphere mesh to emit particles.
- Set the particle spawn rate to 10 and make the particles loop forever.
- Particle Movement and Rotation:
- Use the execution index to randomize the position of each particle.
- Set random rotation along the Z-axis for a more dynamic, natural look.
- Scaling the Particles:
- Apply a non-uniform scaling to the particles, modifying the Z-axis over time with a curve.
- Offset the particles so they move away from the center of the sphere.
- Additional Customization:
- Add curves to adjust the size and appearance of the particles, making them more stylized or conical.
3. Final Tweaks and Glow:
- Glow Effect:
- Add a glow effect to the particles to make them stand out.
- Use a secondary emitter for the glow and adjust its size and alpha value.
- Tweak the particle life and alpha to control the fading and appearance of the glow.
- Adjustments:
- Fine-tune the particle movement, scaling, and glow to match your desired aesthetic.
- Make sure the glow and color are aligned for a seamless visual.
Conclusion:
- This stylized projectile effect uses pixelation, layered textures, and dynamic particle behavior to create an engaging and visually appealing effect in Unreal Engine 5.1 Niagara.
- The project files will be available on Patreon, allowing you to check out the full setup and customize it for your own needs.
Call to Action:
- Don’t forget to subscribe and hit the bell icon for more tutorials. Thanks for watching, and keep learning!
Leave a Reply