

Download – https://cghow.gumroad.com/l/ikxvi
Patreon- https://www.patreon.com/Ashif
NFT – https://opensea.io/CGHOW
Twitter – https://twitter.com/cghow_
👉👉 If you Liked it – http://bit.ly/2UZmiZ4
Channel Ashif – http://bit.ly/3aYaniw
Support me on – paypal.me/9953280644
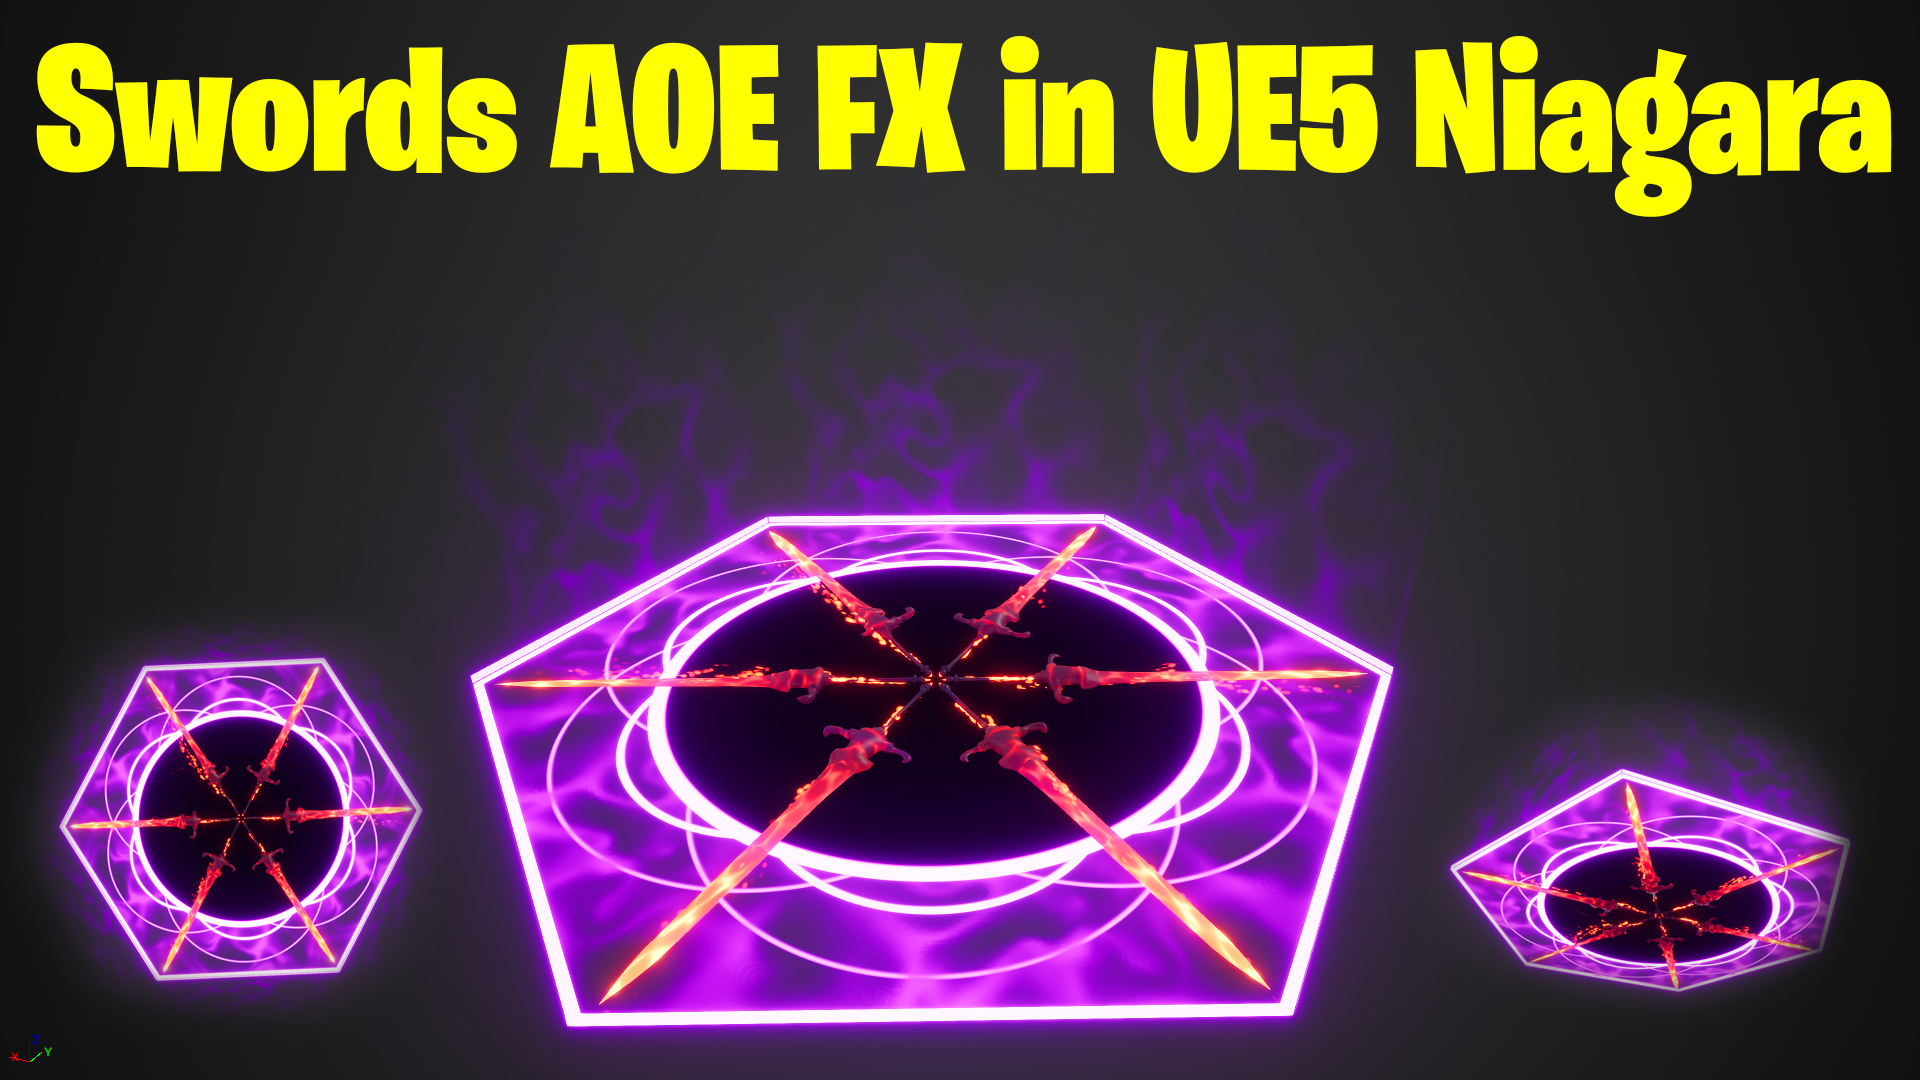
Swords AOE FX in UE5 Niagara Tutorial | Download Files
#cghow #UE5 #UE4Niagara #gamefx #ue5niagara #ue4vfx #niagara #unrealengineniagara #realtimevfx
●Visit – https://cghow.com/
Unreal Engine Marketplace – https://bit.ly/3aojvAa
Artstation Store – https://www.artstation.com/ashif/store
Gumroad – https://cghow.gumroad.com/
Hi guys, I’m Ashif Ali and you’re watching CGHOW. In today’s video, I’ll show you how to create a sword AOE effect in Unreal Engine 5 using Niagara. If you haven’t subscribed to my channel yet, please subscribe, and if you like this video, don’t forget to like, share, and comment. Let’s get started!
[Music]
First, make sure to subscribe to my YouTube channel and hit the bell icon to get notifications of all new videos.
Creating the Material for the Effect:
- Start by creating a basic line material:
- Use Texture Coordinates and apply a Mask.
- Subtract by 0.5 to center the line, then use Absolute to get positive values on both sides.
- Add Step to adjust the thickness (e.g., 0.1).
- Adjust the Line Thickness and Offset:
- You can change the offset to control the line’s position (e.g., 0.4).
- Set the Opacity parameter to control the transparency.
- Add Noise and Control Panning:
- Use a Texture (e.g., Aura) and pan it downward (e.g., -0.3).
- To ensure the noise is only on the bottom of the line, apply a Step and invert it, then multiply the noise with the line material.
- Create the Fading Effect:
- Use Texture Coordinate and Mask to generate gradients for the top and bottom.
- Adjust the fading effect with Power to control the gradient softness.
- Blend the Effects:
- Add another noise texture to distort the UVs and control the intensity by multiplying it with a parameter to adjust how much distortion is applied.
Creating the Niagara Effect:
- Set Up the Niagara Emitter:
- Add a new emitter (e.g., Hexagon) and configure the particle size, orientation, and facing.
- Use a Shape Location (e.g., Taurus) to distribute particles randomly.
- Align particles to the mesh orientation using the Z-Axis.
- Apply Material and Custom Parameters:
- Assign the material created earlier and adjust the Offset and Thickness parameters.
- Apply a Sphere Mask to Cut the Effect:
- Use a Sphere Mask to cut the effect in a circular shape.
- Create parameters for the Radius and Hardness of the mask to control how soft or sharp the effect is.
Final Tweaks:
- Add Extra Elements (e.g., Rings, Mesh):
- Create additional particle effects, such as a Ring to make the AOE effect more dynamic.
- Adjust the material to create different density levels for the rings.
- Particle Emitters:
- Add Particles from the Sword and adjust settings such as size, velocity, and color.
- Use Curl Noise to add dynamic motion to the particles.
- Adjust Life Cycle and Size:
- Set particle life duration and randomize the size and speed for variation.
Final Result:
Now you have your sword AOE effect ready, with particles that dynamically emit from the sword and rings that complete the visual impact. Feel free to experiment with settings for more customization.
Leave a Reply