

Download – https://www.patreon.com/posts/59745773
👉👉 If you Liked it – http://bit.ly/2UZmiZ4
Channel Ashif – http://bit.ly/3aYaniw
Support me on – https://www.patreon.com/Ashif
Support me on – paypal.me/9953280644
UE4 Material FX Tutorial | Download Files
#cghow #UE5 #UE4Niagara #gamefx #ue5niagara #ue4vfx #niagara #unrealengineniagara #realtimevfx
●Upload Your Tutorials/Work – https://cghow.com/
Purchase Effect Package From Unreal engine Marketplace –
Unreal Engine Niagara Effects in Marketplace – https://youtu.be/DF4Lb_btEus
Niagara Effects Pack in Marketplace – https://youtu.be/g6_k8T7FqHA
Unreal Engine Advanced Magical Effects in Marketplace – https://youtu.be/0Dn3GLIzhMo
Smoke in UE4 Niagara Pack01 in Unreal Engine Marketplace – https://youtu.be/38BPA_9yqJ8
UE4 Niagara Fire Pack 01 in Marketplace – https://youtu.be/PW5FL-zZoP4
UE4 Niagara Fire Pack 02 in Marketplace – https://youtu.be/fdLXPlUEzxM
UE4 Niagara Explosions Pack 02 in Marketplace – https://youtu.be/dj-XX9he4aE
Unreal Engine Niagara Effects Pack 03 in Marketplace – https://youtu.be/0kKon43I-Og
Slow Motion Explosion in UE4 Niagara Pack 04 in Marketplace – https://youtu.be/lUK1eW5zRP0
Unreal Engine Niagara Effects pack 04 in Marketplace – https://youtu.be/MihWYB31Gi4
Slow Motion Explosion in UE4 Niagara Pack 04 in Marketplace – https://youtu.be/lUK1eW5zRP0
UE4.25 Niagara Effects Pack 05 in Marketplace – https://youtu.be/sn1HIENVTDI
UE4.25 Niagara Effects Pack 06 in Marketplace – https://youtu.be/pvH_xGQ5jvs
Explosions Package in Unreal Engine Niagara Particle System – https://youtu.be/1mbqWscjUJ4
●Follow FB Page – https://www.facebook.com/cghow0/
●Join FB Group – https://www.facebook.com/groups/cghow/
●Android App – http://bit.ly/2XUnhoR
Playlists-
●Unreal Engine Niagara Tutorials – http://bit.ly/2SmPEuT
●Unreal engine VFX Tutorials -http://bit.ly/2JNXyJZ
●Unity VFX Tutorials – http://bit.ly/2XNGlKz
.
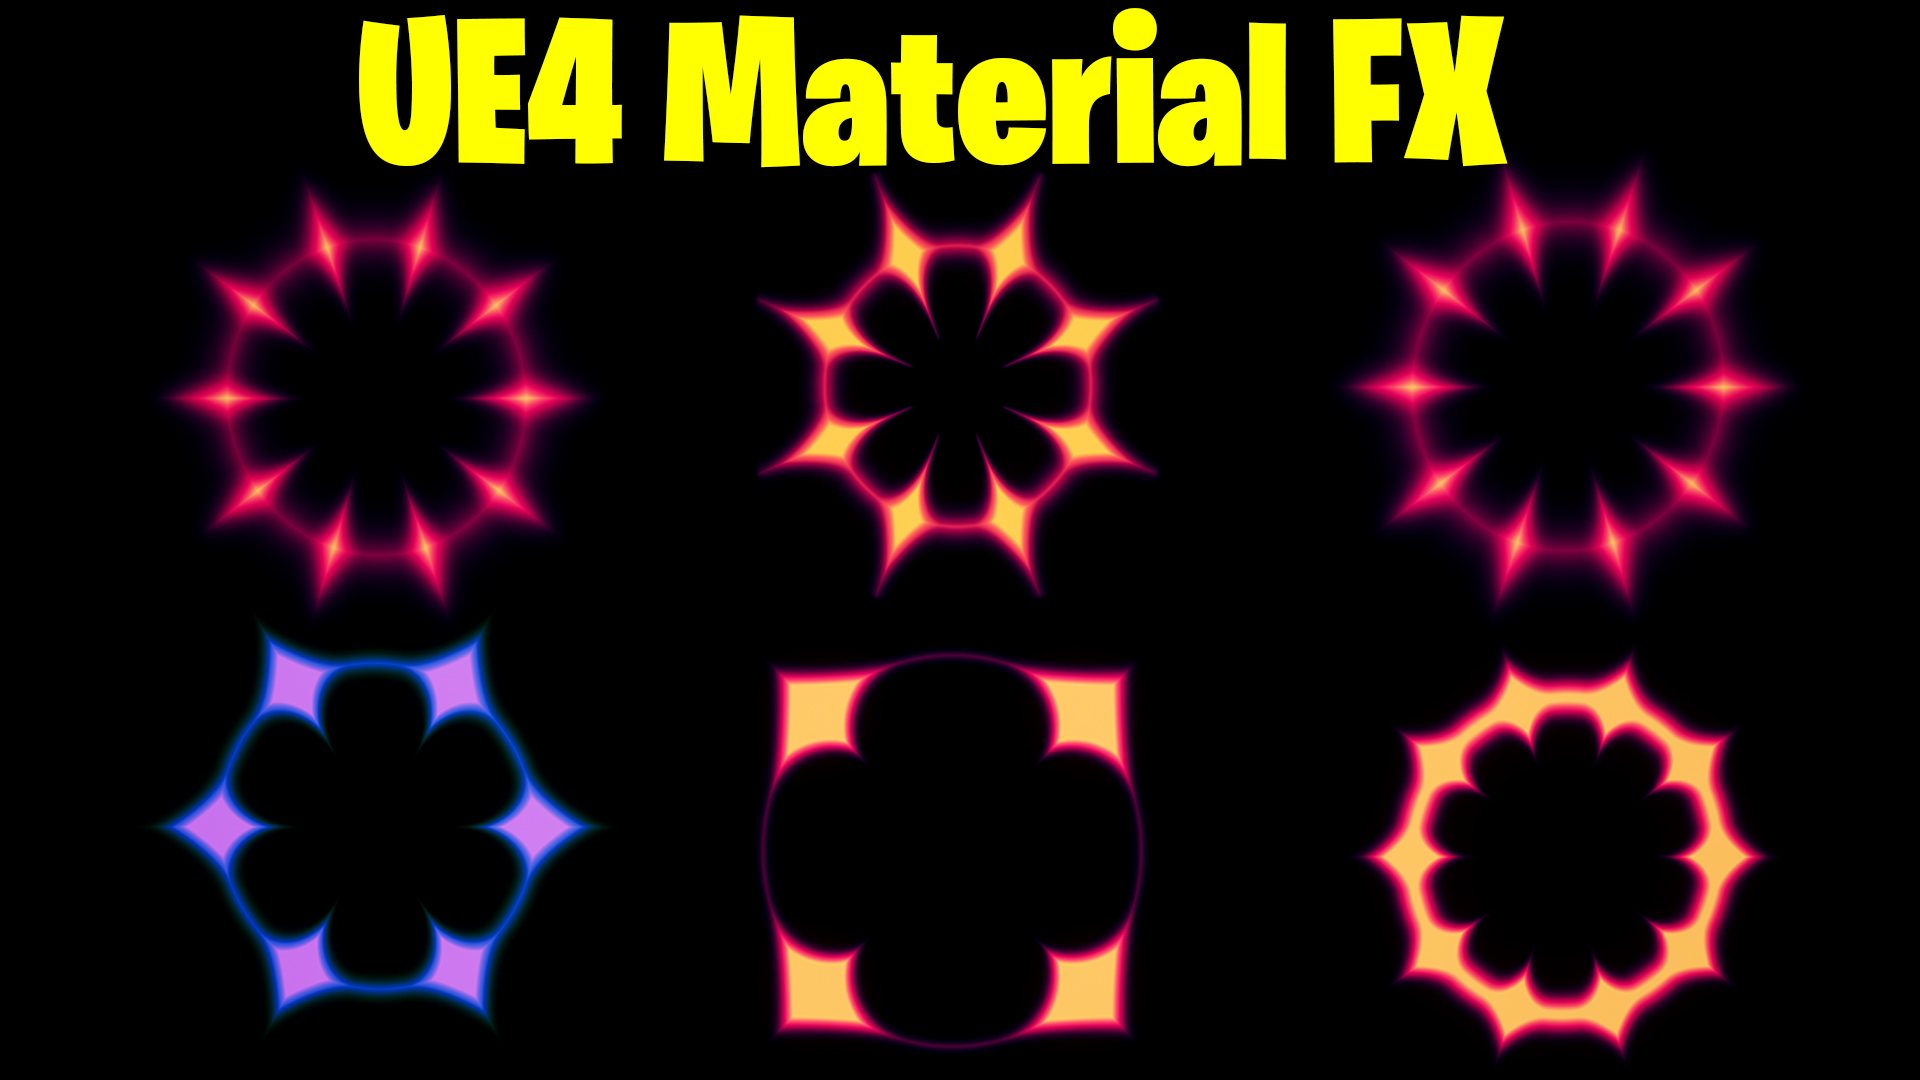
Hi guys, I’m Asif Ali and you’re watching CGHOW! Today, I’m going to show you how to create a cool stylized ring effect in Unreal Engine using materials. This effect is based on noise and a texture gradient, and it offers a lot of customization. You can change the color, sharpness, the number of spikes, and even the rings! It’s super versatile and looks great, so let’s dive into the tutorial.
[Music]
Before we get started, don’t forget to subscribe to my YouTube channel and hit the bell icon so you never miss a new video!
Step 1: Creating the Ring
- Start by creating a new material. I’m using an empty project in UE4.27.
- To create the ring, there are several ways to do this, but for this tutorial, I’ll show you how to make it without textures.
- First, I’ll create a radial node and adjust the settings. Increase the size and set it to ‘unlit’ for a better preview.
- Now, let’s duplicate the radial to make it smaller and subtract it from the original radial to get the shape of the ring.
Step 2: Using Radial Coordinates
- Instead of using two radials, let’s simplify the process using a single node called ‘vector to radial.’ This gives us different radial UV options, such as polar coordinates.
- Adjust the density and play around with the radius to get the ring to look just how you want it.
- You can multiply the result by a value to brighten the ring or control its appearance further.
Step 3: Creating the Spikes
- Next, let’s create spikes inside the ring. To do this, we need to take the radial coordinates and apply a texture called a ‘radial ramp.’
- Multiply and adjust the values to cut out the spikes, controlling their density and size.
- Use a ‘smooth step’ node to fine-tune the sharpness of the spikes, which gives you complete control over their appearance.
Step 4: Adding Color
- To change the color of the ring, you can multiply with a single color or use multiple colors by applying a Lerp node. I’ll show you how to blend red and green for a simple two-color gradient.
- For a more advanced gradient, you can use a black-and-white texture to control the color flow and apply this to your material.
- You can also tweak the gradient to create beautiful color transitions in the effect.
Step 5: Customizing Parameters
- Now, I’ll convert the ring and spike density to parameters so you can easily adjust them later. I’ll add parameters for ring density, spike density, and spike cut-out density.
- You can also add a parameter to adjust the hue, allowing you to change the color of the entire gradient on the fly.
Final Touches and Testing
- To prevent the texture from repeating, use a clamp to keep it from tiling.
- Test the material by applying it to a plane in the viewport. As you zoom in, you’ll notice the high level of detail, which is one of the benefits of creating this effect in material rather than Photoshop.
- You can also animate these materials within a particle system and customize it further within UE4.
Conclusion
- This tutorial is all about the material creation, but you can integrate it into a particle system for even more dynamic results.
- The material is now ready, and you can download it from my patterns section to use it in your own projects.
Thanks for watching, keep learning, and don’t forget to subscribe for more tutorials. See you next time!
Leave a Reply