

Support me on – https://www.patreon.com/Ashif
Support me on – paypal.me/9953280644
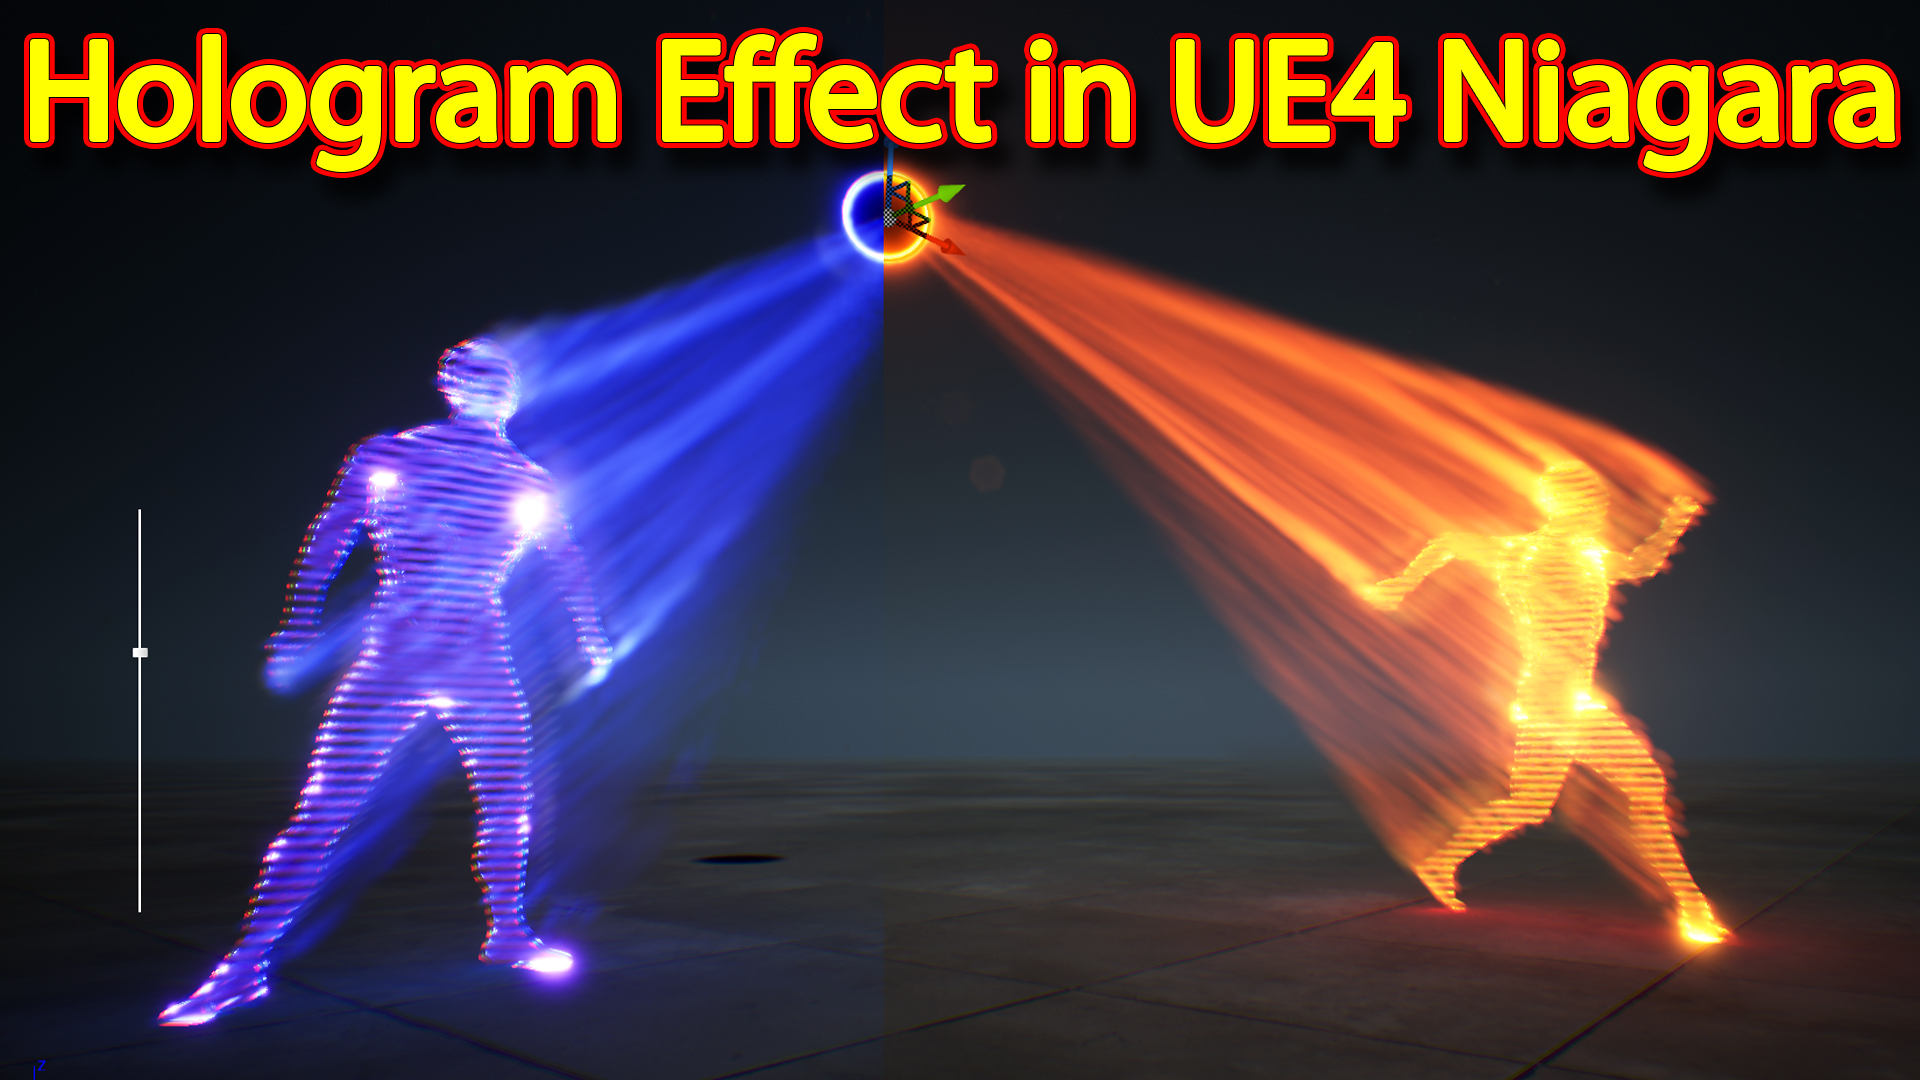
hi guys in this video you will learn how to make a cool hologram effect in unreal engine Niagara and also connect color with a widget so you can change whole effect color in real time.
#cghow #unrealengine #gamevfx #gamefx #ue4vfx #ue4fx #niagara #unrealengineniagara #unrealenginevfxtutorials
●Upload Your Tutorials/Work – https://cghow.com/
…………………………………………………………………………………………………………
Purchase Effect Package From Unreal engine Marketplace –
●Niagara Effects Pack – http://bit.ly/2LWgZTx
●Advanced Magical FX – http://bit.ly/2XQYyXL
……………………………………………………………………………………………………………………………………
●Patreon – https://www.patreon.com/Ashif
……………………………………………………………………………………………………………………………………
●Follow FB Page – https://www.facebook.com/cghow0/
●Join FB Group – https://www.facebook.com/groups/cghow/
……………………………………………………………………………………………………………………………………
●Android App – http://bit.ly/2XUnhoR
……………………………………………………………………………………………………………………………………
Playlists-
●Unreal Engine Niagara Tutorials – http://bit.ly/2SmPEuT
●Unreal engine VFX Tutorials -http://bit.ly/2JNXyJZ
●Unity VFX Tutorials – http://bit.ly/2XNGlKz
……………………………………………………………………………………………………………………………………
●Discussion & Help Forum – http://bit.ly/2Lo0Er7
……………………………………………………………………………………………………………………………………


Title: Creating a Hologram Effect in Unreal Engine with Color Customization
Introduction: Hello everyone, I’m Asif Ali, and you’re watching Serial Video. Today, I’ll show you how I created this hologram effect in Unreal Engine using Niagara. You can even change the color of the effect with a widget, and it looks really cool! Let’s dive into how I made it.
Materials and Color Customization: To start, I created a hologram character with a unique material that features glowing lines and rays. One cool feature is the ability to change the color of the effect dynamically using a widget. I also demonstrated how to move the character around without affecting the effect’s appearance, keeping it the same no matter where it’s placed.
The material is based on a texture that controls the lines and glow. Here’s a breakdown of what’s inside the material:
- Tiling: The lines can be resized using a multiplier. Larger values make the lines thinner and smaller values make them wider.
- Glow Effect: I control the fringe of the hologram using the “glow” function. By tweaking this, I can make the edges glow brighter or less intensely.
- Color Adjustment: I used two color parameters—one for the edges and one for the inner part of the hologram. The cool part is that the outer edges can glow while the center remains a solid color, which can be customized through a simple hue slider in the blueprint.
Material Setup: The hologram’s material is made using the world position of the object, specifically the Z-axis, to create horizontal lines. By manipulating the world position with a tile parameter, I can scale the lines in both directions. This gives the hologram an animated, fluid look. The material uses fresnel effects to control the glowing edges.
Blueprint Logic: I used a basic blueprint with a slider widget to dynamically change the color in the material. This is where you can control the hue to change the hologram’s appearance in real-time. The material and the blueprint are linked so that as you adjust the slider, the color changes accordingly.
- Slider Widget: The slider’s value updates the hue parameter, allowing me to switch between different colors.
- Blueprint: The blueprint handles spawning and attaching the particle system to the character’s mesh. On every tick, the particles adjust based on the character’s position and rotation.
Particle System: The particle system in the effect is split into two main parts:
- Source Particles: These spawn from the mesh itself. I used a skeleton mesh to spawn particles from each of the vertices on the character’s body, creating a more detailed hologram effect.
- Trail Particles: These particles follow the movement of the source particles and create a trailing effect. I used an attractor point to manipulate the direction of these particles, giving them a glowing and trailing effect based on the player’s movement.
I also added a sphere to attract the particles, and by adjusting the radius and strength of the attractor, I controlled how the particles move.
Final Effect: In the blueprint, the final effect is a combination of the hologram material, particle systems, and color parameters controlled by a slider. The particle trails create a glowing aura around the character, and the source particles emanate from the character’s body in real-time. The overall effect looks like a hologram that can be dynamically customized.
Conclusion: That’s how I created the hologram effect with color change in Unreal Engine! I hope this breakdown of the material setup, blueprint logic, and particle system helps you in your own projects. If you have any questions, feel free to leave them in the comments below.
Key Points:
- Hologram Material: Created using world position, fresnel effects, and tile parameters for customizable lines.
- Color Customization: Controlled using a hue slider in the blueprint.
- Particle Systems: Source particles spawn from the mesh vertices and trail particles create glowing effects.
- Blueprint Logic: Handles the color change and particle system behavior based on character movement.
Tags: #UnrealEngine #Niagara #VFX #HologramEffect #ColorCustomization #ParticleSystem #GameDevelopment #Tutorial
Leave a Reply