
Support me on – https://www.patreon.com/Ashif
Support me on – paypal.me/9953280644
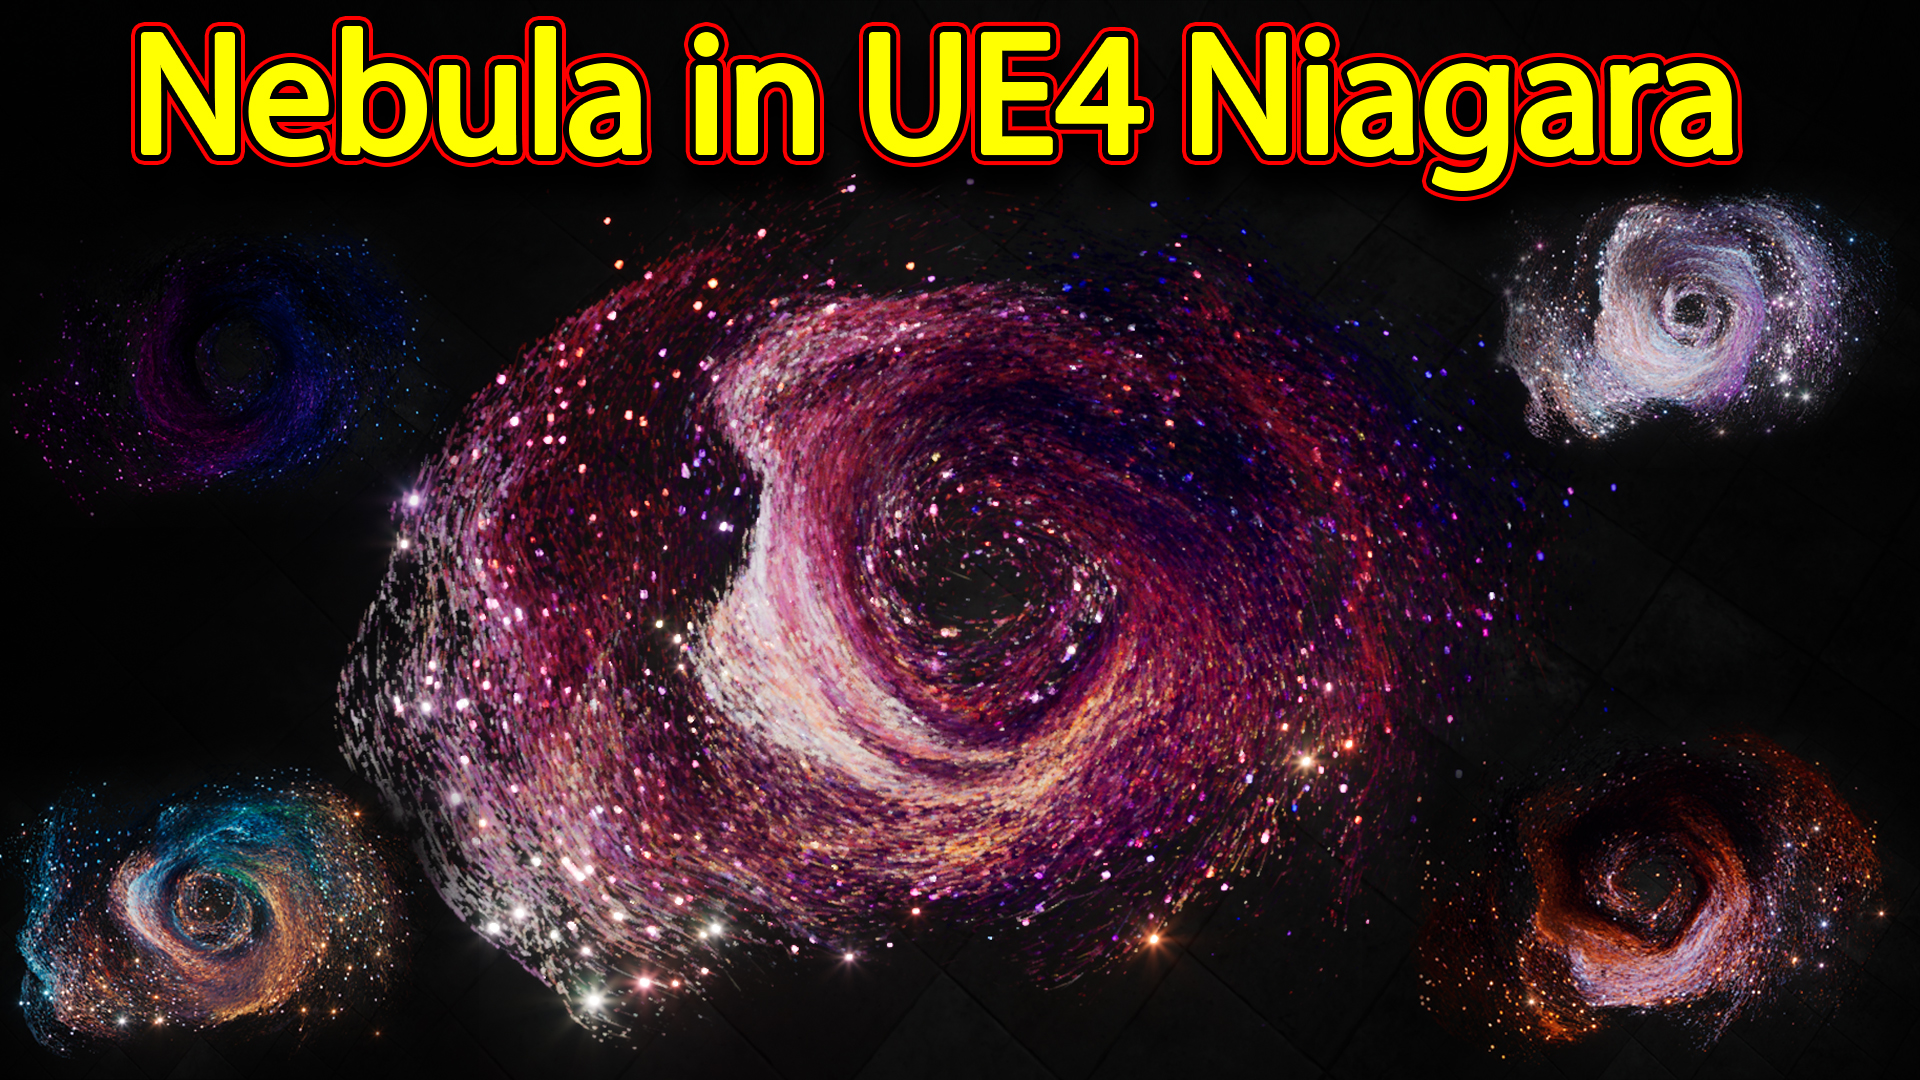
hi guys today i have created this nebula effect in unreal engine Niagara. its very simple and i have 6-8 variation of this effect just my changing texture in materials. and this this from scratch tutorial.
#cghow #RealtimeVFX #UE4Niagara #gamefx #ue4vfx #ue4fx #niagara #unrealengineniagara #unrealenginevfxtutorials
●Upload Your Tutorials/Work – https://cghow.com/
…………………………………………………………………………………………………………
Purchase Effect Package From Unreal engine Marketplace –
●Niagara Effects Pack – http://bit.ly/2LWgZTx
●Advanced Magical FX – http://bit.ly/2XQYyXL
……………………………………………………………………………………………………………………………………
●Patreon – https://www.patreon.com/Ashif
……………………………………………………………………………………………………………………………………
●Follow FB Page – https://www.facebook.com/cghow0/
●Join FB Group – https://www.facebook.com/groups/cghow/
……………………………………………………………………………………………………………………………………
●Android App – http://bit.ly/2XUnhoR
……………………………………………………………………………………………………………………………………
Playlists-
●Unreal Engine Niagara Tutorials – http://bit.ly/2SmPEuT
●Unreal engine VFX Tutorials -http://bit.ly/2JNXyJZ
●Unity VFX Tutorials – http://bit.ly/2XNGlKz
……………………………………………………………………………………………………………………………………
●Discussion & Help Forum – http://bit.ly/2Lo0Er7
……………………………………………………………………………………………………………………………………


Video Summary:
- Topic: Creating a Nebula Effect in Unreal Engine Niagara.
- Overview: Asif Ali demonstrates how to create a dynamic nebula effect where the texture can be changed, and the entire effect responds accordingly.
Key Points:
- Creating the Particle System:
- Begin by creating a new Niagara particle system.
- Use a sphere location or static mesh location for spawning particles.
- Apply curl noise for random motion and drag to slow down the particles.
- Use vortex force to rotate the particles, creating the nebula movement.
- Utilize GPU for handling large numbers of particles (e.g., 10,000).
- Mesh Creation (Maya):
- The nebula shape is made using a torus mesh with noise applied using Maya’s deform modifier.
- Multiple duplications and scaling are done to create a randomized look for the nebula.
- Material Setup:
- Dynamic parameters are added to the material to change the color of the nebula particles.
- Apply a texture to the material, which dynamically responds per particle.
- Use a dynamic parameter (float) to control the color, which is connected to the UVs of the mesh.
- Particle System Adjustments:
- Different spawn rates and color values are used to create varied effects like glow and streaks.
- Color noise is applied to give the nebula a more organic look with random movement.
- Adjustments in particle size and velocity alignments are made for different behaviors in the nebula system.
- Mesh Creation in Maya (Detail):
- In Maya, the mesh is created by applying a noise modifier to a torus and adjusting its radius and segments to create random variations.
- Duplication and scaling are done to generate the desired nebula shape.
Notes and Tips:
- Material Changes: Changing the texture in the material dynamically changes the entire nebula effect, offering flexibility for various nebula looks.
- Performance Considerations: When using thousands of particles (like 10,000), ensure the effect is optimized for GPU use.
- Custom Mesh Creation: Using simple geometry and deforming it with noise in Maya can create complex nebula shapes without overly complex modeling.
Tags:
- Unreal Engine
- Niagara VFX
- Nebula Effect
- Particle Systems
- Dynamic Materials
- 3D Modeling in Maya
- GPU Particles
- Vortex Force
- Randomized Particle Effects
This effect is relatively simple, yet highly customizable, which makes it useful for various types of projects, especially in space or cosmic-themed games or simulations.
Leave a Reply