

Download – https://www.patreon.com/posts/84804543
Patreon- https://www.patreon.com/Ashif
NFT – https://opensea.io/CGHOW
Twitter – https://twitter.com/cghow_
👉👉 If you Liked it – http://bit.ly/2UZmiZ4
Channel Ashif – http://bit.ly/3aYaniw
Support me on – paypal.me/9953280644
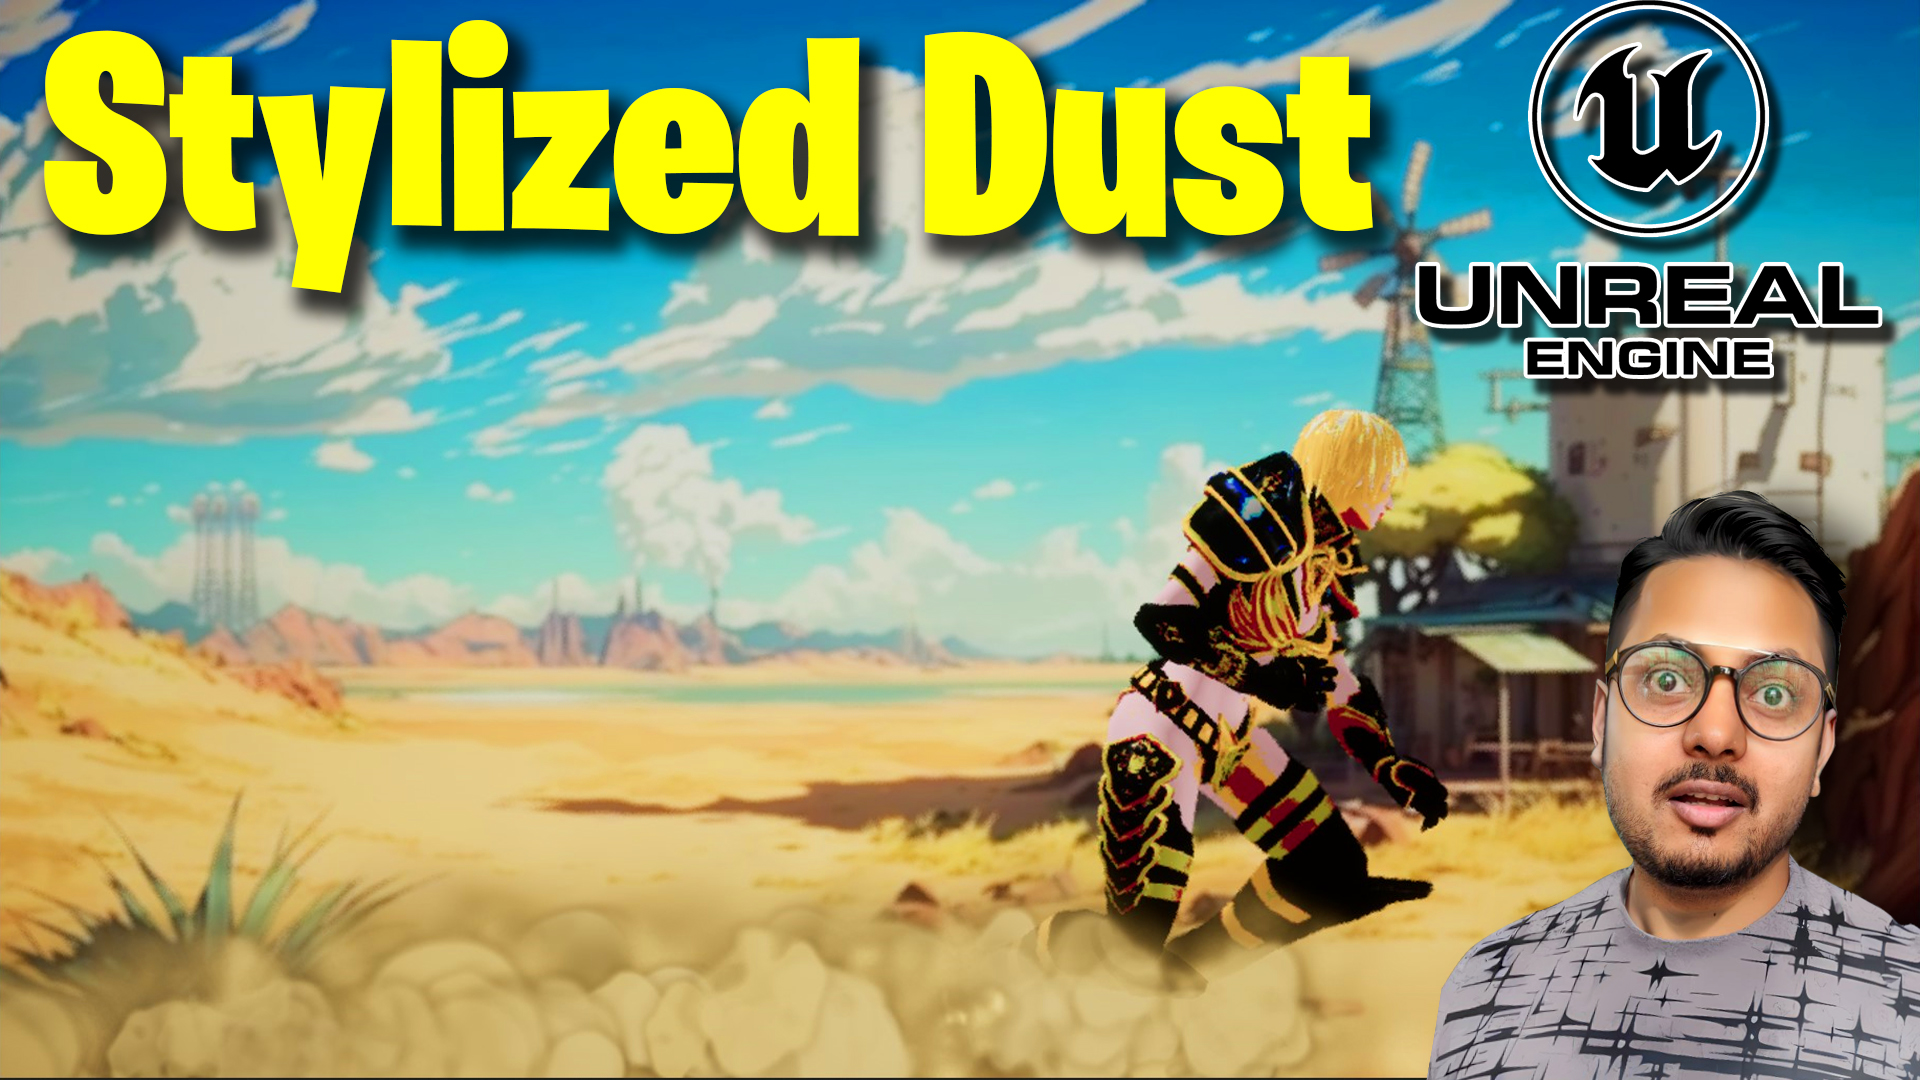
UE5 | Stylized Dust Slide FX in Unreal Engine 5.2 Niagara Tutorial | Download Files
#cghow #UE5 #UE4Niagara #gamefx #ue5niagara #ue4vfx #niagara #unrealengineniagara #realtimevfx
●Visit – https://cghow.com/
Unreal Engine Marketplace – https://bit.ly/3aojvAa
Artstation Store – https://www.artstation.com/ashif/store
Gumroad – https://cghow.gumroad.com/
Video Introduction:
- Host Introduction: “Hi guys, I’m Ashif Ali, and welcome to CGHOW. In this tutorial, I will show you how to create stylized dust effects in Unreal Engine 5.2 using Niagara.”
- File Availability: “You can find this file on my Patreon.”
Tutorial Overview:
- Set Up: The scene includes an animated character (from a marketplace like Mixamo) and a stylized background. The goal is to add stylized dust that interacts with the character’s movement.
Step-by-Step Process:
- Creating the Material:
- You start by creating a radial fade material for the dust effect.
- Apply a noise texture and use the SmoothStep function to adjust the sharpness and fading of the dust.
- The material uses dynamic parameters to control sharpness and fading, with controls for the noise texture and tiling to randomize the pattern.
- Creating the Niagara Effect:
- Create a new Niagara effect and apply the material to the particles.
- Use the character’s skeleton to attach the dust effect to the character’s leg (left or right) during the animation.
- Adjust gravity, size, velocity, and other parameters to fit the animation.
- Fine-Tuning the Effect:
- Randomize particle size, color, and tiling to add variety and make the dust feel more natural.
- Use a Life Cycle setting to stop particle spawning when the character stops moving.
- Customize the panning and rotation for more randomness.
- Adding More Dust Effects:
- Duplicate the particle system to add additional dust for other body parts, such as the knee or foot.
- Adjust colors, size, and gravity for the new dust systems to match the original effect.
- Step Dust Effect:
- Create a step dust effect by duplicating the existing dust particle system.
- Adjust velocity, particle shape, and life to create dust that appears when the character moves.
- Use Point Velocity for the movement direction and adjust the size for each step.
- Fine-Tuning:
- Adjust the size and shape of the particles for better visibility.
- Ensure that the particles behave naturally and fade over time to enhance the stylized look.
Ending:
- Final Check: Ensure the dust effect looks realistic and reacts properly with the character’s movements.
- Closing Statement: “Thanks for watching, keep learning, and bye bye!”
Leave a Reply