
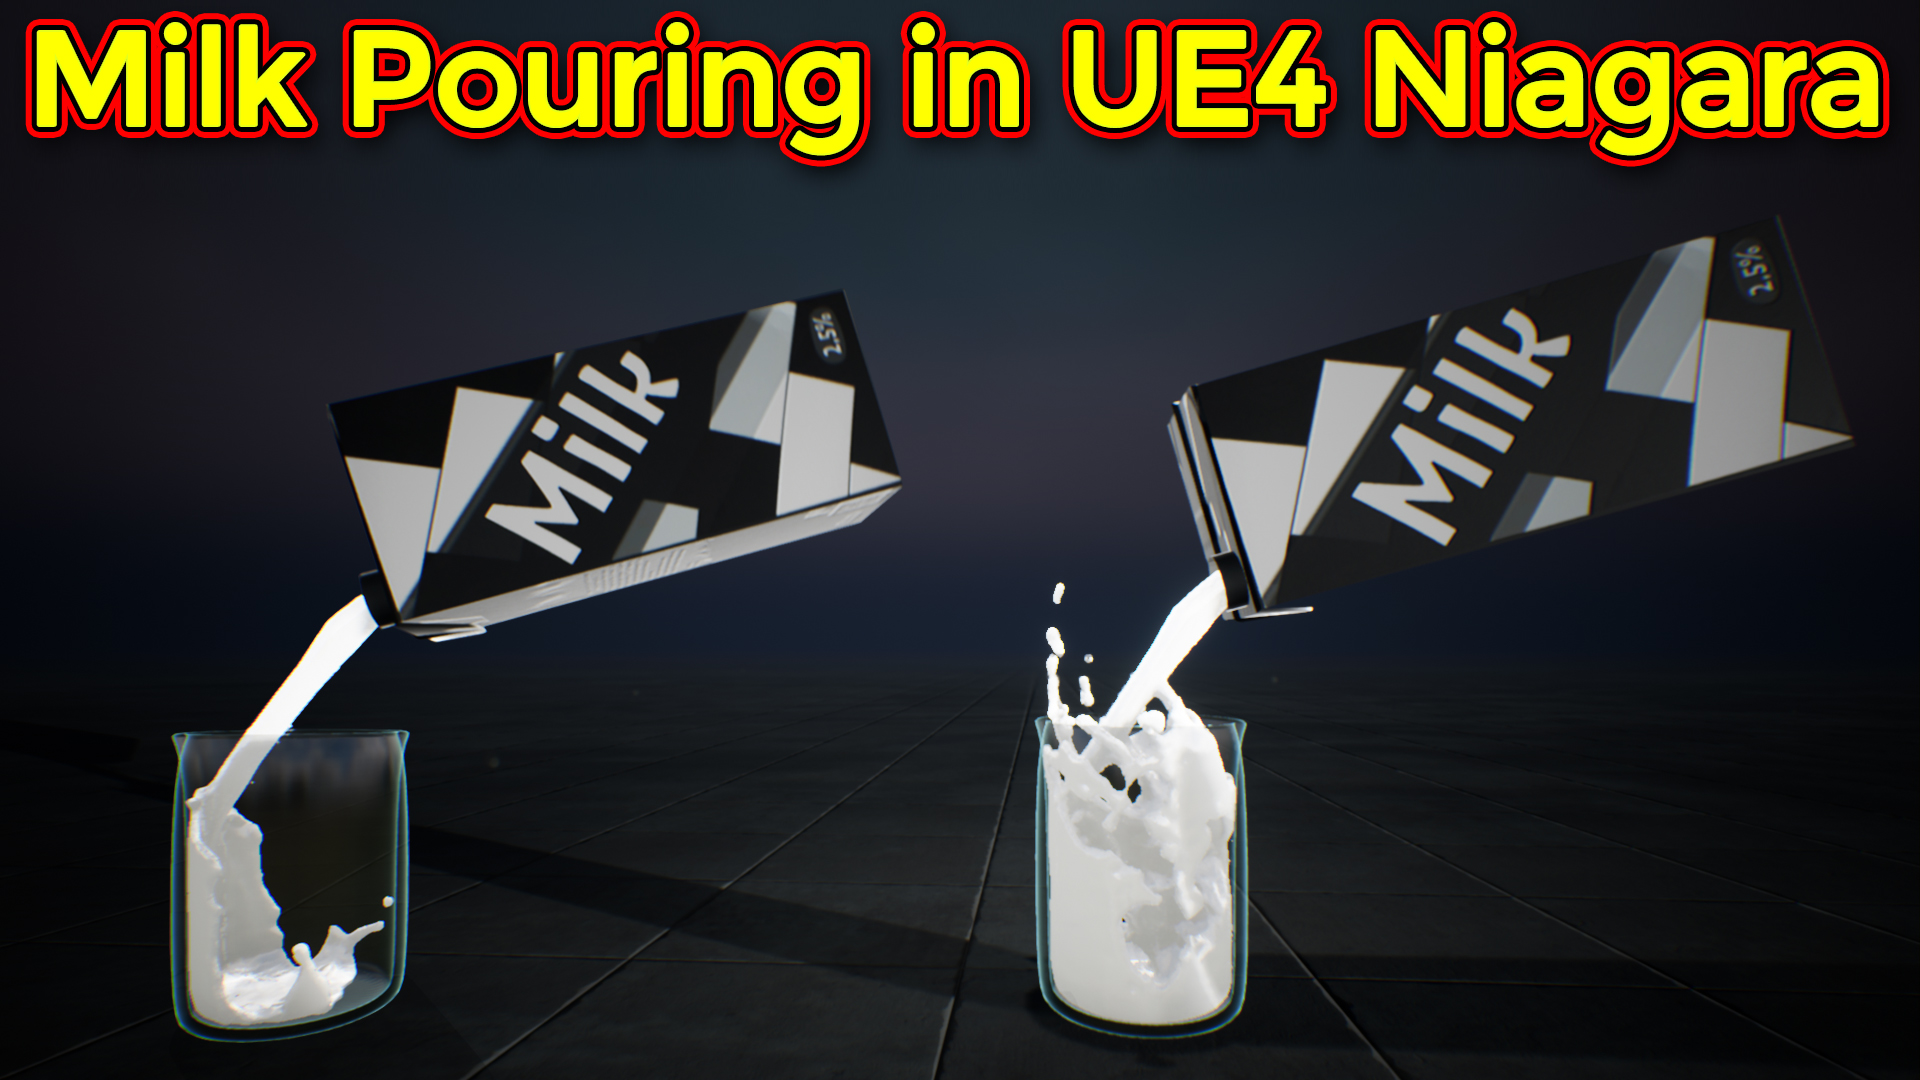

In this tutorial you will learn how to create Milk Pouring in unreal engine Niagara. you will learn every step for this effect texture, materials, mesh and emitters. For any concern comment below the video or create help thread in CGHOW form (discussion & help forum link below)
#cghow #unrealengine #gamevfx #gamefx #ue4vfx #ue4fx #niagara #unrealengineniagara #unrealenginevfxtutorials
●Upload Your Tutorials/Work – https://cghow.com/
…………………………………………………………………………………………………………
Purchase Effect Package From Unreal engine Marketplace –
●Niagara Effects Pack – http://bit.ly/2LWgZTx
●Advanced Magical FX – http://bit.ly/2XQYyXL
……………………………………………………………………………………………………………………………………
●Patreon – https://www.patreon.com/Ashif
……………………………………………………………………………………………………………………………………
●Follow FB Page – https://www.facebook.com/cghow0/
●Join FB Group – https://www.facebook.com/groups/cghow/
……………………………………………………………………………………………………………………………………
●Android App – http://bit.ly/2XUnhoR
……………………………………………………………………………………………………………………………………
Playlists-
●Unreal Engine Niagara Tutorials – http://bit.ly/2SmPEuT
●Unreal engine VFX Tutorials -http://bit.ly/2JNXyJZ
●Unity VFX Tutorials – http://bit.ly/2XNGlKz
……………………………………………………………………………………………………………………………………
●Discussion & Help Forum – http://bit.ly/2Lo0Er7
……………………………………………………………………………………………………………………………………


Unreal Engine Niagara Tutorial | Milk Pouring


Creating a Milk Pouring Effect in Unreal Engine Niagara
In this tutorial, I demonstrate how to create a milk pouring effect in Unreal Engine using Niagara and an animated mesh from Maya. By using an animated Alembic mesh with a custom material, we achieve a realistic liquid pouring effect.
Key Steps in Creating the Milk Pouring Effect:
- Simulation in Maya
- Set Up Liquid Simulation: Using Maya’s Bifrost, simulate the milk pouring effect by importing a preset fluid. Simulate the fluid filling a jar to create the desired animation.
- Export as Alembic: After creating the fluid simulation, export it as an Alembic file. Alembic is essential because Unreal Engine supports it as an animated mesh format.
- Creating Frame-Based Static Meshes
- Select Key Frames: Since Alembic files are too heavy to use directly, extract key frames from the simulation (e.g., every second frame) to reduce the poly count.
- Combine Meshes: After selecting key frames, combine them into a single static mesh. Set the UVs of each frame sequentially for seamless animation in Unreal Engine.
- Optimize Mesh: Reduce the poly count further if needed for better performance.
- Importing into Unreal Engine
- Static Mesh Setup: Import the combined static mesh in Unreal Engine. Apply UVs to ensure each frame’s UVs are placed correctly for sub-frame animation.
- Material Setup: Create a material that will animate these UVs to make the frames cycle through, creating the appearance of a flowing liquid.
- Material Configuration in Unreal Engine
- Texture Coordinate Setup: Add a texture coordinate node to pan across the frames along the Y-axis.
- Dynamic Parameter for Animation: Create a parameter to control the Y-axis panning, effectively scrolling through each UV frame.
- Reflection and Appearance Adjustments: Use additional texture maps, such as an HDRI, to add reflections and realistic liquid shading.
- Animating the Mesh in Niagara
- Add Static Mesh to Niagara: Import the static mesh into Niagara, and add it as a mesh renderer in a new particle system.
- Dynamic Parameter Control: Connect the material’s dynamic parameter to the particle’s properties, allowing the animation to play frame-by-frame within Niagara.
- Finalize Emitter Settings: Configure the emitter to spawn one particle with a two-second lifetime, setting the animation to loop through the static mesh frames seamlessly.
- Scene Setup
- Add Extra Elements: To complete the effect, import additional props like the jar and milk carton. Animate the milk carton in Unreal Engine to enhance the visual effect of milk being poured.
Tips for Optimizing and Customizing the Effect:
- Experiment with Frame Count: Using fewer frames may reduce the realism, but it can significantly optimize performance.
- Texture Coordinates and Dynamic Parameters: Fine-tune the panning speed to ensure a smooth transition between frames.
- Sub-UV Material Animation: This technique can be adapted to various types of animations beyond liquids, such as character animations or even shattering effects.
This tutorial covers an efficient way to use high-quality fluid simulations in Unreal Engine by converting them into a sequence of static meshes and leveraging Niagara and sub-UV materials for animation. If you have any questions, feel free to comment below, and don’t forget to subscribe to my channel for more tutorials!
Leave a Reply